Tutorial: Sew tucks
Deutsch

A tuck is a narrow fold of fabric that is used to decorate clothes. Tucks are usually sewn vertically and parallel, close together, in the chest area of a blouse or a festive men’s shirt. To form the tuck you can also insert a string. The small pleats emphasize the desired areas, hide darts and shape the silhouette. Tucks can be found on shirts, blouses and dresses in both men’s and women’s fashion. They decorate whites and traditional costume fashion. The processing belongs to the classic sewing techniques and requires special accuracy when sewing. Also due to the trend towards folkloristic blouses and dresses, tucks can be seen more and more often on the catwalks. Puristic models become even more elegant with strict tucks. Following the tradition of historical costumes, tucks on sleeves and waist are skilfully accentuated. In the following article you will find instructions for sewing tucks.
Content
- Sew wide tucks
- Sew narrow tucks
- 4 important tips for sewing tucks
- Pattern construction for blouse with tucks plastron
Sew wide tucks
These 5 mm wide tucks must be drawn in the pattern like folds. Ideally, one pattern should be made with pin tucks inserted and a second pattern without tucks. In the first step, the parts of the upper part with pin-tucks are roughly cut, the pin-tucks are sewn and then the parts are accurately trimmed. In this way, small inaccuracies that immediately multiply during piping stitching can be corrected.
Preparation
Draw and cut out a cardboard stencil with double the width of the transition. Draw the first pattern with the 5 mm wide tucks. Draw the second pattern up to the cross stitching line without the 5 mm wide pin-tucks.
Cutting

Cut the top with the first sewing pattern. Cut the neckline and armpit roughly.
Marking
Mark the lowest cross stitch line with a thread. Mark the last piping next to the armhole and the armhole with a thread as a check.

Sewing instruction

Mark the fold at the front edge with the chalk. Place the template on the marking and iron the impact.

Fold down the envelope including the template and iron the cover.

Topstitch the cover or envelope with an edge. Draw in the first fold with the chalk and iron. Topstitch this tuck 5 mm wide up to the cross stitching line. Leave thread at the bottom and knot at the back.

Draw in, iron and topstitch one tuck after the other.

Topstitch the tucks towards the armhole on the lowest cross stitch line. 6 cm parallel above change the pin-tuck direction to the centre front, topstitch etc.

Pin the second pattern without tucks onto the top. Cut the armpit and neckline accurately with the rolling knife. Check the armhole and adjust if necessary.

Fix the tucks at the neck on the finished front part.
Sew narrow tucks
Tucks can also be processed in Jersey. With little extra effort, an ordinary T-shirt becomes a unique item. It is important that the garment is cut generously, the pin-tucks are placed and executed and then the piece is cut exactly once again.
Cutting
Cut the top with 3 cm seam allowance. Cut the trimming, glue and then cut exactly to size.
Marking

Pin the top to the bust and draw the tucks as desired. Mark all pintucks with the chalk or the trick marker on the table.
Sewing instruction

Iron all tucks and topstitch.

Iron the front part and put the pattern on the fabric again, cut the T-shirt accurately with 1 cm seam allowance.

The first thing to do with this T-shirt is to shorten the neckline on both front parts, then close the centre front. That means, put the trimming right on right on the neckline and overlock with the 4-thread overlock. To make the neckline exact, fix the transition top trimming with a pin, then topstitch the centre front including trimming with the 4-thread overlock.

Fix the trimming to the centre front and underarms.
4 important tips for sewing tucks
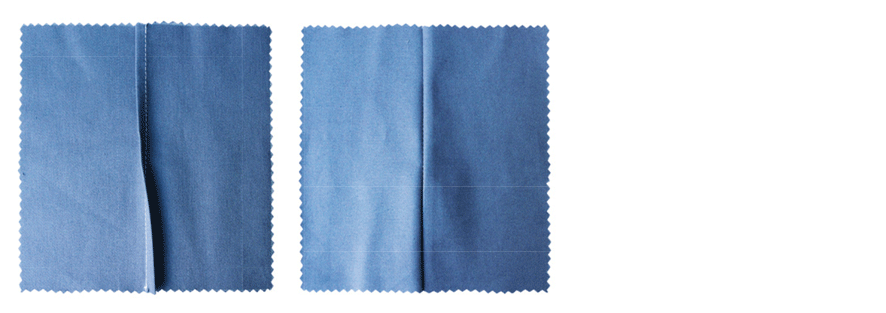
- Already when constructing the pattern you should make sure that the distances between the tucks are exactly the same.
- When choosing the yarn, make sure that it matches the colour of the fabric.
- The seam should be sewn carefully and straight, because you can see the seam later.
- For accurate sewing, the tucks should be carefully ironed in one direction with the iron.
Pattern construction for blouse with tucks plastron
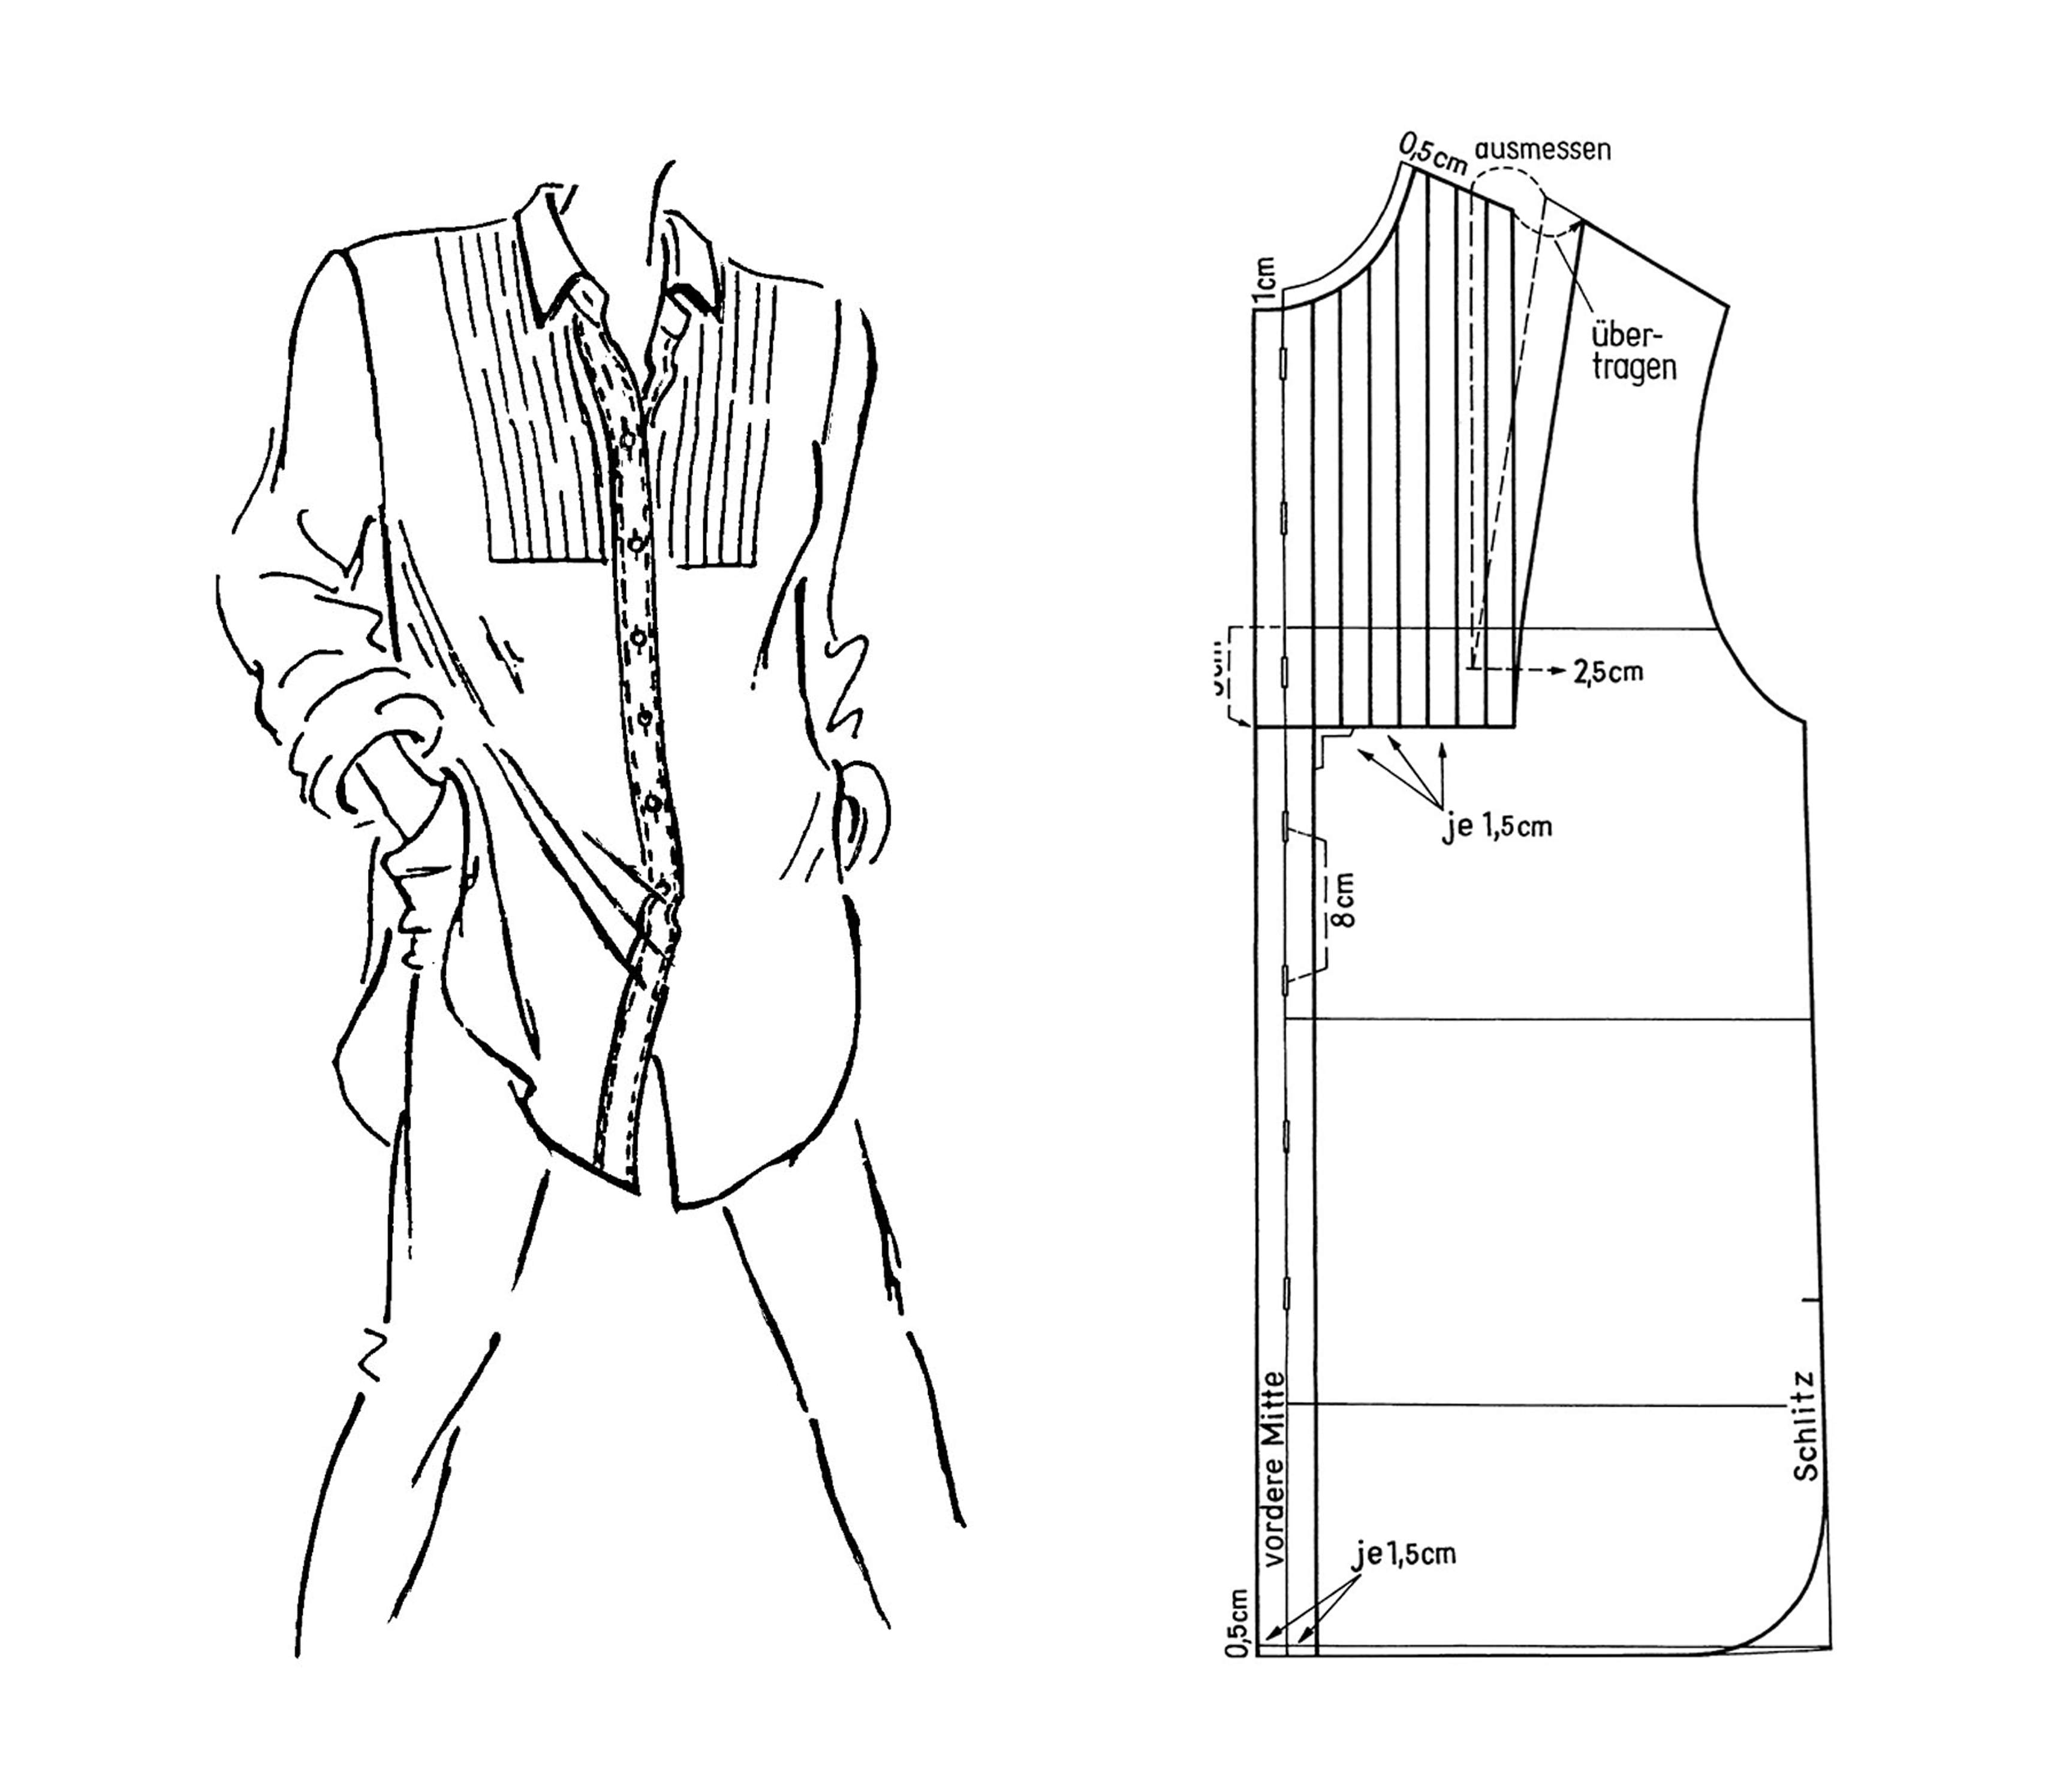
The instructions for the pattern construction for a blouse with tucks can be found in the article Pattern Construction Plastron Shirt
Further instructions for pattern construction and finished patterns for blouses and dresses can be found in our online shop.


