Sewing Mitered Corner
Read in:
Deutsch
Deutsch
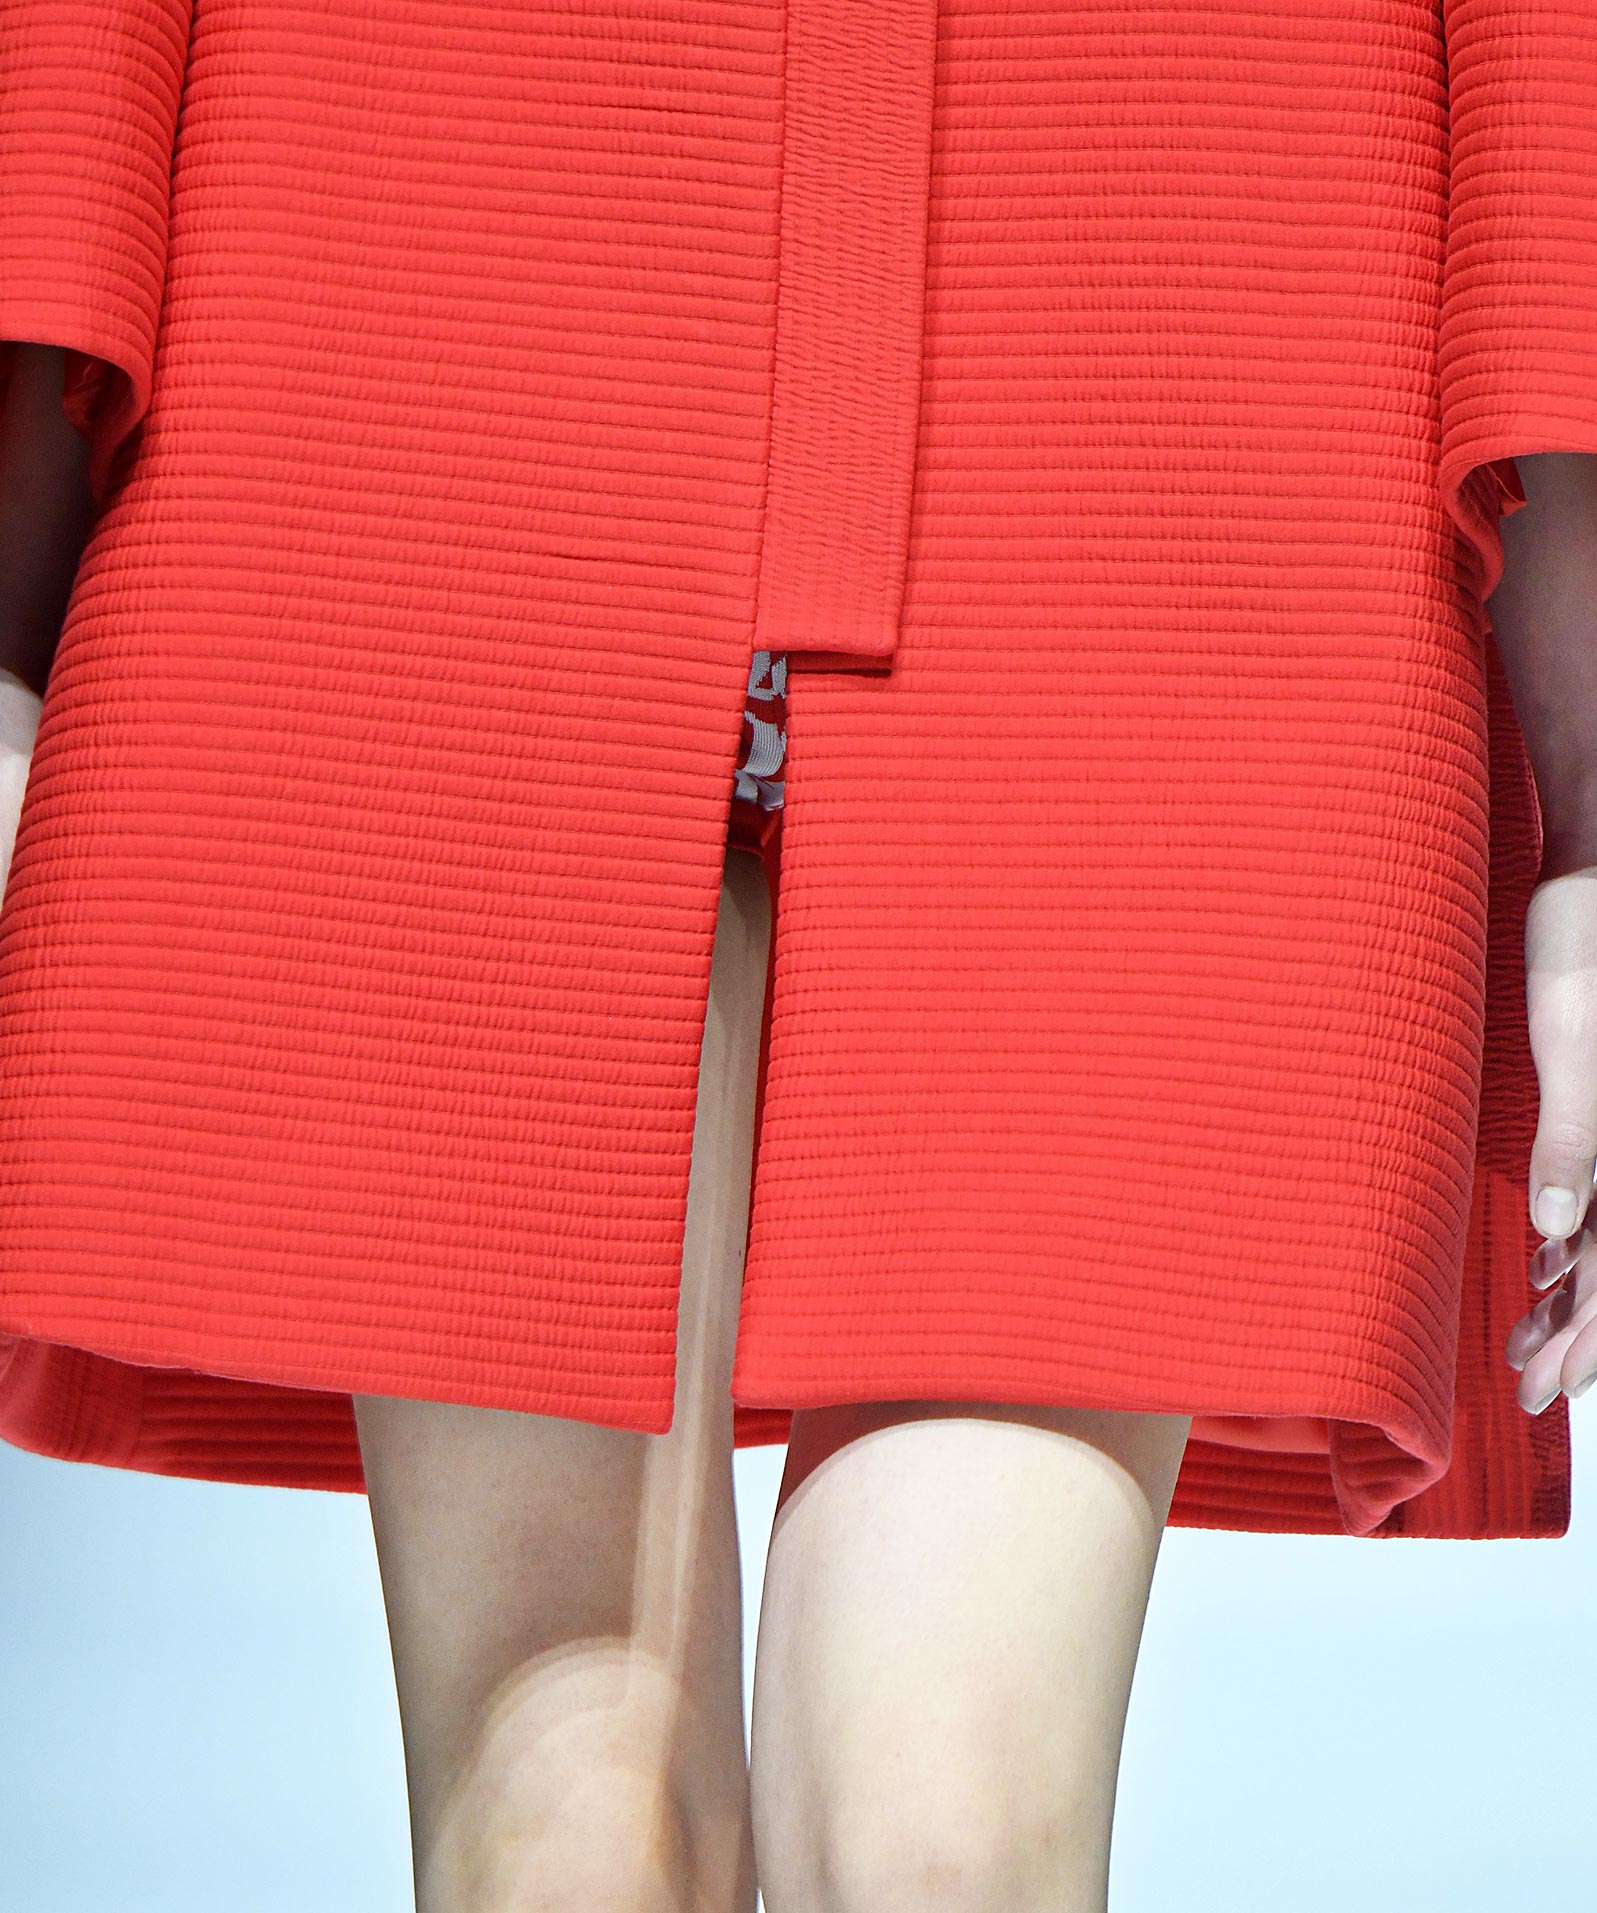
Mitered corners form a bulkyless, clean finish – often to be found at hem, on edges as well as in linen. If mitered corners are marked precisely and cut with uniform seam allowance, they are easy to manufacture. In addition, a prepared template saves working time. This is particularly important if a mitered corner is uneven, meaning it deviates from the right angle, e.g. on a two-piece jacket sleeve.
Content
- Pattern constructing for mitered corner
- Sewing Tutorial: Mitered corner
- Instructions for mitered corner on a two-piece-sleeve
Pattern constructing for mitered corner
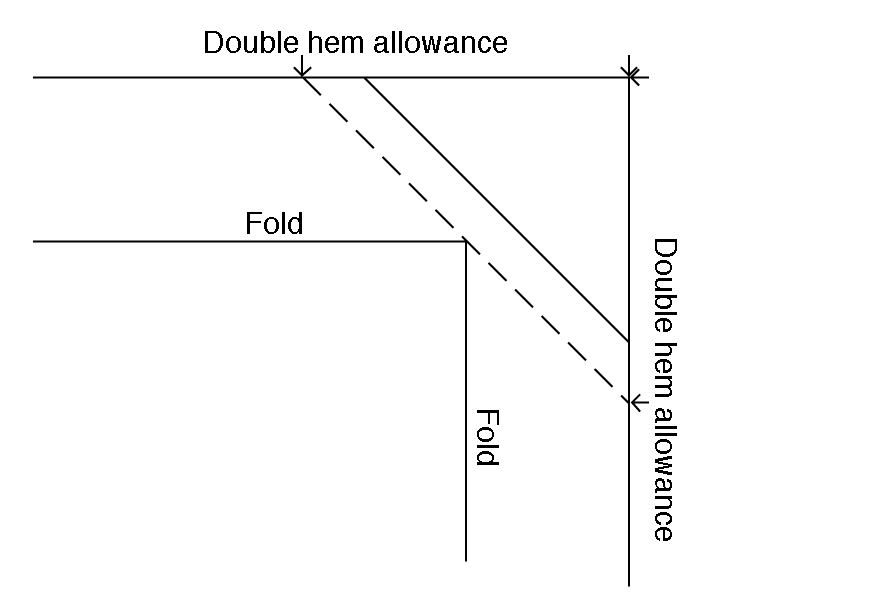
- For uniform hem allowance, the double hem width is marked in each direction, starting at the respective cutting edge corner. Connect these two reference points. This determines the stitching line. 8-10 mm seam allowance are sufficient to close up the seam. If this construction process is done on more voluminous fabrics, the raw edges should be finished (overlocked) first and then covered with lining.
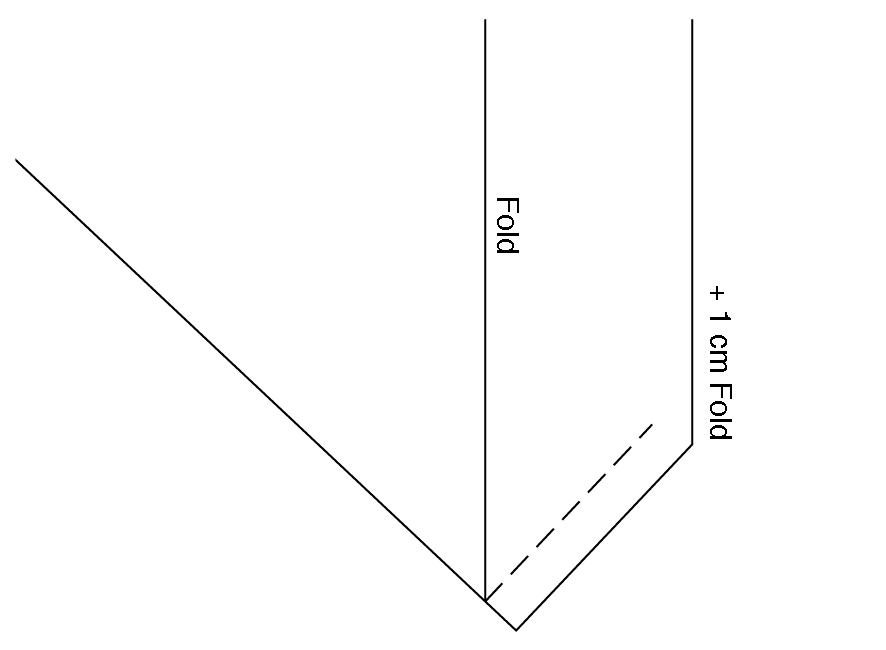
- When using thinner materials, add 1 cm to be folded under. Close the (corner) seam only up to this mark. This way, the addition can be laid to the inside. When closing the corners the cutting edges must line up exactly with each other and, at the same time, the folds converge at the corner. The seam allowance, approx. 1 cm, is pressed open after closing the seam. At the outer corner the fabric lies double and therefore provides more durability. For heavier fabrics trim the seam allowance back in case the double seam is visible. To prevent the seam from coming undone, stitch up and secure the seam in a durable way.
-
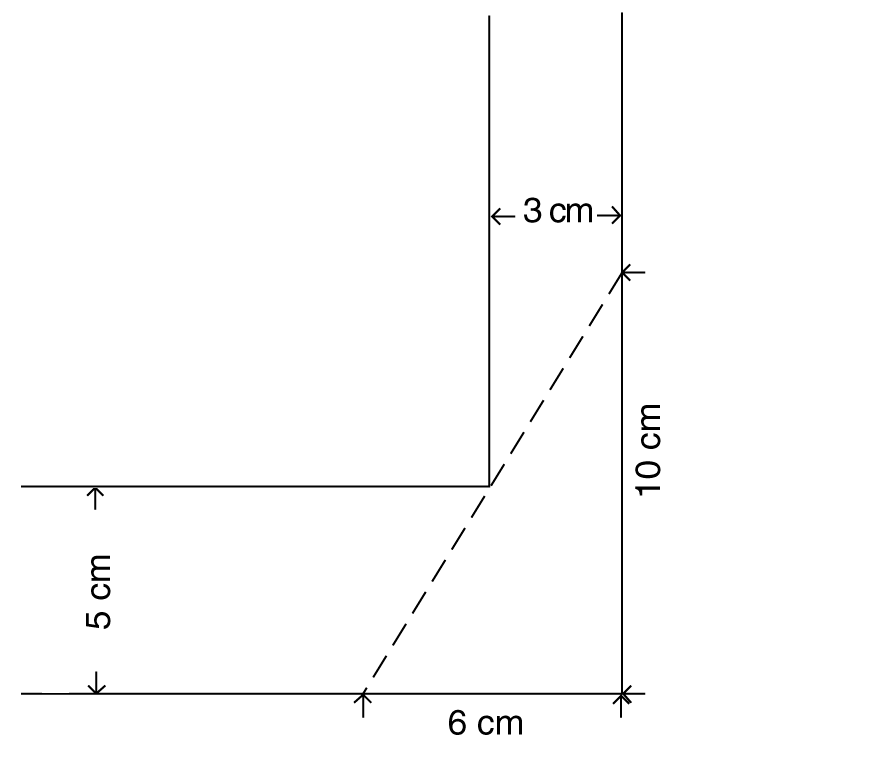
If the model requires different width of the allowances, the particular dimension is measured, doubled in width, marked, and connected to form the seam line.
Sewing Tutorial: Mitered corner
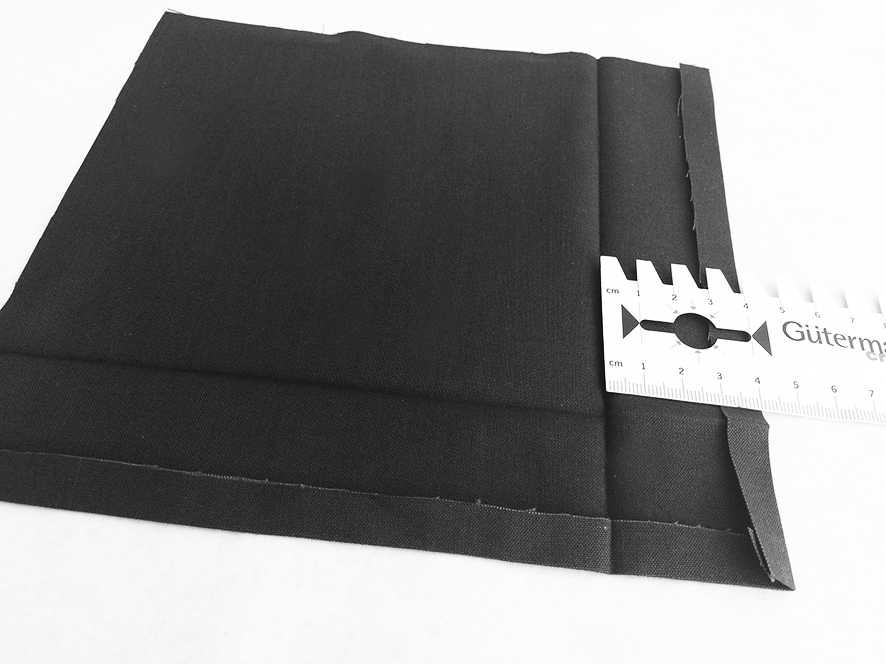
- Iron seam allowance at hem to left side of fabric. Both sides must be ironed at the same width. Clean the fabric edge beforehand with an overlock machine or iron 1 cm inwards.
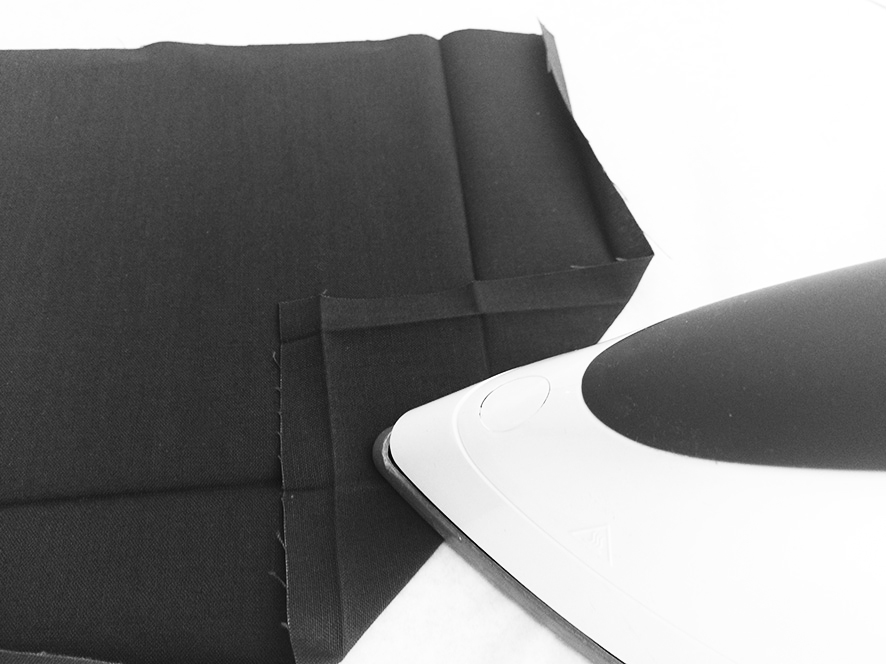
- Fold the corner diagonally left to left, inwards to the corner point of the inner edge and iron.
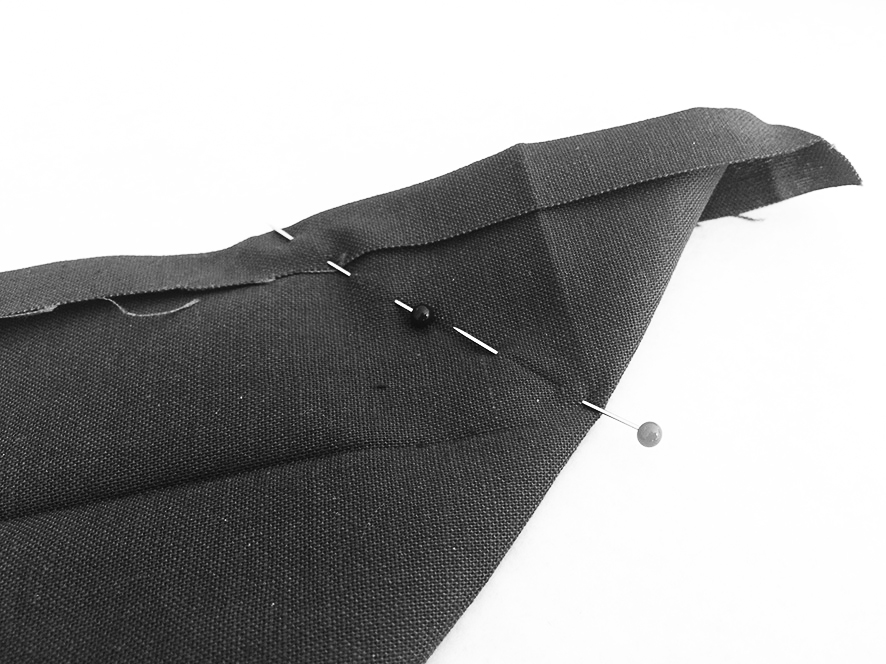
- Now open the corner again, fold it right to right and fix it with pins. The diagonal edges of the temples should lie exactly on top of each other. The corner is now sewn at a 45 degree angle to the hem.
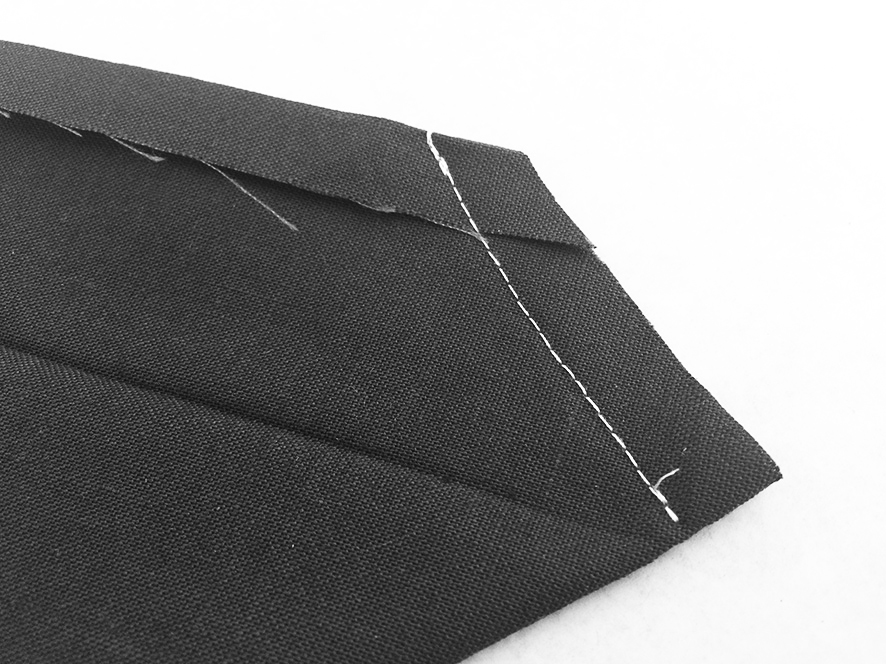
- When sewing, make sure that the seam is locked just before the end to prevent the tip from forming an unsightly bag. The seam allowance is cut back to 1 cm.
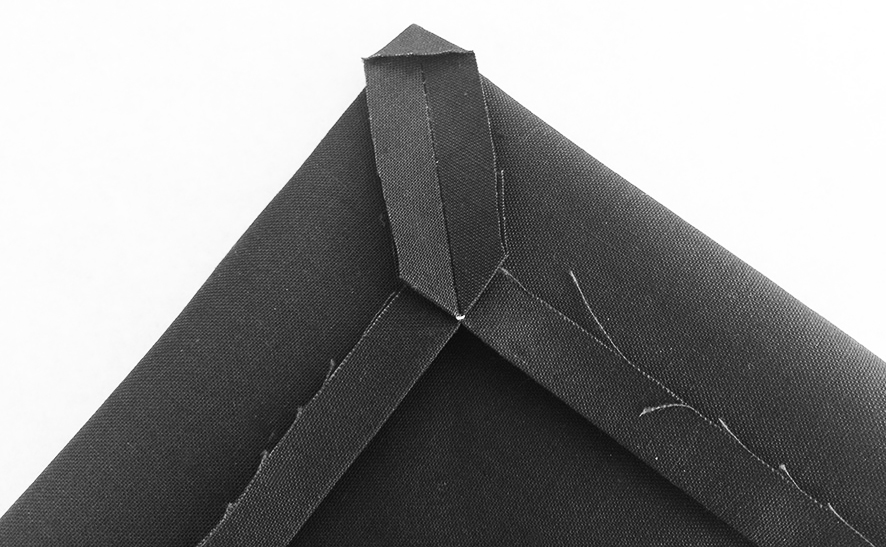
- Pull the corner apart and iron the seam allowance carefully apart. Now the corner can be turned to the right side of the fabric. The corner can be beautifully shaped with pointed embroidery scissors.
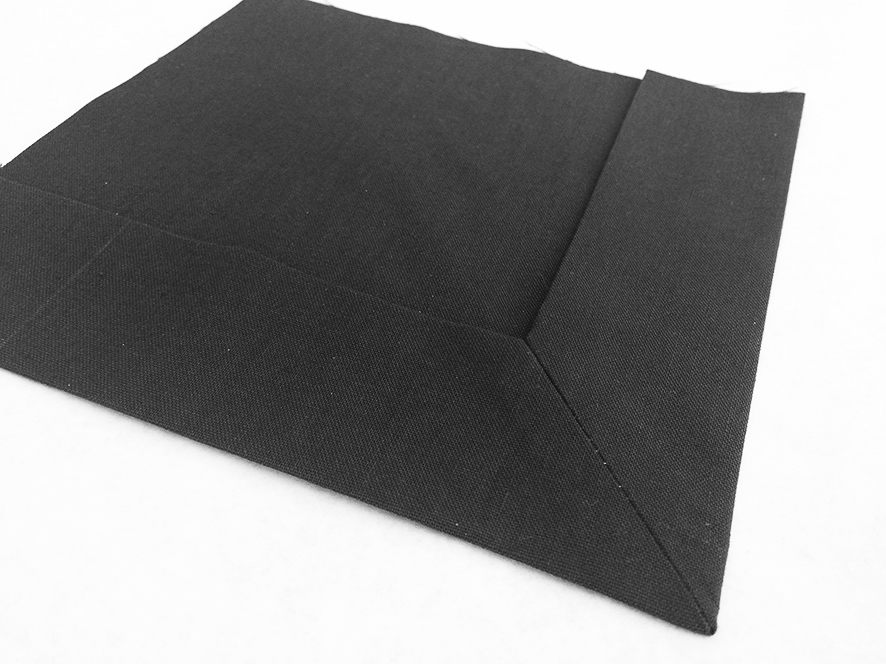
- The corner of the letter can now be ironed flat from the right. The hem can now be stitched with a narrow edge or sewed by hand and a blind stitch.
Instructions a mitered corner on a two-piece-sleeve
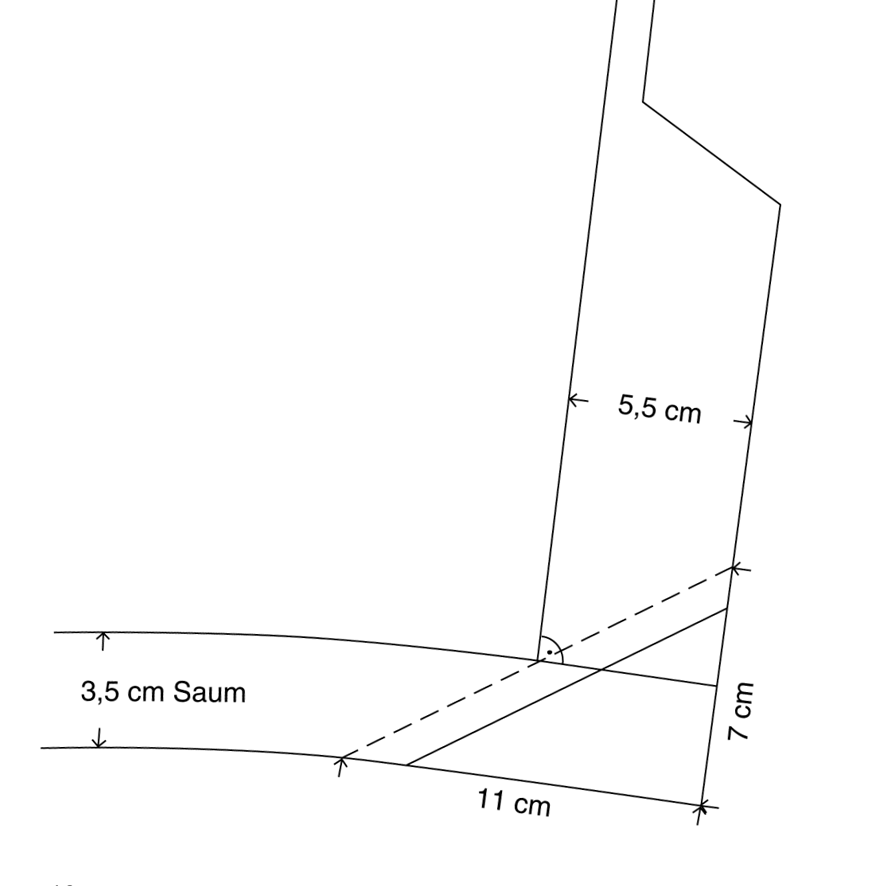
- Due to the bevelled course of the back sleeve seam of a two-part sleeve, the angle is changed. Therefore you should draw a template for a letter corner with button closure. At the back seam of the upper sleeve, length and course are coordinated, the angle is applied at the lower corner and a line is drawn outwards in the trimming width. You get a better overview if you record the fill at the desired height and the hem width at the same time. In order to obtain the required seam line, the respective additions of hem and trim are doubled, measured, marked and the points connected. 1 cm seam allowance is required for closing. The cut edges and break lines must abut exactly against each other. To avoid tension, stitch 1-2 mm before the seam line, depending on the fabric thickness. At the slightly curved course of the lower sleeve edge the hem must be stretched (form ironed).
You will find many more interesting processing articles in our books Atelier – Fachwissen aus der Praxis 1 und Atelier – Fachwissen aus der Praxis 2
Privacy Policy


