
Pattern Construction for Boy’s Suits
Deutsch
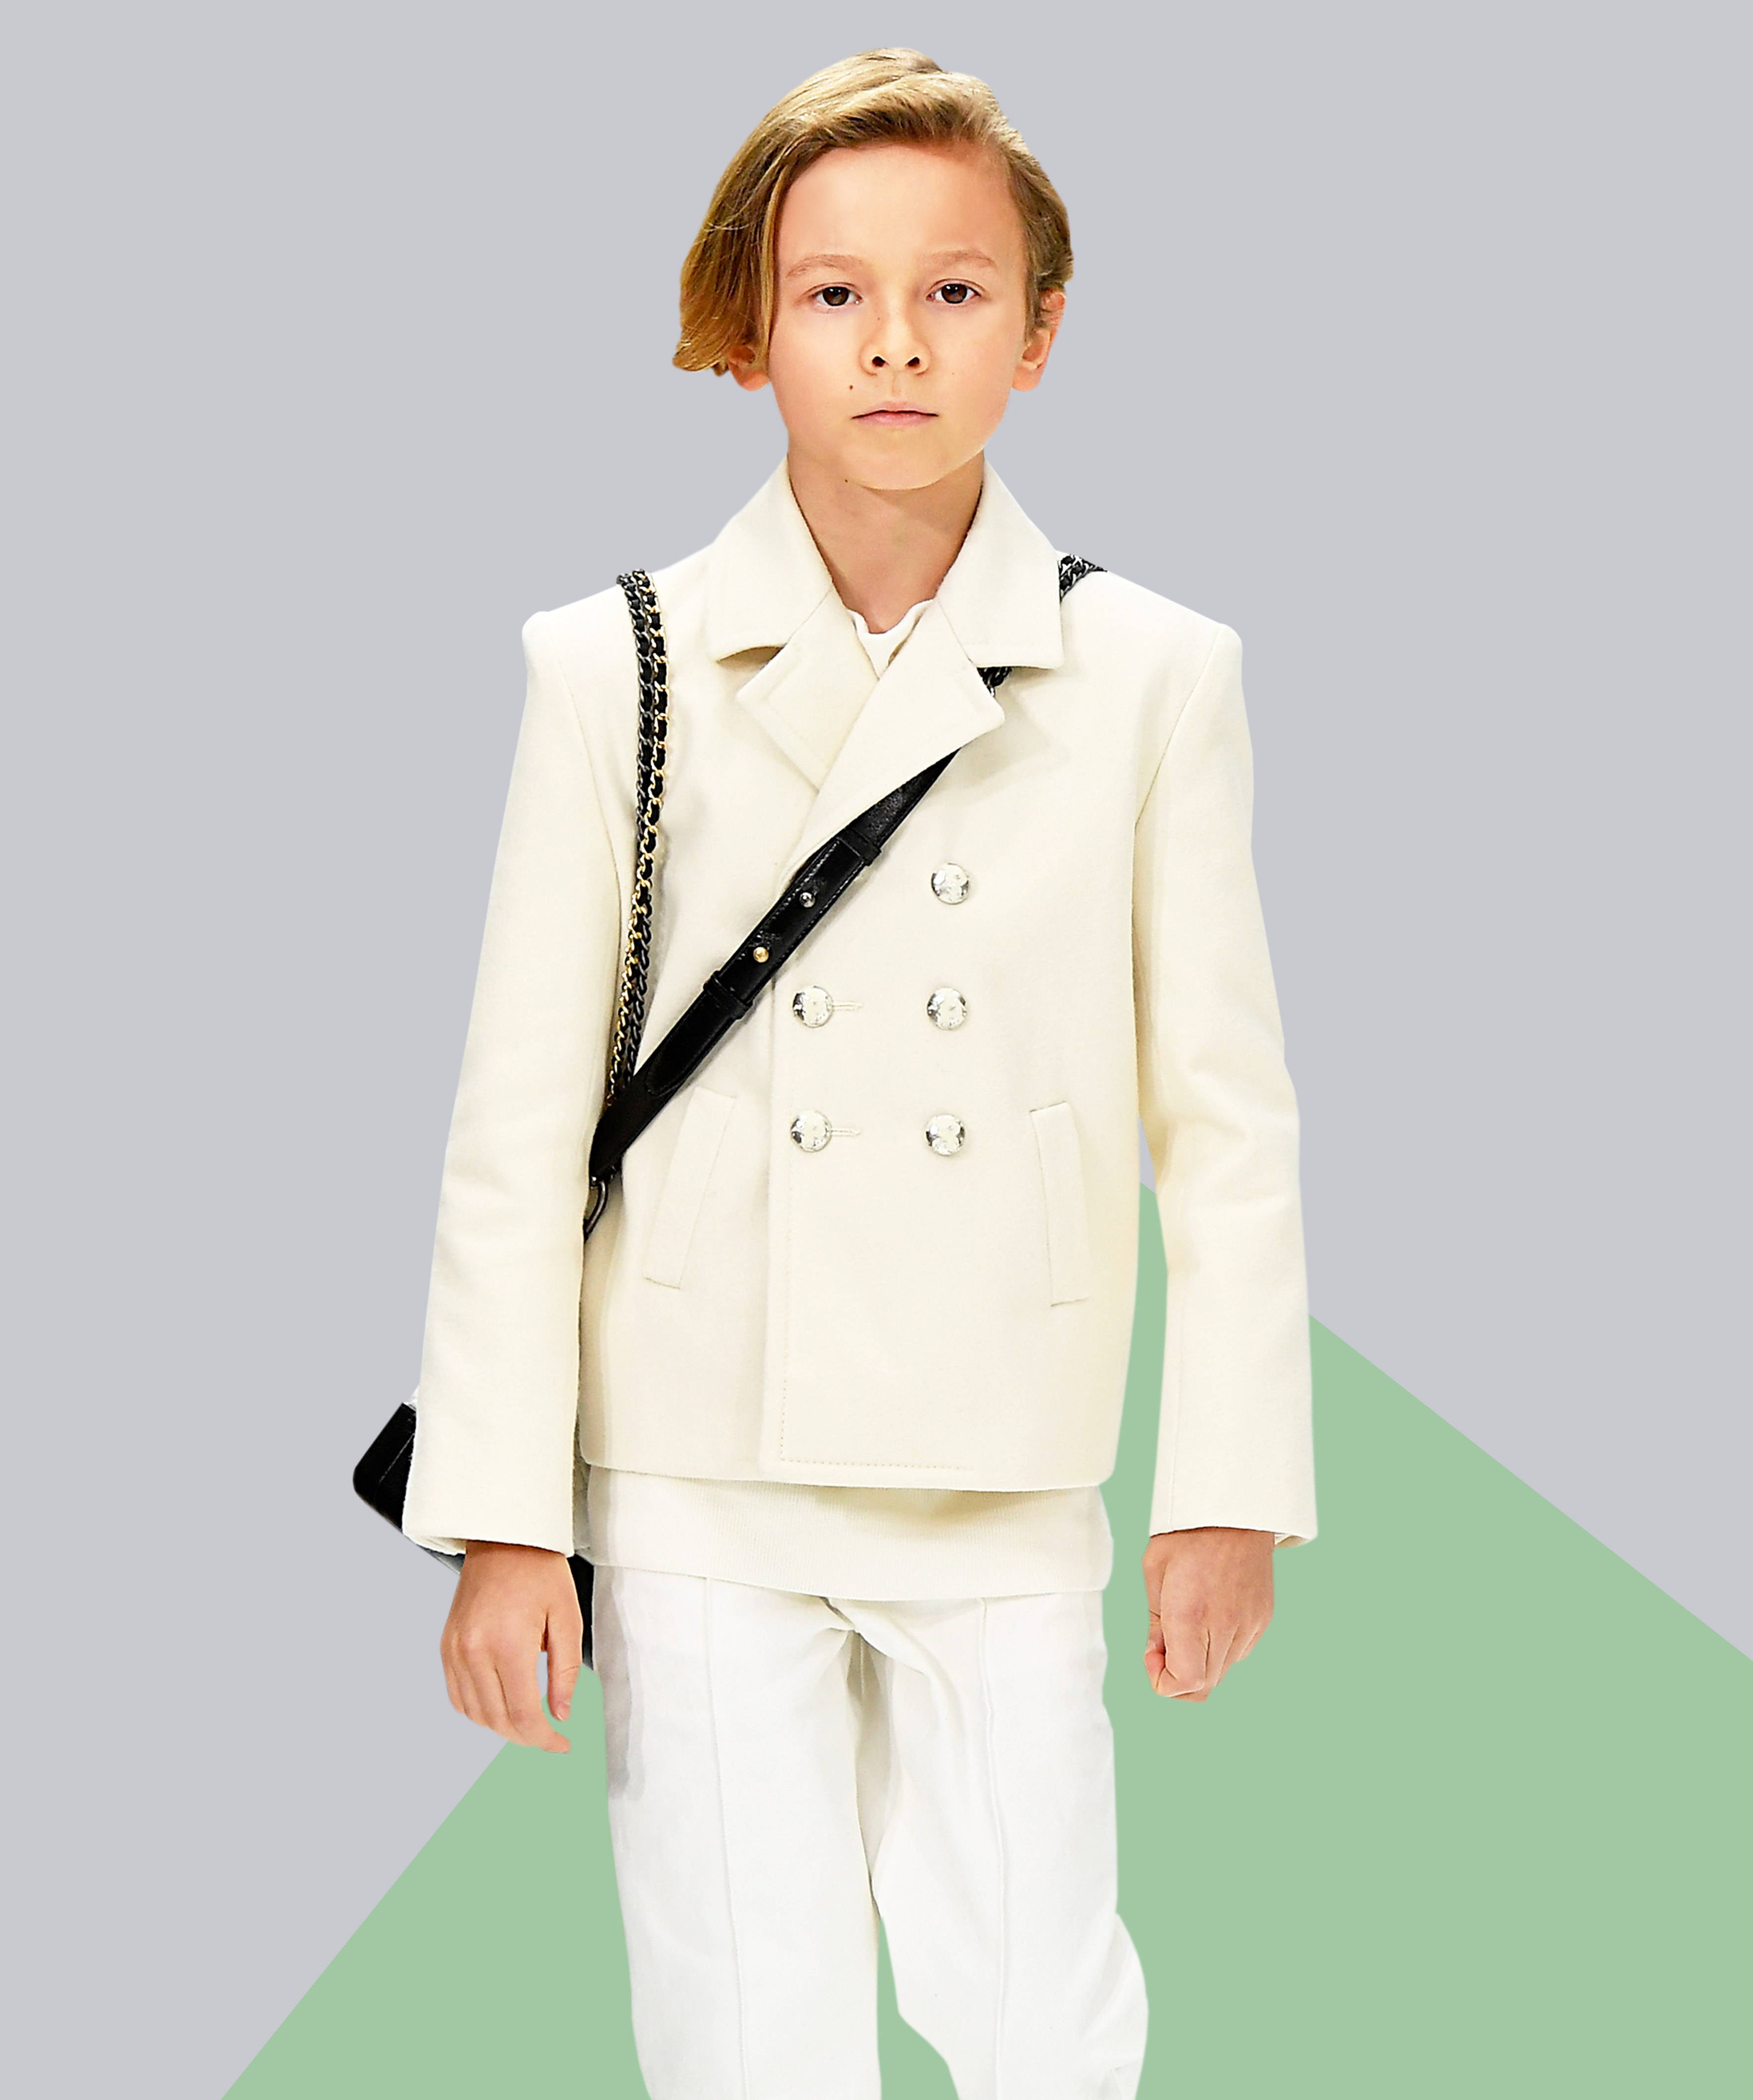
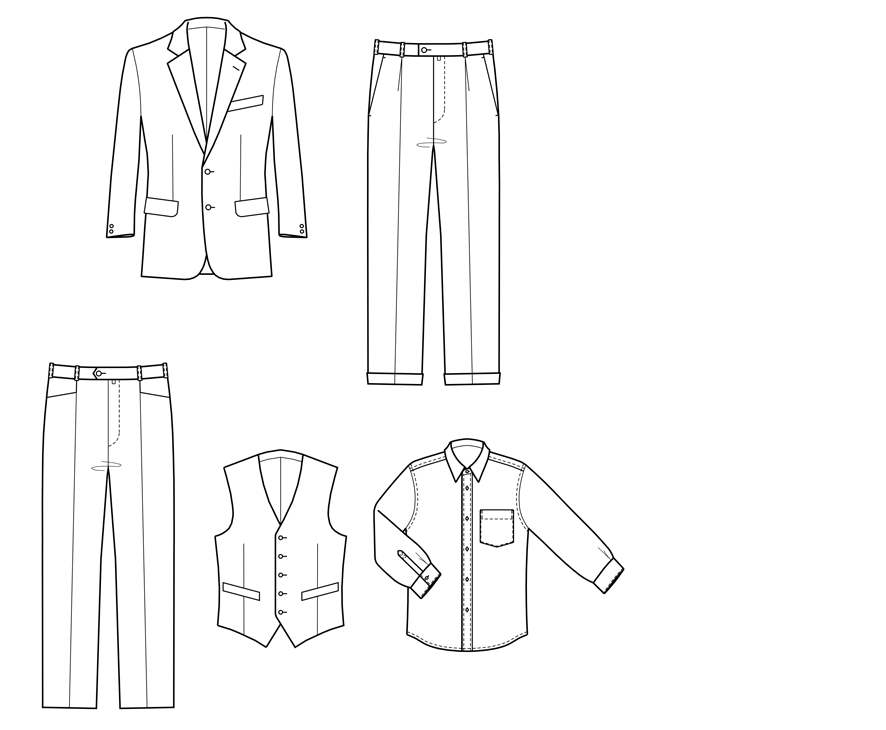
Festive children’s suits are worn as communion suits, confirmation suits or for weddings and other celebrations. High-quality suits for little boys are an absolute eye-catcher at every celebration. The children’s suit shown here consists of a jacket, pleated trousers, waistcoat and shirt. Festive children’s fashion can always take some colour, so this suit can be sewn in a royal blue, bright red or frog green. For a flower child at a wedding, the fabric of the groom’s suit could also be used. For children’s clothing, particular attention should be paid to wearing comfort and fabric quality, as children’s skin is still very sensitive. This means that you should make sure that all seams are flat and that you do not use too rough or scratchy fabrics.
This article is an excerpt from the (german speaking) book KOB Schnittkonstruktion. Further instructions, basic pattern blocks, all variations shown here, as well as numerous other pattern designs for children’s clothing can be found in this book.
Pattern Construction for Boy’s Suit
Classic variations in size 110 – 164
Jacket – Size 146

Design Pattern and Collar
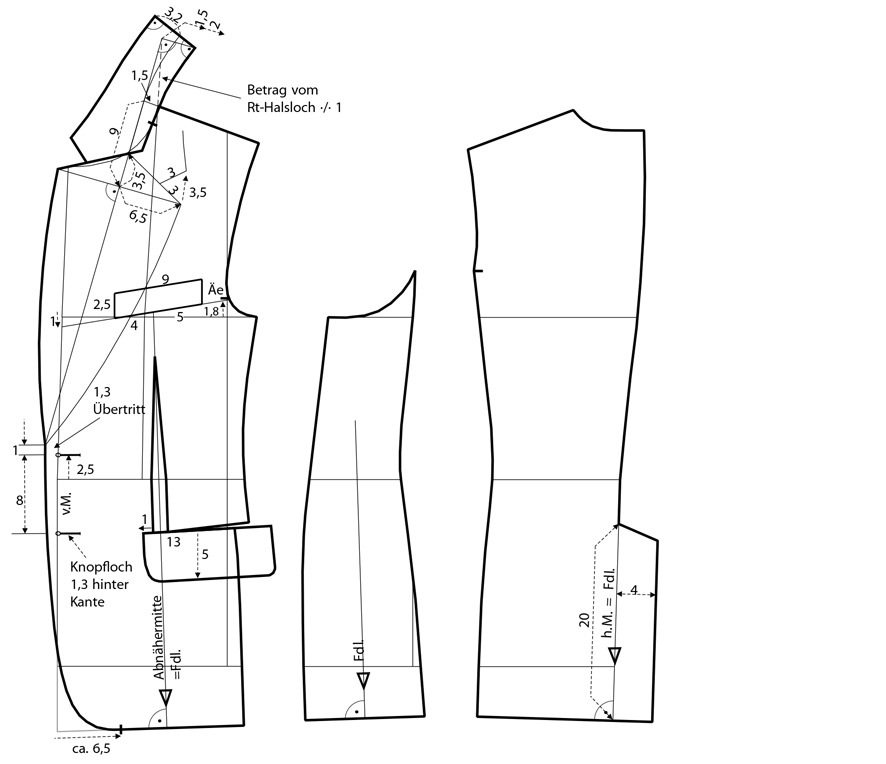
Mark the position of the closing button 2.5 cm above the waist line and add 1.3 cm overlap. Draw the lower buttonhole, the front edge and the cut-away as illustrated. Extend the shoulder seam 2 cm to the left for the lapel construction and mark the position of the lapel break. Measure the back neckline for the construction of the felt under collar. Extend the lapel break line upwards and measure the determined back neckline minus 1 cm from the front neckline corner to the lapel break.
From this point square out to the right and measure 1.5 cm for the collar roll and 2 cm for the collar stand. Draw the collar seam to the neckline and the center back perpendicular to the collar seam line. Draw the collar and the lapel as shown in the illustration. Compare the collar seam and the neckline. The collar seam should be approximately 1 cm shorter than the neckline, since the collar gets longer when steam-pressed into shape. Mark the welt pockets and the flap according to the illustration. Mark the back vent with a length of 20 cm. Draw the vent underlap 4 cm wide as shown in the illustration. Mark the grainline on the back pattern along the lower part at the center back. On the side panel, mark the grainline perpendicular to the hemline. On the front pattern, mark the grainline along the dart middle line.
Pattern Construction Sleeve
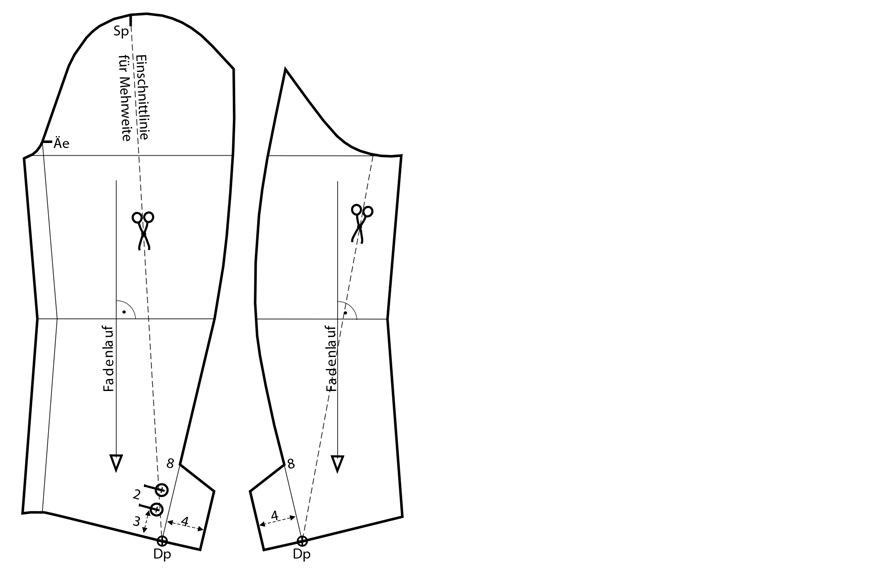
Determine the sleeve cap ease. The sleeve cap ease should amount 6 to 8 % for industrial manufacturing and 10 to 12 % for a tailored jacket. Slash the added cutlines from the sleeve cap to the hemline and increase or decrease the ease by spreading or overlapping the sleeve pieces. Mark the sleeve vent 8 cm long for two buttonholes. Draft the overlap and underlap. Mark the button positions. Mark the grainline perpendicular to the elbow line.
Basic Block Pleated Trousers- Size 146
Size 146
Front Trouser
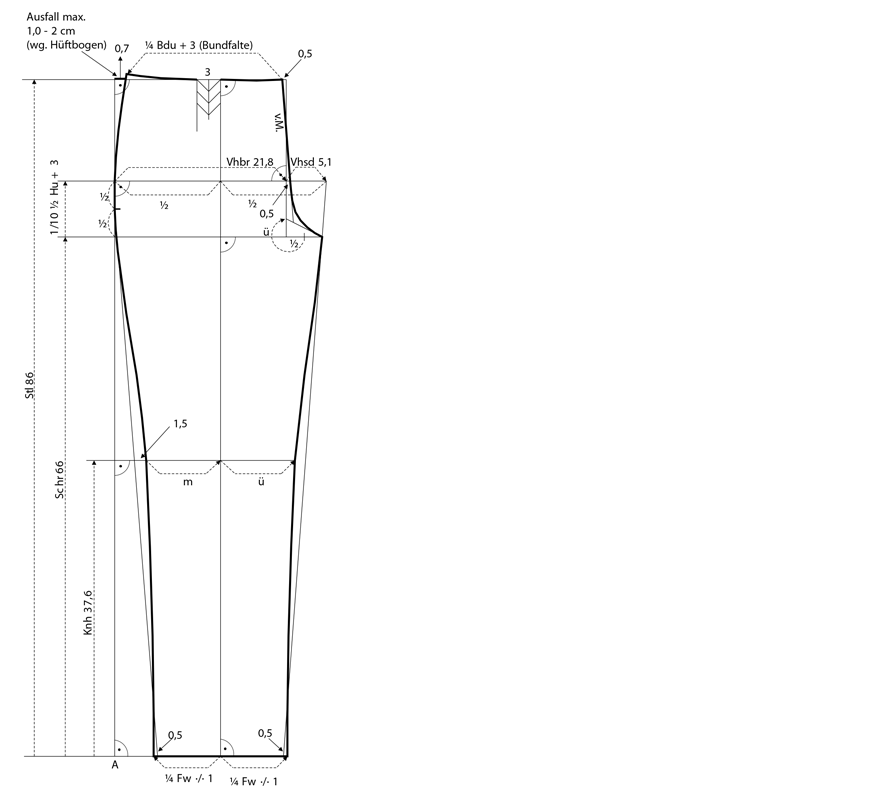
On a vertical line mark knee height, crotch length and side length. Measure 1/ 10 hip width + 3 cm from the crotch length to determine the hip height. At the hip line, measure the front trouser width to the right and square upwards. Mark the front trouser gap diameter to the right. Divide the entire distance in half and draw a perpendicular line up and down. Draw the foot width – 1 cm along the hem line to both sides. From this point mark 0.5 cm towards the side seam and draw guidelines for the crotch and side seam.
Back Trouser
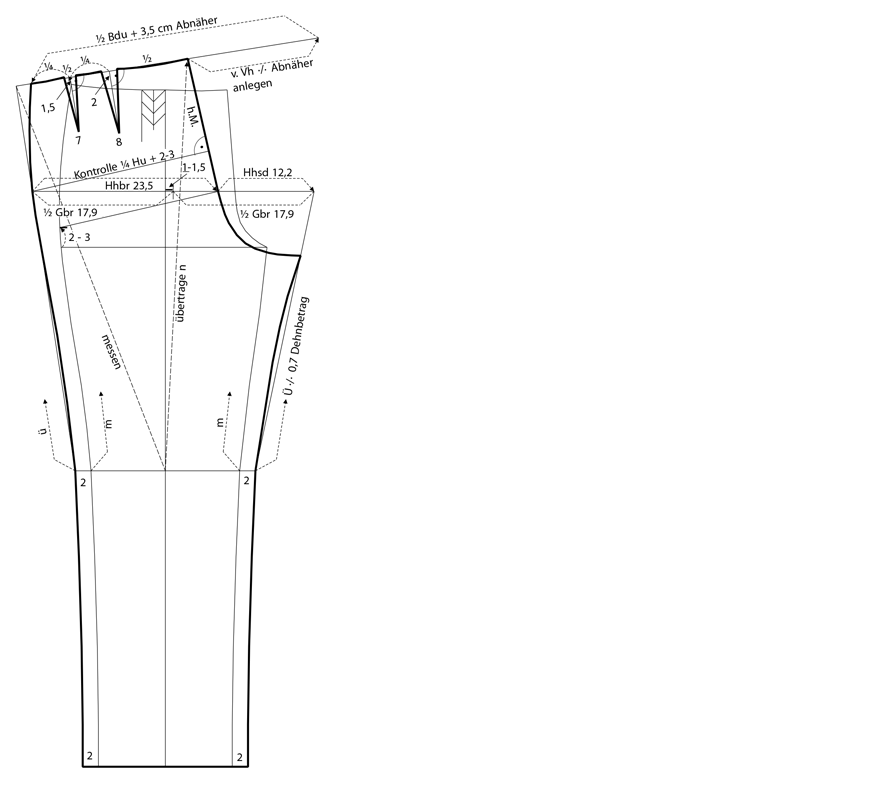
Trace the front pattern and extend the horizontal lines on both sides. Measure 2 cm each to the left and right at hem and knee height. Draw in side and crotch seam up to the knee height. Shift the center of the back trouser 1- 1.5 cm at the hip line and mark the back trouser width to the left and right. From the right gbr- point, measure the position of the gap diameter towards the side seam. The remaining amount the hip line is the hip width of the back trouser. Measure 2-3 cm upward from the crotch line at the side seam of the front trouser. Draw a guideline to the gap diameter of the back trouser and square upwards. Draw a guideline from the knee line up to the gbr- point. Measure the side seam at the front trouser and transfer the length onto the guideline. Mark the length of the front crotch seam minus 0.7 cm for the stretch amount. The side seam touches the vertical construction line, in the middle between the crotch height and the hip circumference line as illustrated. Trim the side seam 1.5 cm at the knee line, measure the distance to the center of the front trouser and mark the amount towards the crotch seam. Finish the lower part of the two seams. The transition has to be in the right angle to the hem.
Extend the center front 0.5 cm at the hip height and trim 0.5 cm at the waistband line. Draw a slant guideline. Divide the distance at the crotch height, between the intersection of the crotch line and the front trouser width in half and square one half upwards. Draw a short, slant guideline to finish the seam for the vent. Measure the waistband circumference + 3 cm towards the side seam for a waistband pleat. Lengthen the side seam 0.7 cm upwards from this point. To avoid an unbalanced hip curve, the amount of the default shouldn’t be higher than 1- 2 cm. Draw the side- and crotch seam as illustrated. Draw the pleat at the front trouser towards the side seam and mark the Waistband line. Measure from the side seam point at the left guideline to the intersection center of the back trouser/ knee line and transfer the amount to the center back. Draw the waistband circumference by connecting the two points. Mark the distance of the front waistband line, minus the dart intake to the right side at the guideline. Measure the waistband circumference + 3.5 cm, for two darts (depending on the shape) to the left. Divide the waistband distance as illustrated and draw the darts. Draw the side-, crotch and seat seam as shown in the illustration. Check the back trouser hip width, the overall hip width and all seam transitions. Adjust and blend if necessary.
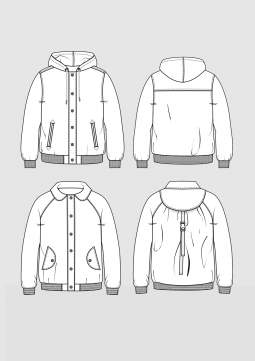
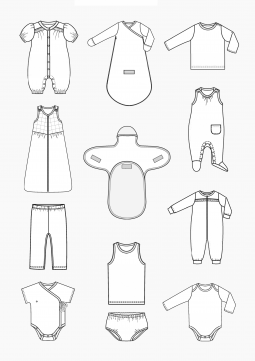
The pattern sheet contains two blouson jackets for children in sizes 98-140.
- Download
- Print Version
Further instructions for pattern construction and sewing patterns for children can be found in our online shop.
Good day! My family loves attending parties, and that’s why I love buying my kids beautiful children suits. You have presented eye-catching construction patterns here in your article. I think I will follow them because my son will indeed love these as they look comfy. Thanks for this!