
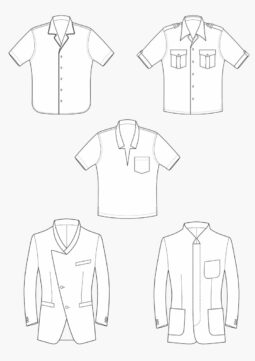
Sewing a Button Placket
Deutsch

Since the 13th century, buttons have held clothes together. Today, there are many different types of button plackets – cut on, attached, concealed, or even fake variants. For more stability, these should ideally be fixed with an insert. The choice of inlay is determined by the outer fabric and the functionality of the garment. Lightweight inserts such as H180 or H200 are often used for lightweight blouses and shirts. For jackets and coats, inserts such as G405 or H420 are suitable. This article explains how to cut and process the most common lasts.
This article is an excerpt from the Damen-Rundschau 10.2019. Here you can find the complete article with instructions for sewing the different button plackets.
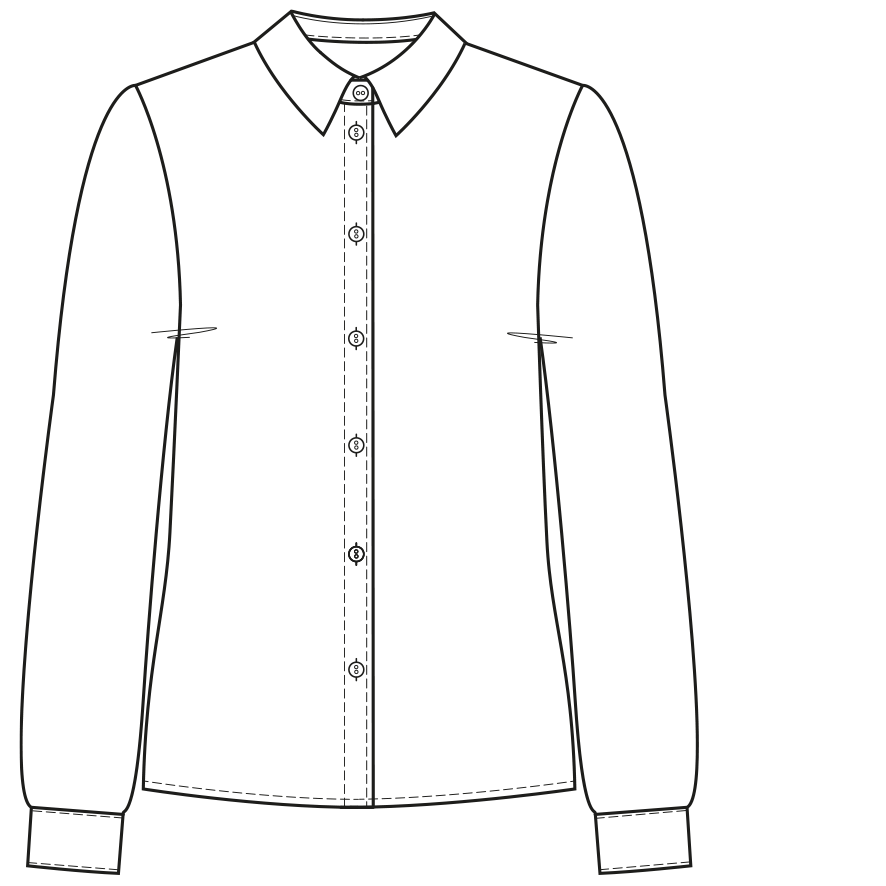
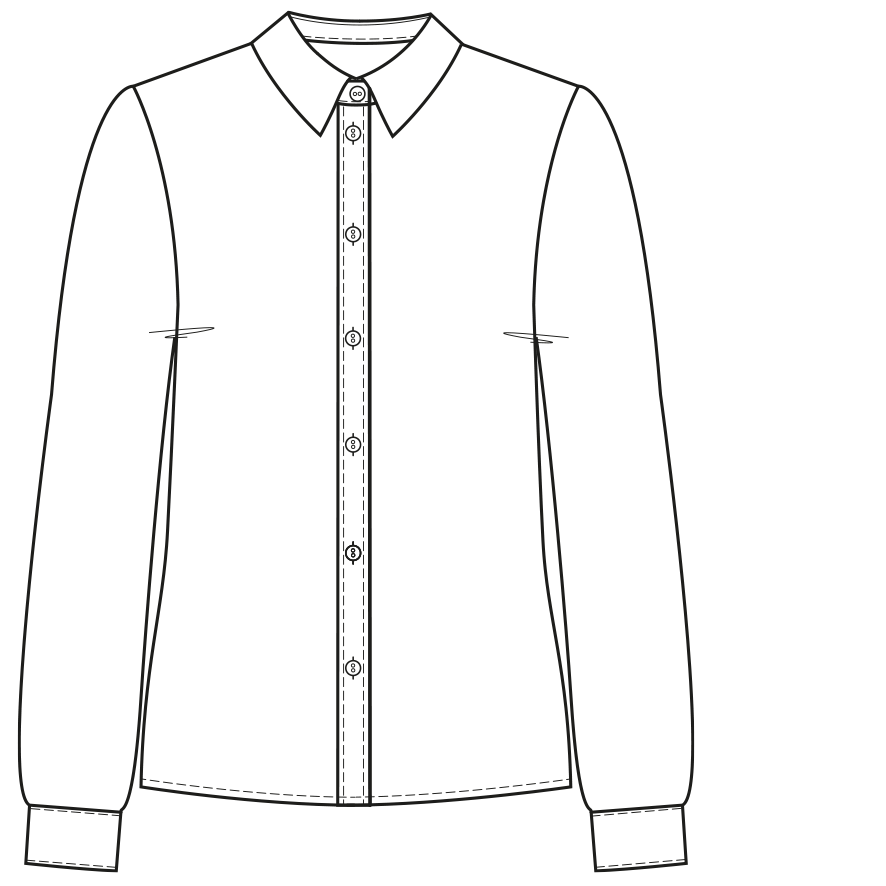
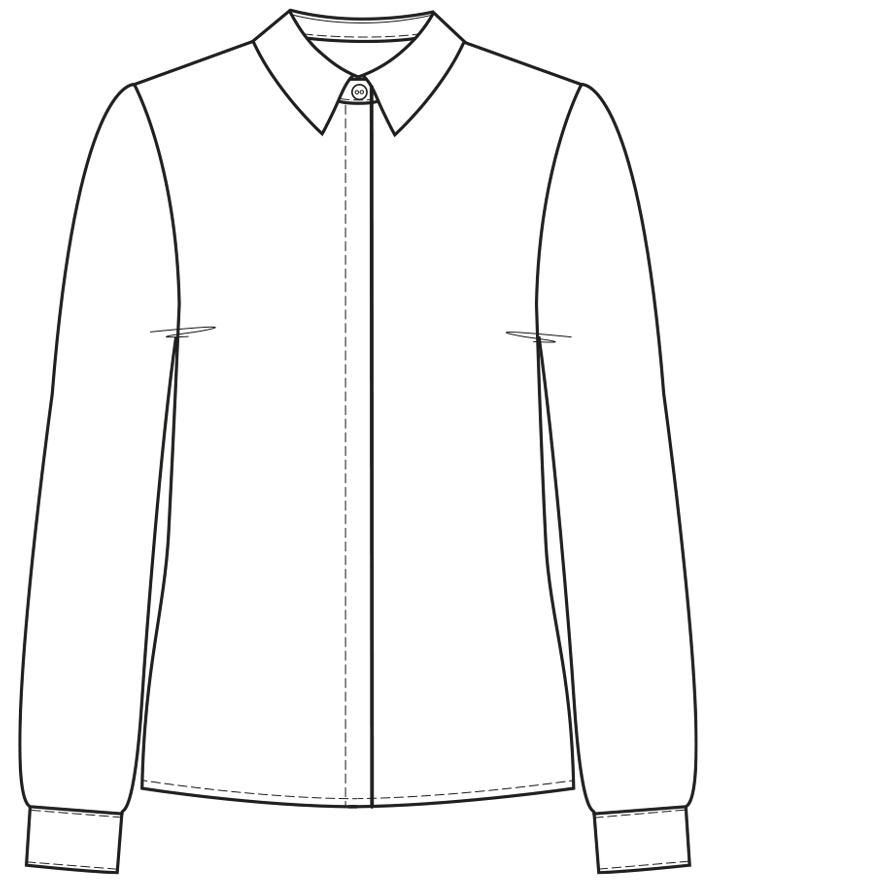
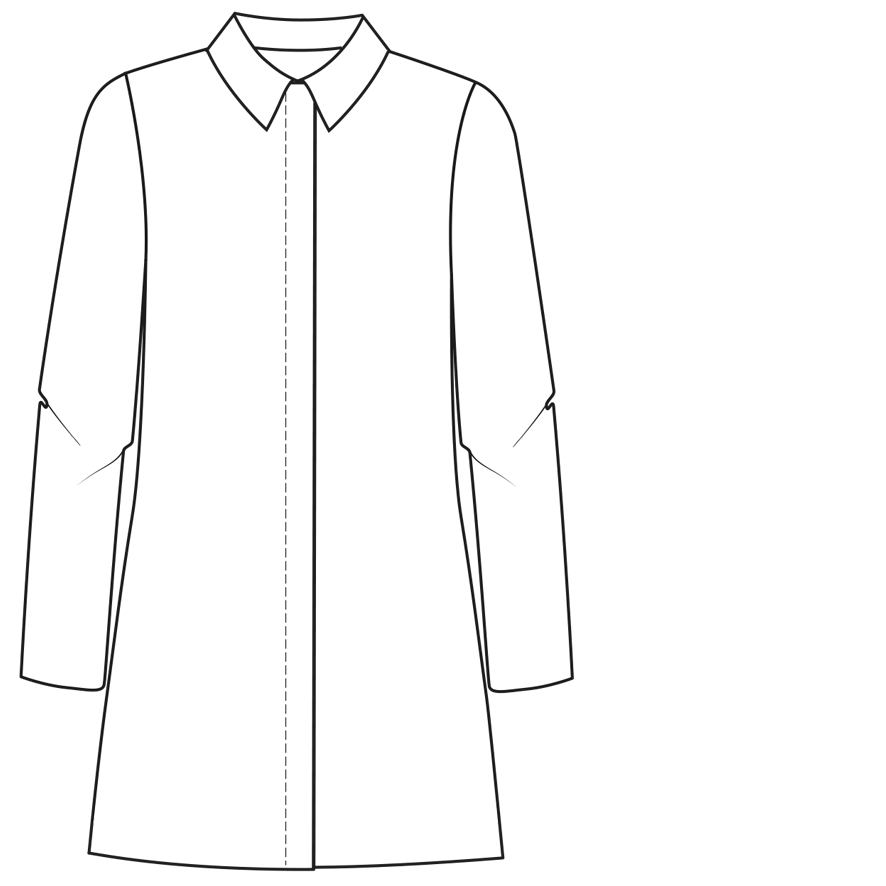
Stitched button placket
Pattern
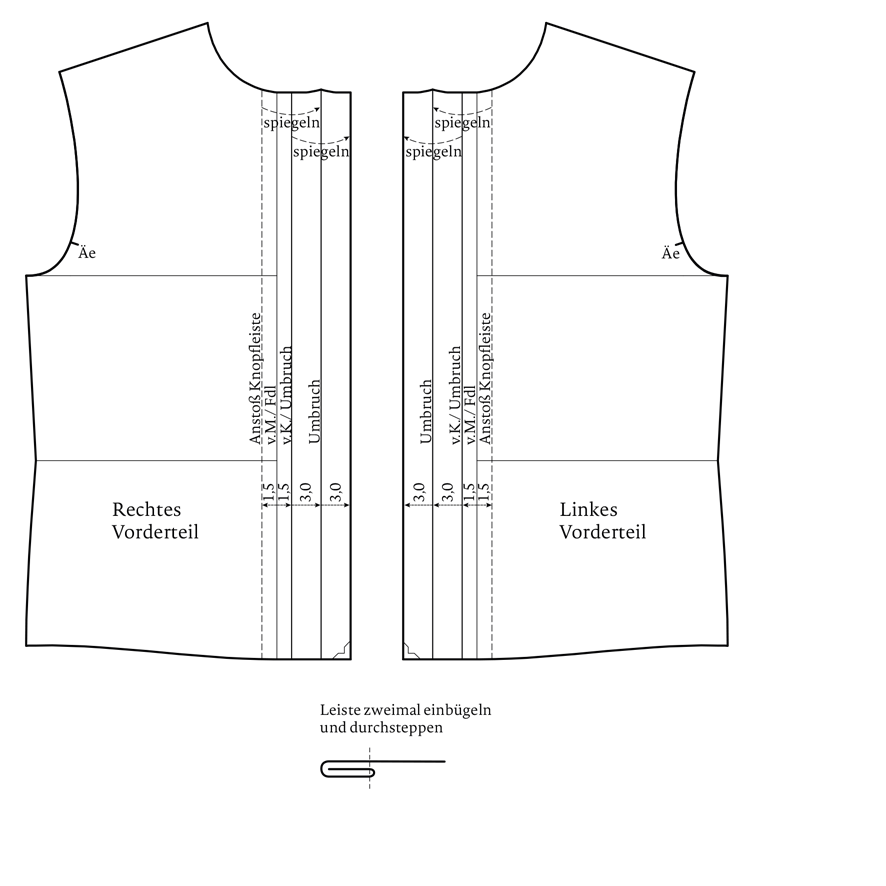
- Add a 1.5 cm overlap to the front centre for a 3.0 cm wide button placket. Remove the same width parallel to the back (abutment line strip). Mark the impact of 3.0 cm parallel twice at the overlap. Fold the button placket (fold) and draw in the folded roofs. The grain runs parallel to the centre front.
Sewing
- The button placket is the same on the upper and lower steps. Fix the strips with inlays, iron over twice and topstitch with tight edges. Work in buttonholes and buttons.
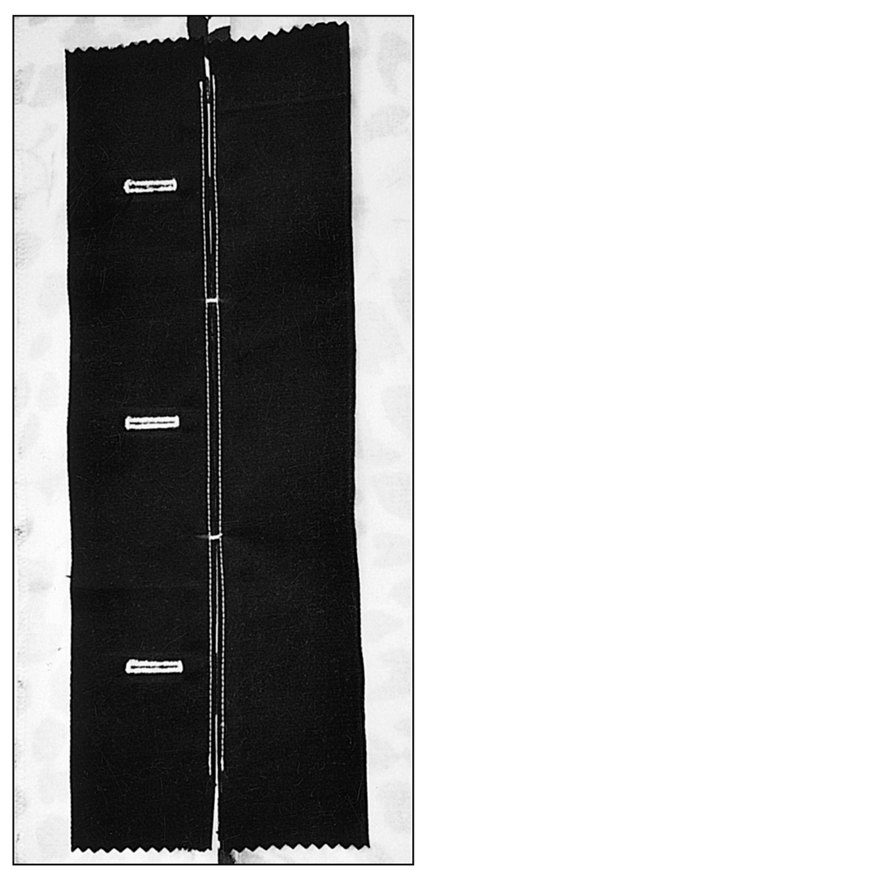
Button placket with pleat
Pattern
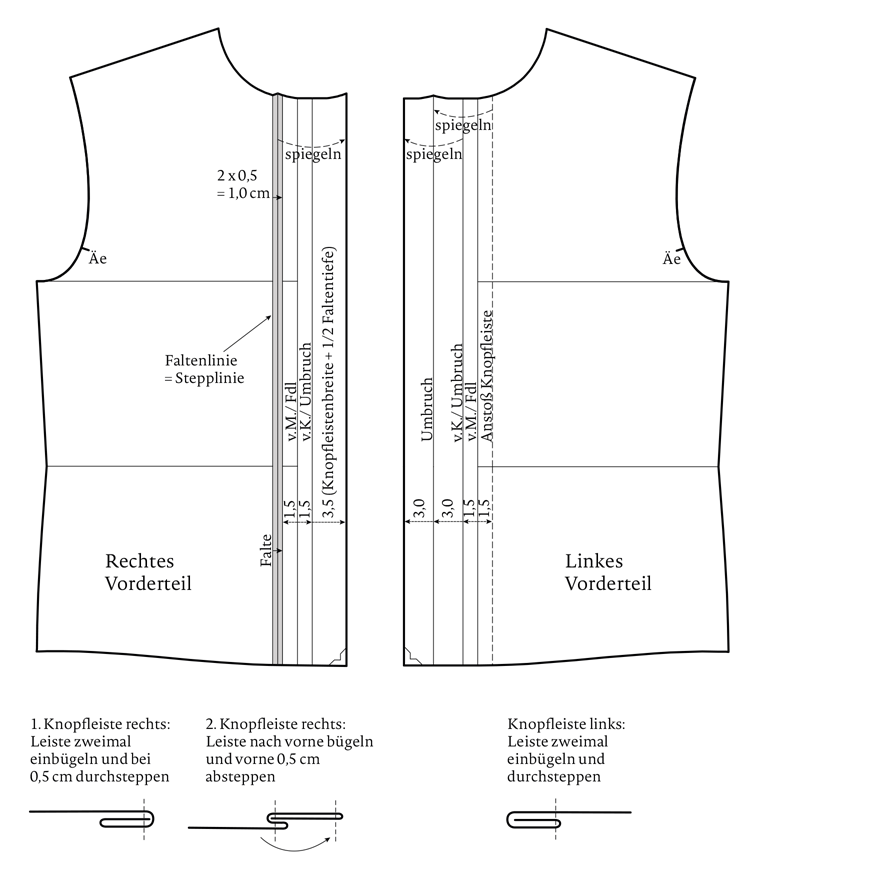
- Add a 1.5 cm overlap to the front centre for a 3.0 cm wide button placket. Remove the same width parallel to the back. Cut off the button placket on the right front part and make two 0.5 cm pleats for the pleat. Put on the separated strip. Then mark the button strip width + 1/2 pleat depth = 3.5 cm (3.0 cm + 0.5 cm = 3.5 cm) parallel to the front edge for the cover. On the left front part, mark half the width of the button strip parallel from the centre front inwards and outwards, then remove twice the entire width parallel to the outside. Fold the button placket (fold) and draw in the folded roofs. The grain runs parallel to the centre front.
Sewing
- Fix the button strips with insert. Fold in the button placket of the right front part (upper step) twice and topstitch at 0.5 cm. The outer edge is in the middle of the pleat. Press the crease to the right. Fold in the strip of the left front part (lower step) twice and topstitch with a narrow edge. Work in buttonholes and buttons. Topstitch the lasts at the front edge again if desired.
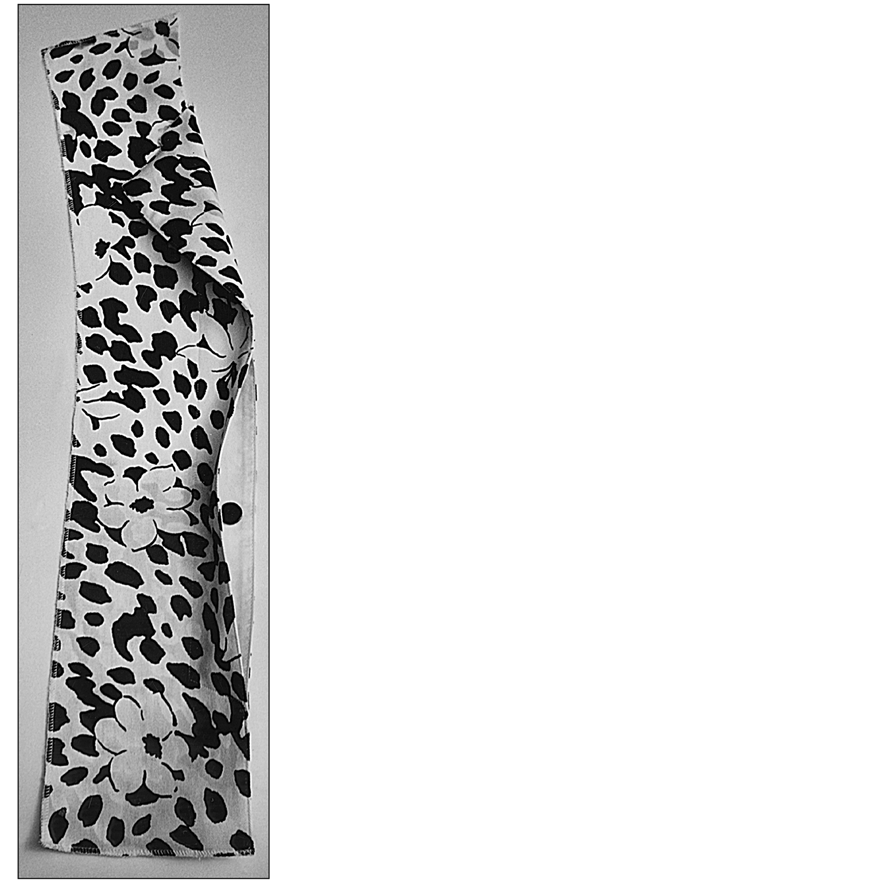
Concealed button placket
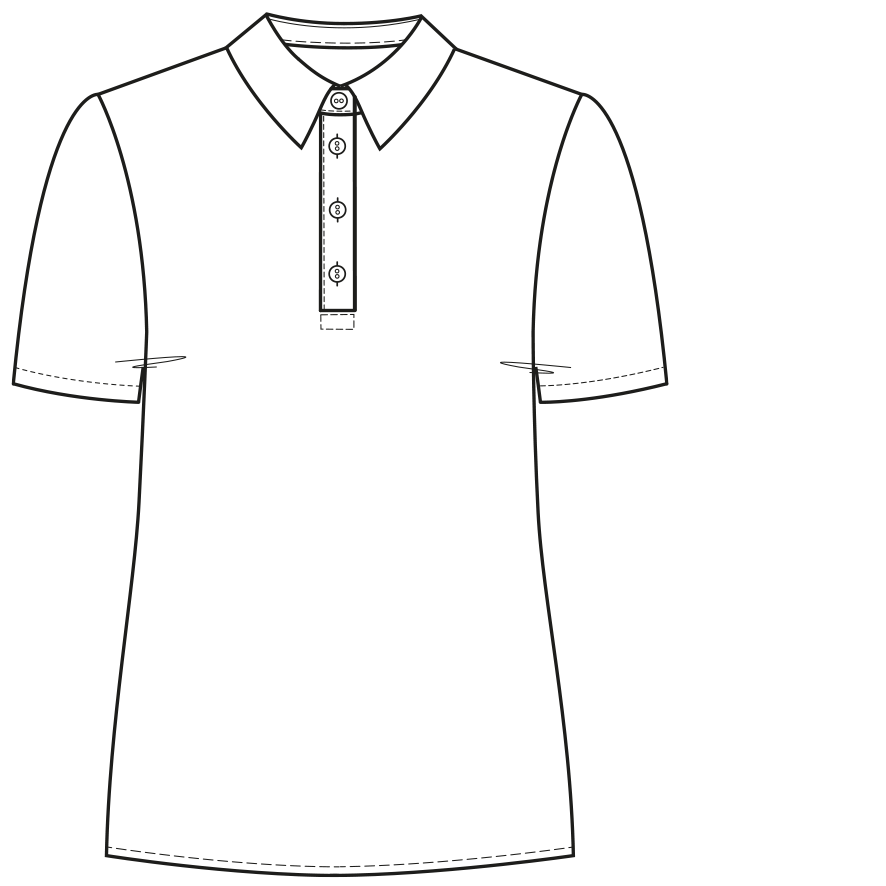
T-Shirt Button Panel
Concealed button placket for voluminous fabrics
Concealed loops – button placket

The look of sporty apparel is unthinkable without a concealed zipper. The ideal alternative for a more elegant appearance is a concealed button placket, a button placket with hidden buttons. The shown sewing techniques are suitable for a variety of different fabrics. The term “hidden closure” has been used in jackets and coats for a long time. Blouses and shirts are also sewed with a concealed button placket (festive models often have invisible buttons). Also, the trouser department has always used this variant.
Concealed button plackets are always desired. They arose in the uniform area in the 17th century. With the weapon development, the sumptuously buttoned uniforms faded for practical reasons, as they obstructed the strap. The first pattern for a uniform with concealed button placket appeared around 1650. The world of Biedermeier also used this closure optic. The concealed button placket was also sewn to the elegant frock coats. They became a fashionable play for smooth fronts. Fashion and function are closely connected. The zipper has replaced the hidden button for a long time. Patterns with concealed plackets have become increasingly important over the past few seasons. The buttons are subject to new expectations. While simple, unobtrusive buttons, where used in the past, they’re now as valuable as the outer button. From real horn to metal, the button under the concealed placket plays along. Even lasered, with a label or poured out, a small button artwork is concealed, which, of course, comes for retribution when worn open. In our tutorial we show you how to professionally sew a concealed button placket and which closure variants you can use. How to construct the pattern for the button placket to the finished pattern you can read in the M. Müller & Sohn books.
This article is an excerpt from the book Atelier – Fachwissen aus der Praxis – Teil 1. In this book you will find many more sewing instructions and inspiration for textile design.
Sewing Instructions: Classic, Concealed Button Placket
A good transition to the lapels is given with the intervention for the concealed button placket directly at the edge. This variant is suitable for sewing light and medium weight fabrics and can be used for multiple uses. Back pattern, front pattern, placket and front facing are cut to size, fixed and leveled as usual. Before sewing, evaluate if and where interfacing is needed. It likely is in any lightweight fabric to support the buttonholes. The first and last buttonhole should be sewn with a distance of at least 4 cm before the respective end of the button placket.
Concealed button placket
- Turn over both edges with color-matched or contrasting, densely woven material. The width is approximately 6 cm plus seam allowance. Note the buttonhole length and the two-sided edge space of 1.5 cm. Turn over the marked access lengths and select the buttonholes so the buttons remain hidden from the edge after closing. Then close the facing and front pattern downwards and turn over the lapel. Before the edges are ironed on the fold, the access lengths are topstitched with a recommended width of 2 mm. In the middle of the buttonholes’ distances, both edges are connected with handmade ties. They are not visible on the right. Sew the inner facing at the top and bottom.
- After ironing, continuously topstitch the edge. Sew together all parts approximately 1 cm behind the buttonhole end. The stitching line is sewn from above to 2 cm before the lapel break and is thus covered, at the bottom it runs diagonally to the edge. The access of the button placket begins just below the lapel break. The length is determined by the model.
Sewing instructions: Concealed button placket with turned- over edge
Whether poplin, flannel or fine canvas: this concealed button placket with turned- over edge is particularly suitable for sewing such fabrics.
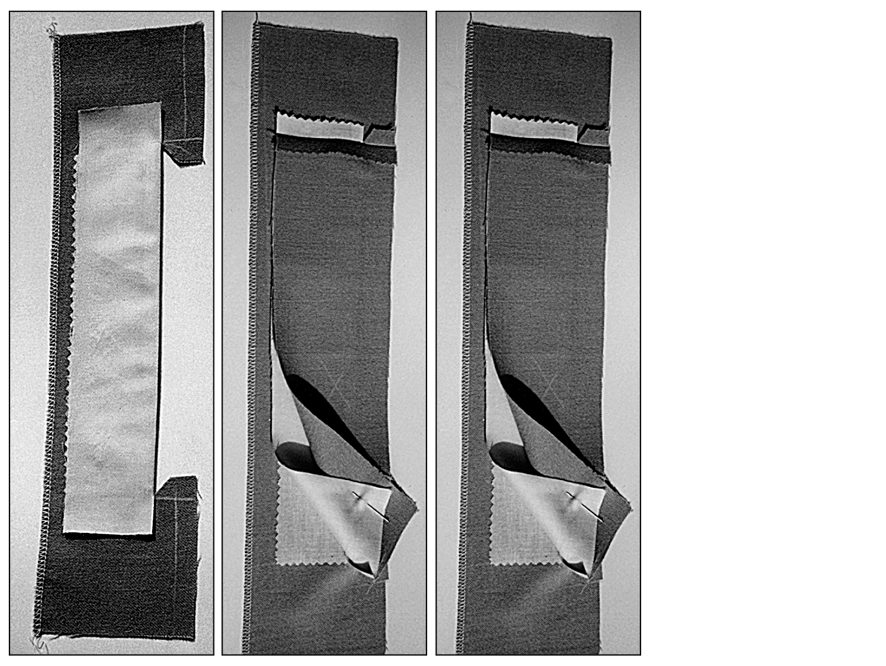
- Depending on the model, the length of access is marked and the depth is drawn at approximately 1 cm. Observe the distance from the first and last buttonhole to the respective end of access. It should not be less than 4 cm. Use interfacing to support the buttonholes. The facing requires a minimum width of 9 cm, calculated from edge distance, buttonhole length, about 1 cm clearance to the stitching line and required width to sew the lining.
- Process the underlap with 7 cm width plus seam allowance. For a balanced edge processing, the seam is ironed out. Mark the and sew buttonholes. Lock the middle of the individual buttonhole distances (sew crosswise), i. e. connect over- and underlap on the facing.
- Turn over the front piece and the facing at the edge and trim the seam allowance layered. Sew all parts, including the intervening ones together at about 1 cm behind the buttonhole end. Let the stitching line run out at the edge.
Sewing instructions: Concealed button placket with loops
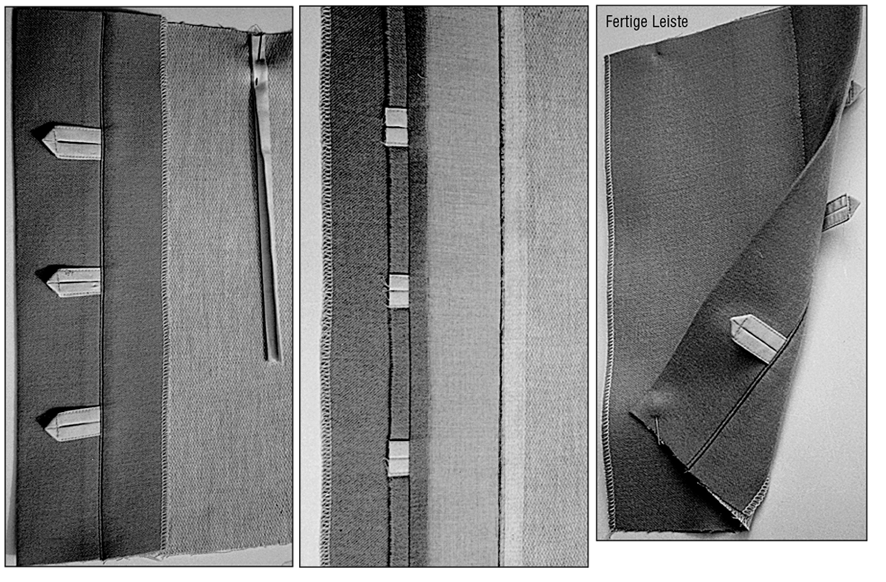
The loop should be made of color matching and durable material, e.g. lining, poplin, etc. Cut 3 cm wide – length as needed – and press in half first. Then press the cut edges to the middle and edgestitch together. A suitable double-use band can serve the same purpose.
TIP: If you do not want seams in the facing, the loops can also be sewn on the entire facing width. For this process, a strap is attached to the required buttonhole length and the remaining length is stitched on the facing. The stitching line is invisible on the right.
Sew a button:
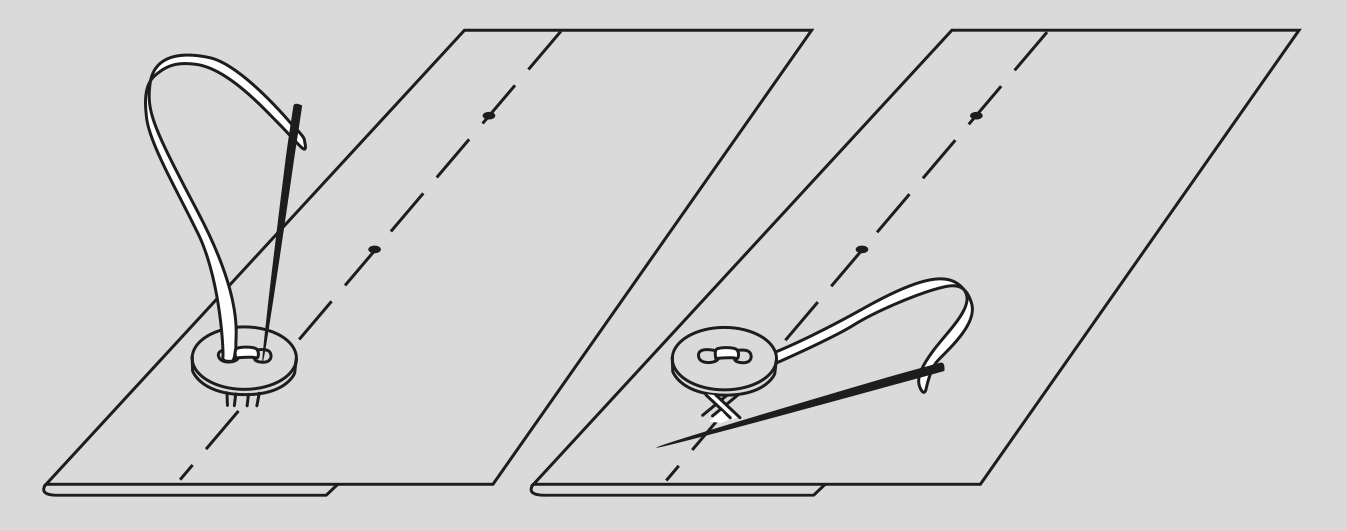
How to sew the button correctly on the placket is explained in our article Sew on a button > Knopf annähen
Tutorials and sewing patterns for blouses, shirts, dresses, jackets and coats with button placket can be found in our online shop.
Is this pattern available in english
Hello Olivia, we offer several patterns for women’s blouses in our onlineshop. Please have a look: https://www.muellerundsohn.com/en/shop/pattern-womens-apparel/