
Sewing a Piping Buttonhole
Deutsch

A piped buttonhole is a little more complicated to sew, but it adds a lot of value to a jacket or coat. This buttonhole can be sewn from the same fabric as the garment. The piping can also be made of another fabric or leather. With a contrasting piping for example, the garment quickly becomes an extravagant eye-catcher. In this article we will show you how to sew this especially noble buttonhole professionally.

Discover M. Müller & Sohn Magazine as a digital edition on your smartphone, tablet and desktop computer.
The application of a certain technique in the production of a piped buttonhole is based on the model and material. As with all buttonholes, the size and number of buttons must be determined before drawing. The best-known piped buttonhole is worked with a piping strip. It is drawn in on the right side of the fabric and sewn on the interlining side in consideration of the thread run and/or pattern. Once the size and division have been determined, the buttonholes can be drawn in and transferred. For thin fabrics a piping width should be approx. 2.0 – 2.5 mm. Cut the piping strip 4.0 cm wide and about 2.0 cm longer than the finished buttonhole in the diagonal thread run. For very thin fabrics the piping can be reinforced with a light interlining, e.g. with H200 from Vlieseline.
Sewing Instruction Piping Buttonhole
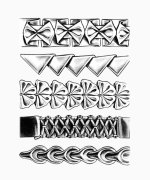
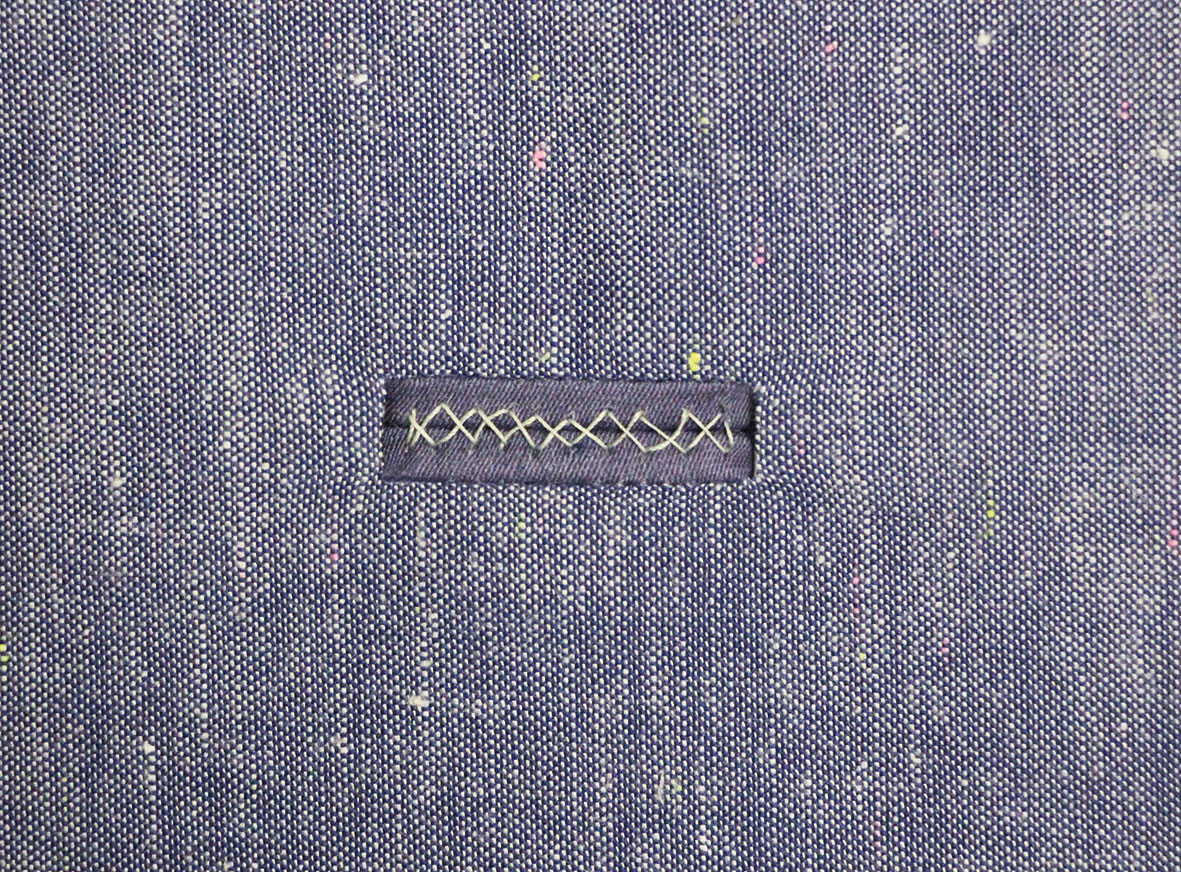
- 1. Mark the length and width of the finished piping on the left fabric side of the piping. Place the piping right on right on the outer fabric. Fix the fabric.
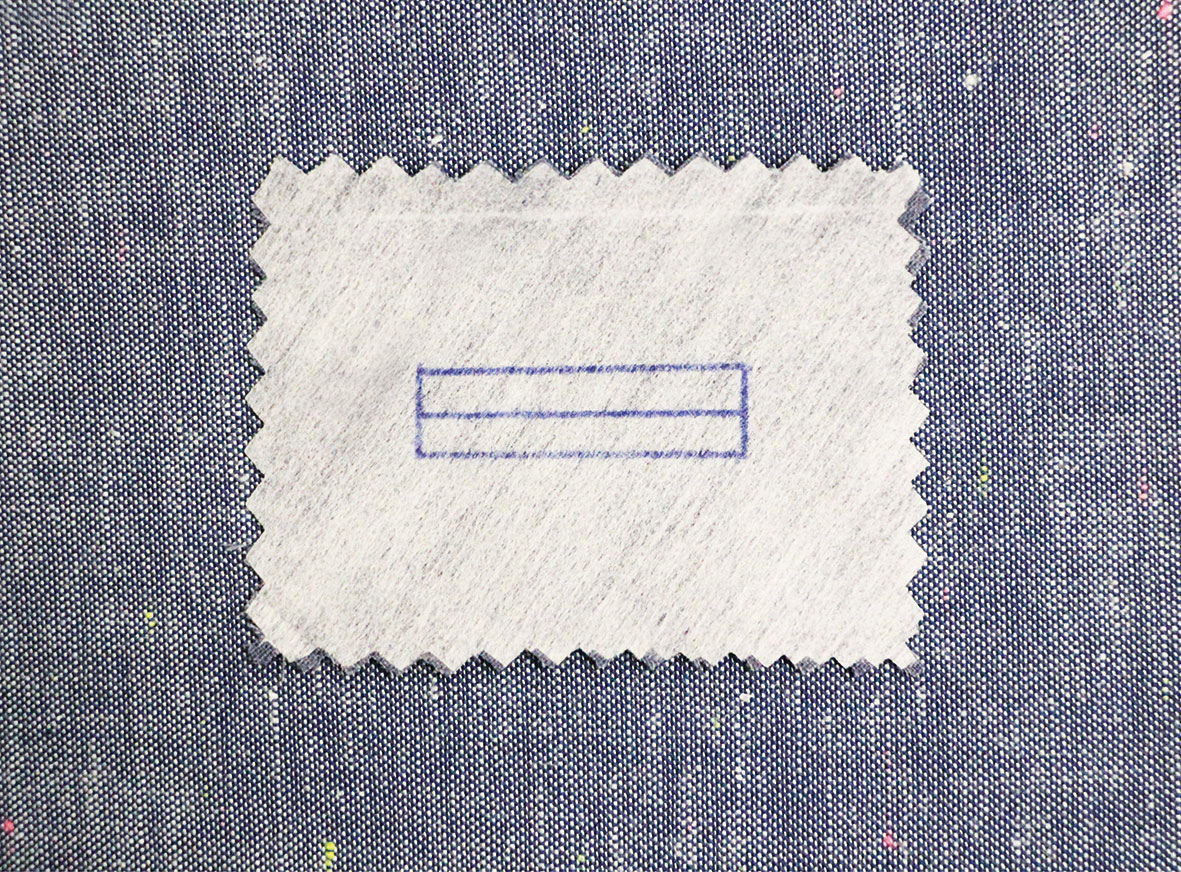
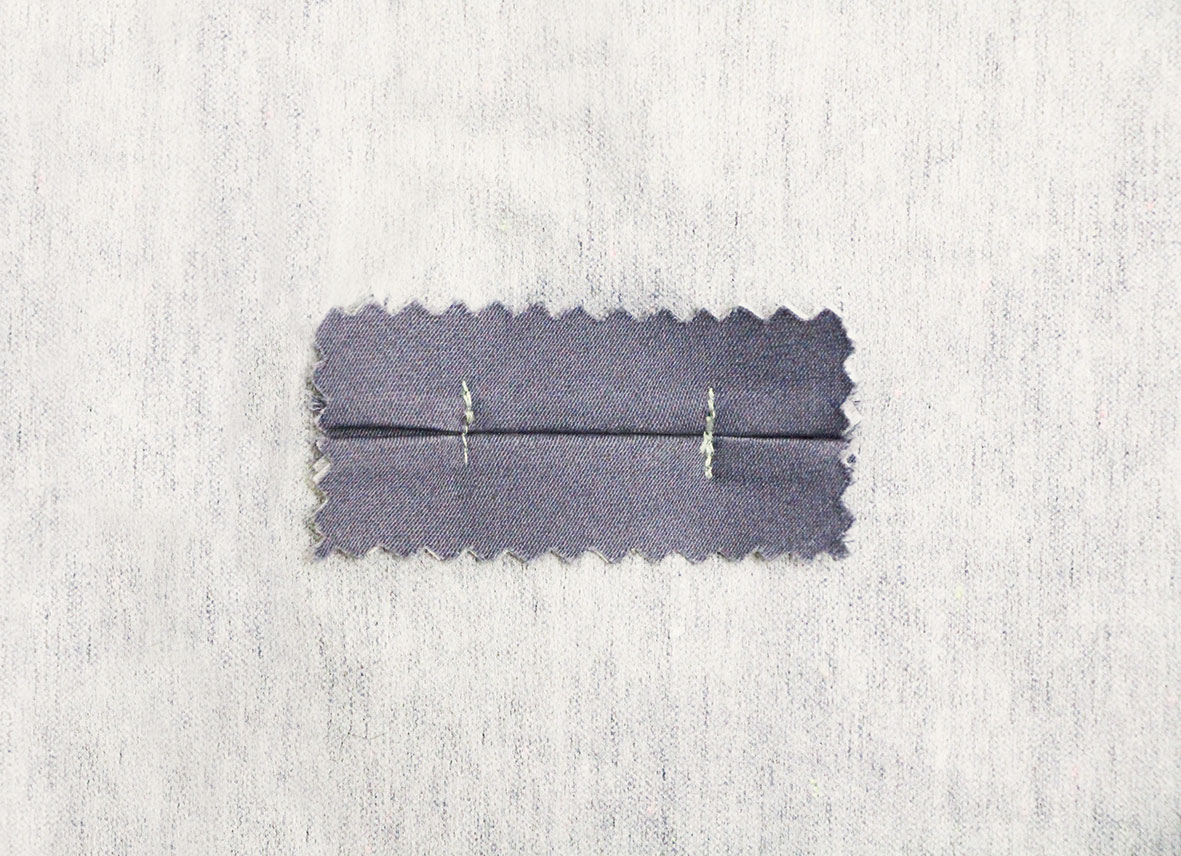
- 2. Topstitch the rectangle with small stitches. Start at one long side and sew the corners exactly out. Mark the incision lines.
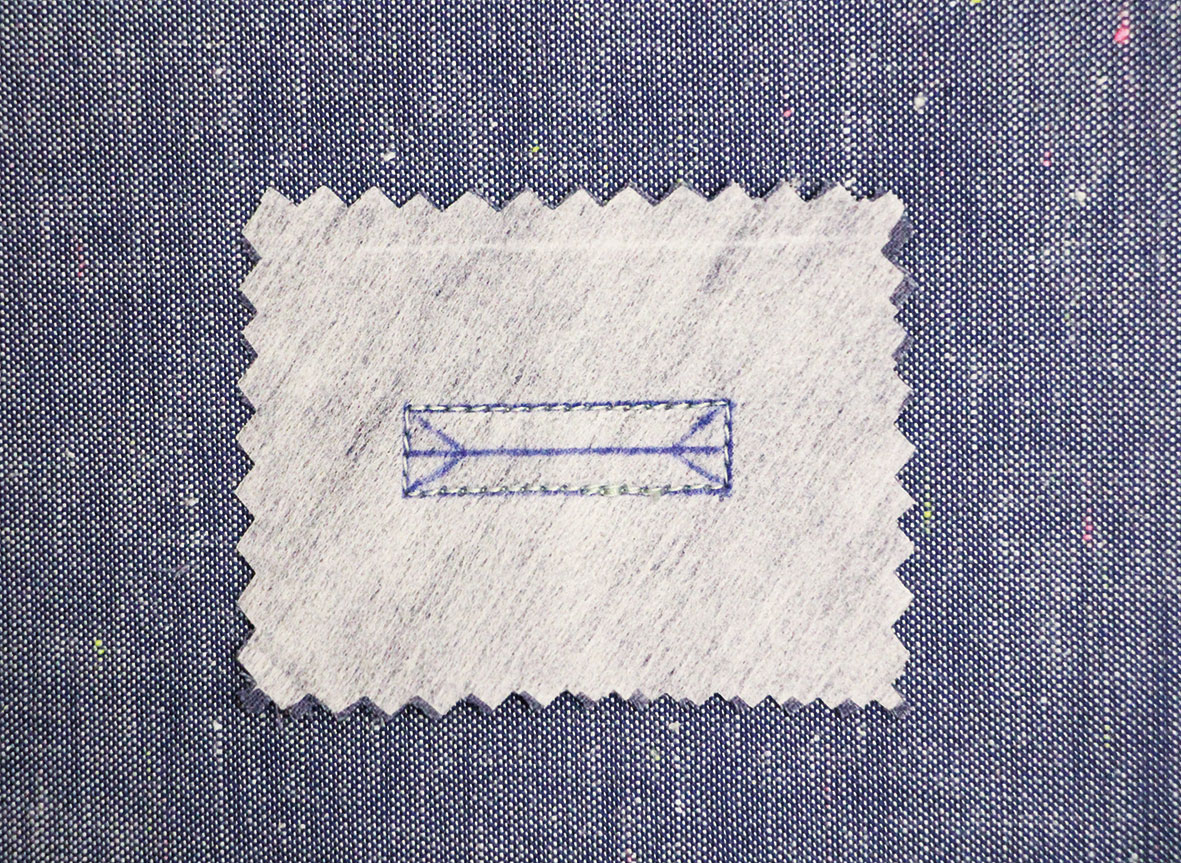
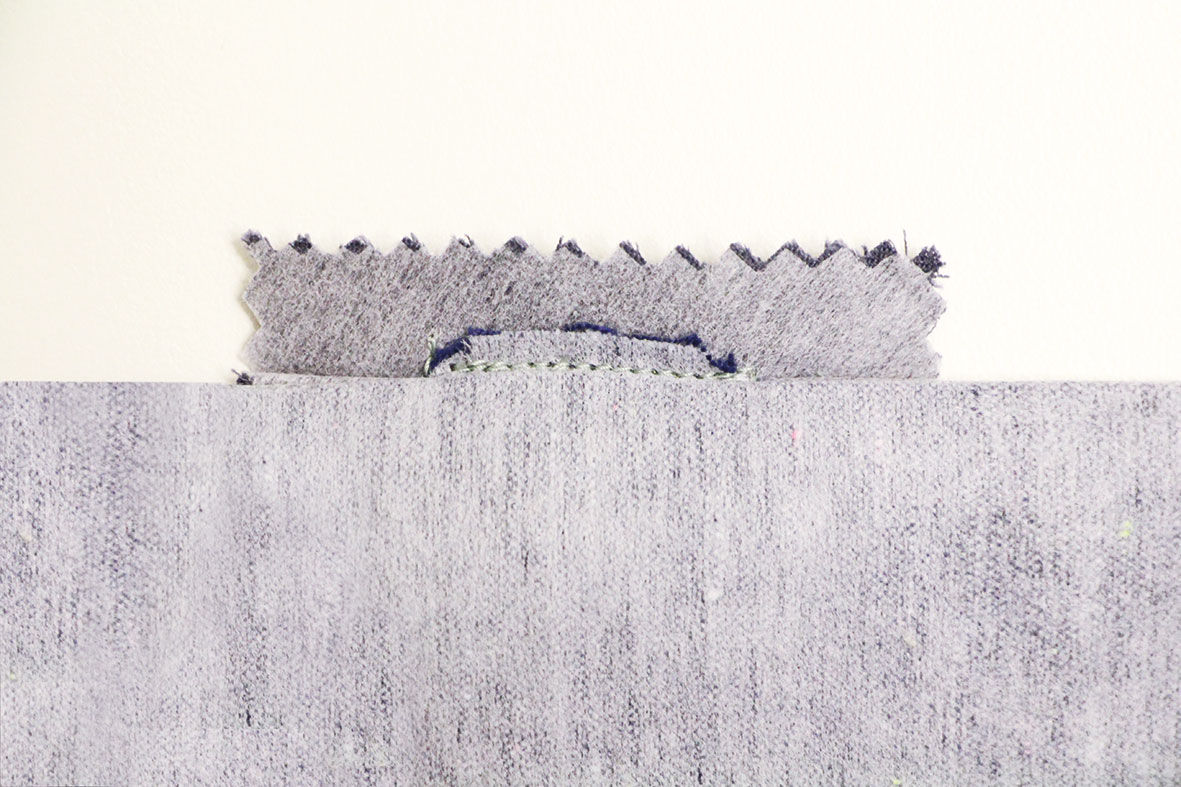
- 3. Cut the middle incision line and each corner. Cut the piping through the resulting opening on the left side of the fabric turn and iron. You get a rectangular opening.
- 4. To form the piping, place the long sides of the piping fabric over the opening so that the edges meet in the middle. For this, iron the seam allowances of the long sides fl at apart. To secure the piping and the small triangles on the vertical sides, pin the opening with hand stitches.
- 5. Sew the small triangles on the seam allowance as with the piping.
- 6. Sew the piping on the outside with small but invisible stitches. Alternatively the long sides can be sewn through all layers of the seam allowances.
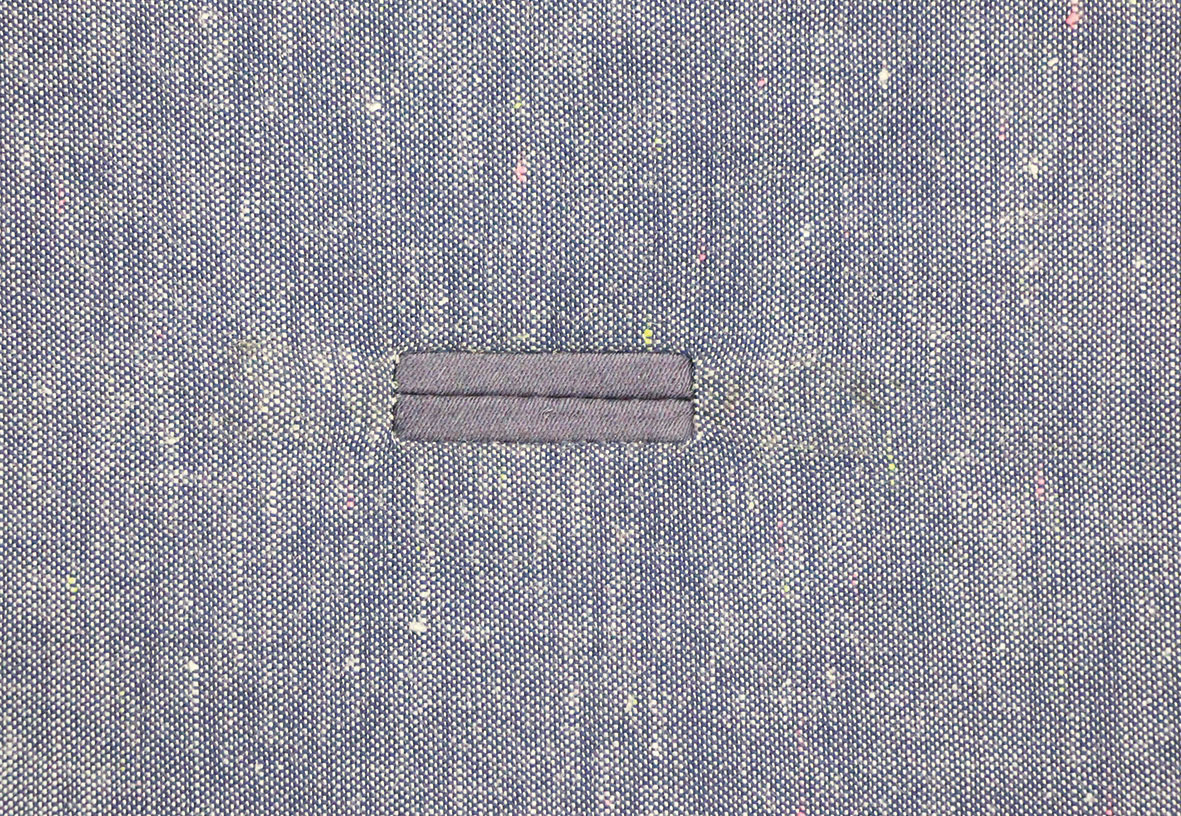
- 7. Iron out the finished piping.
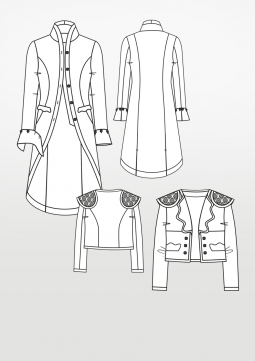
Suitable pattern instructions and patterns for sewing jackets and coats can be found in our online shop.