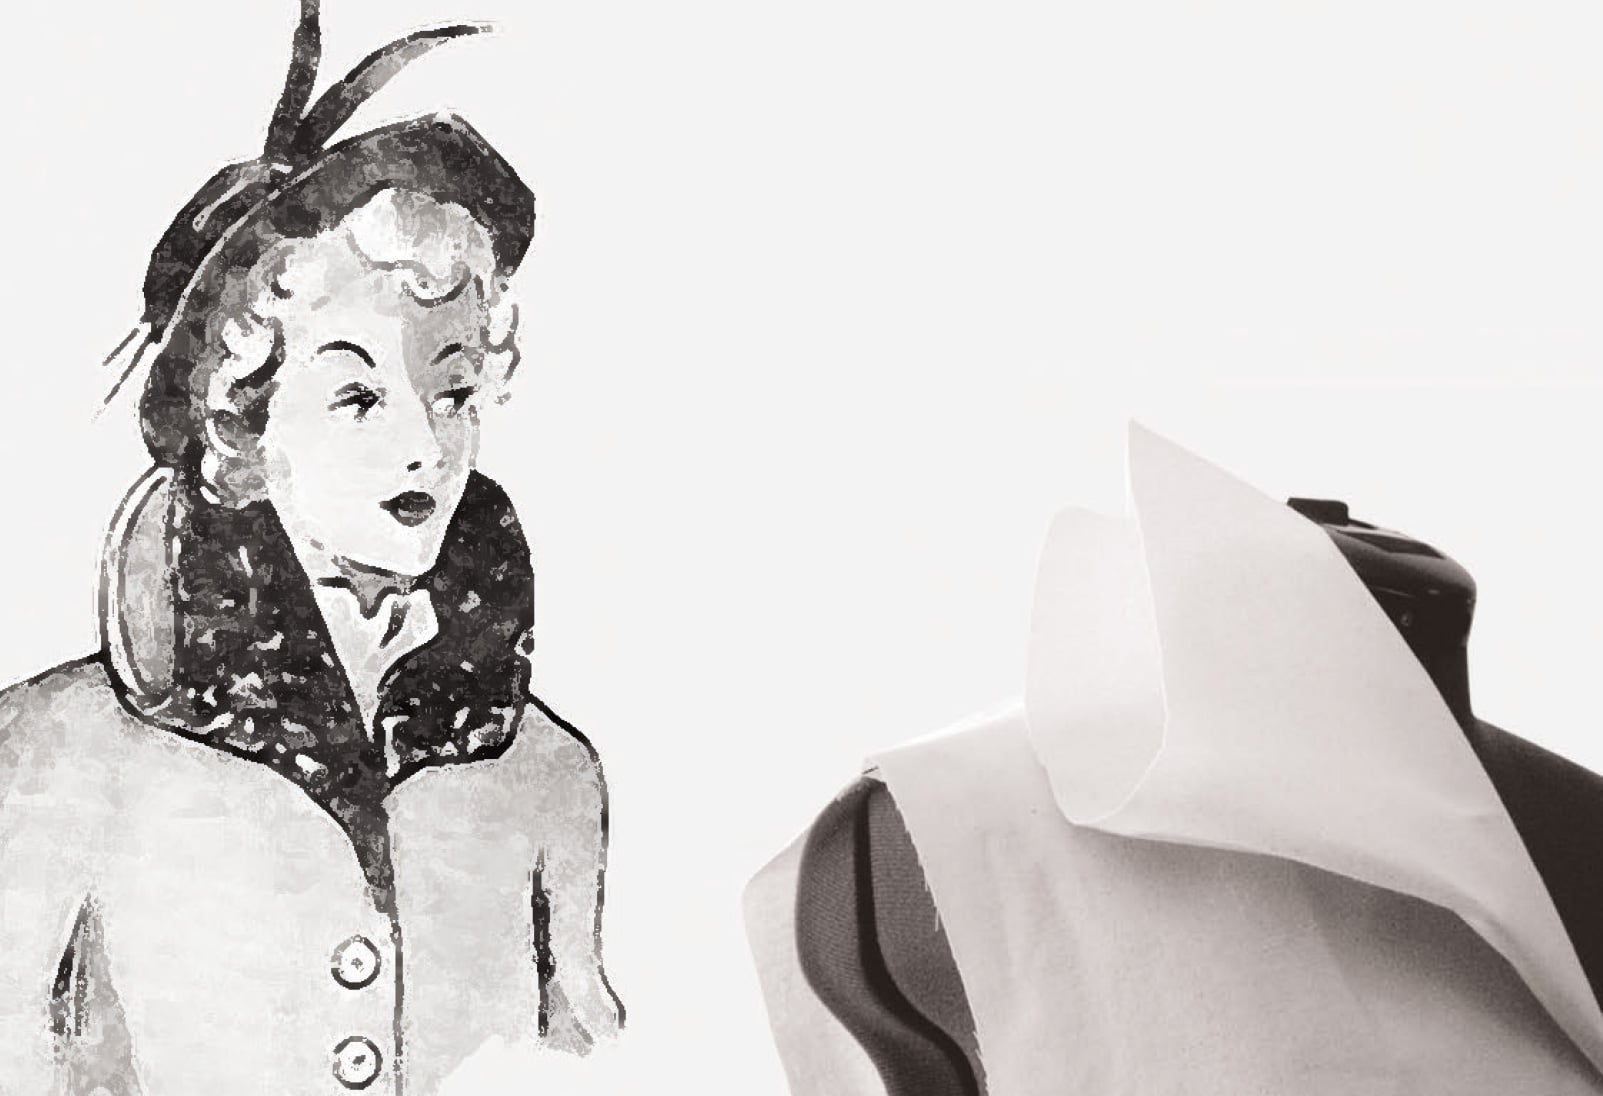
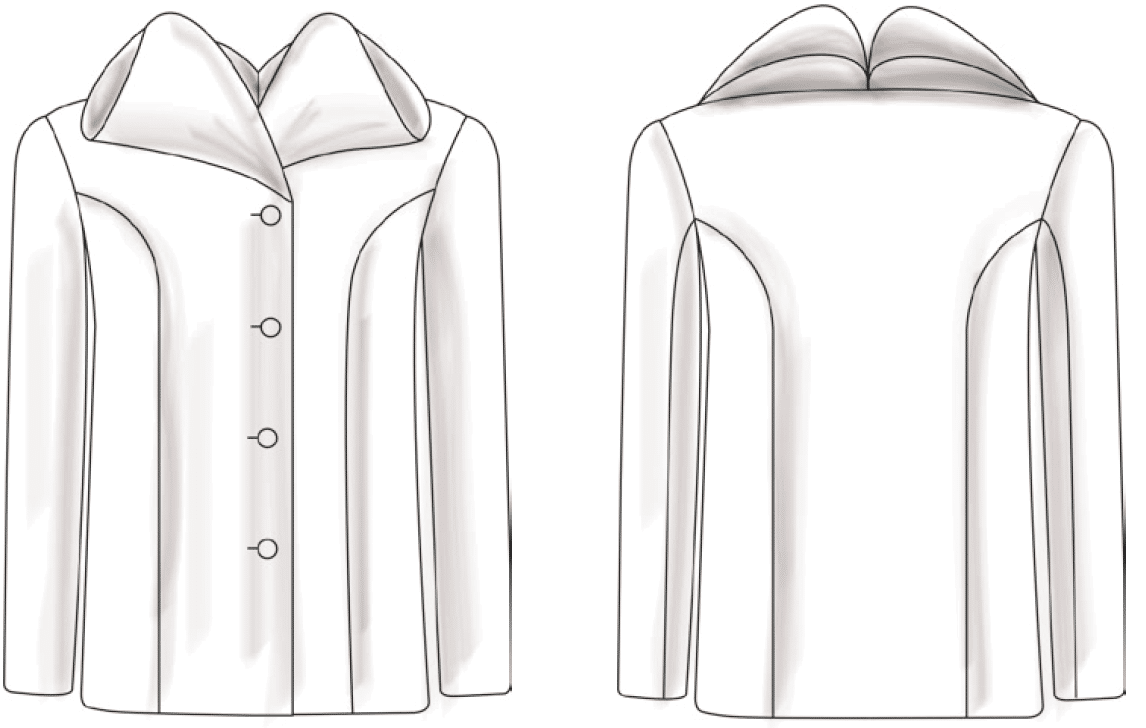
Double Standing Collar in the Style of the 50s
Deutsch
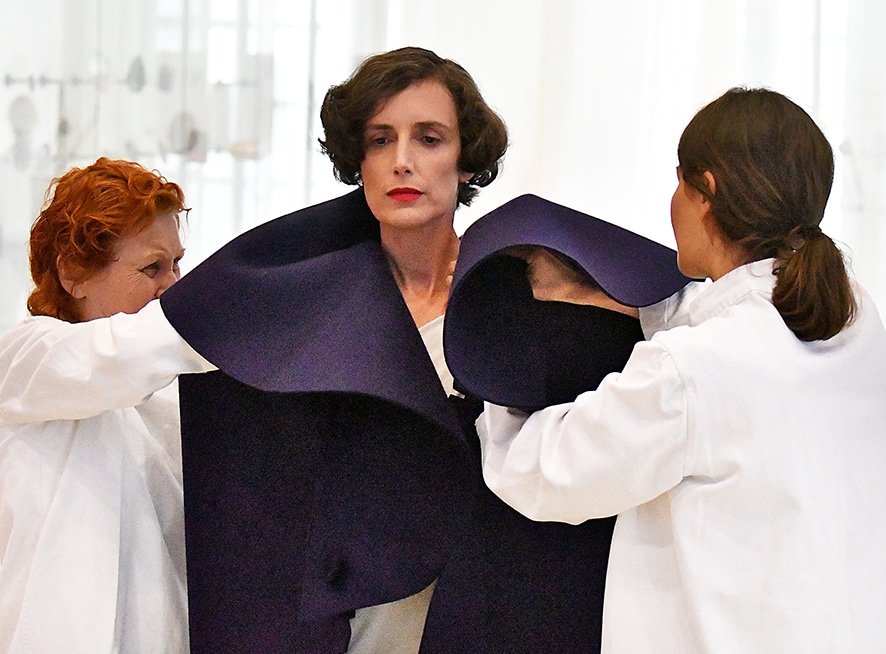
Spectacular collars were modern in the 50s. This design was presented in the periodical “Kleding” section of the Rotterdam Pattern Making School. At this time, “De Rotterdamse Snijschool” was one of the leading technical schools in the Netherlands with 12 branches nationwide and a specialist publishing house. The last periodical “Stijl en Snit in Kleding” was discontinued 1967, but the Tailoring School exists in Rotterdam until today.
Spectacular collars were modern in the 50s. This design was presented in the periodical “Kleding” section of the Rotterdam Pattern Making School.
Find the full instruction in our magazine Rundschau for women 1-2.2018.
Pattern Construction
The drape is very important for the double standing collar. Proportions and design are variable. The key factor for the result is the right choice of a firm fabric Quality.
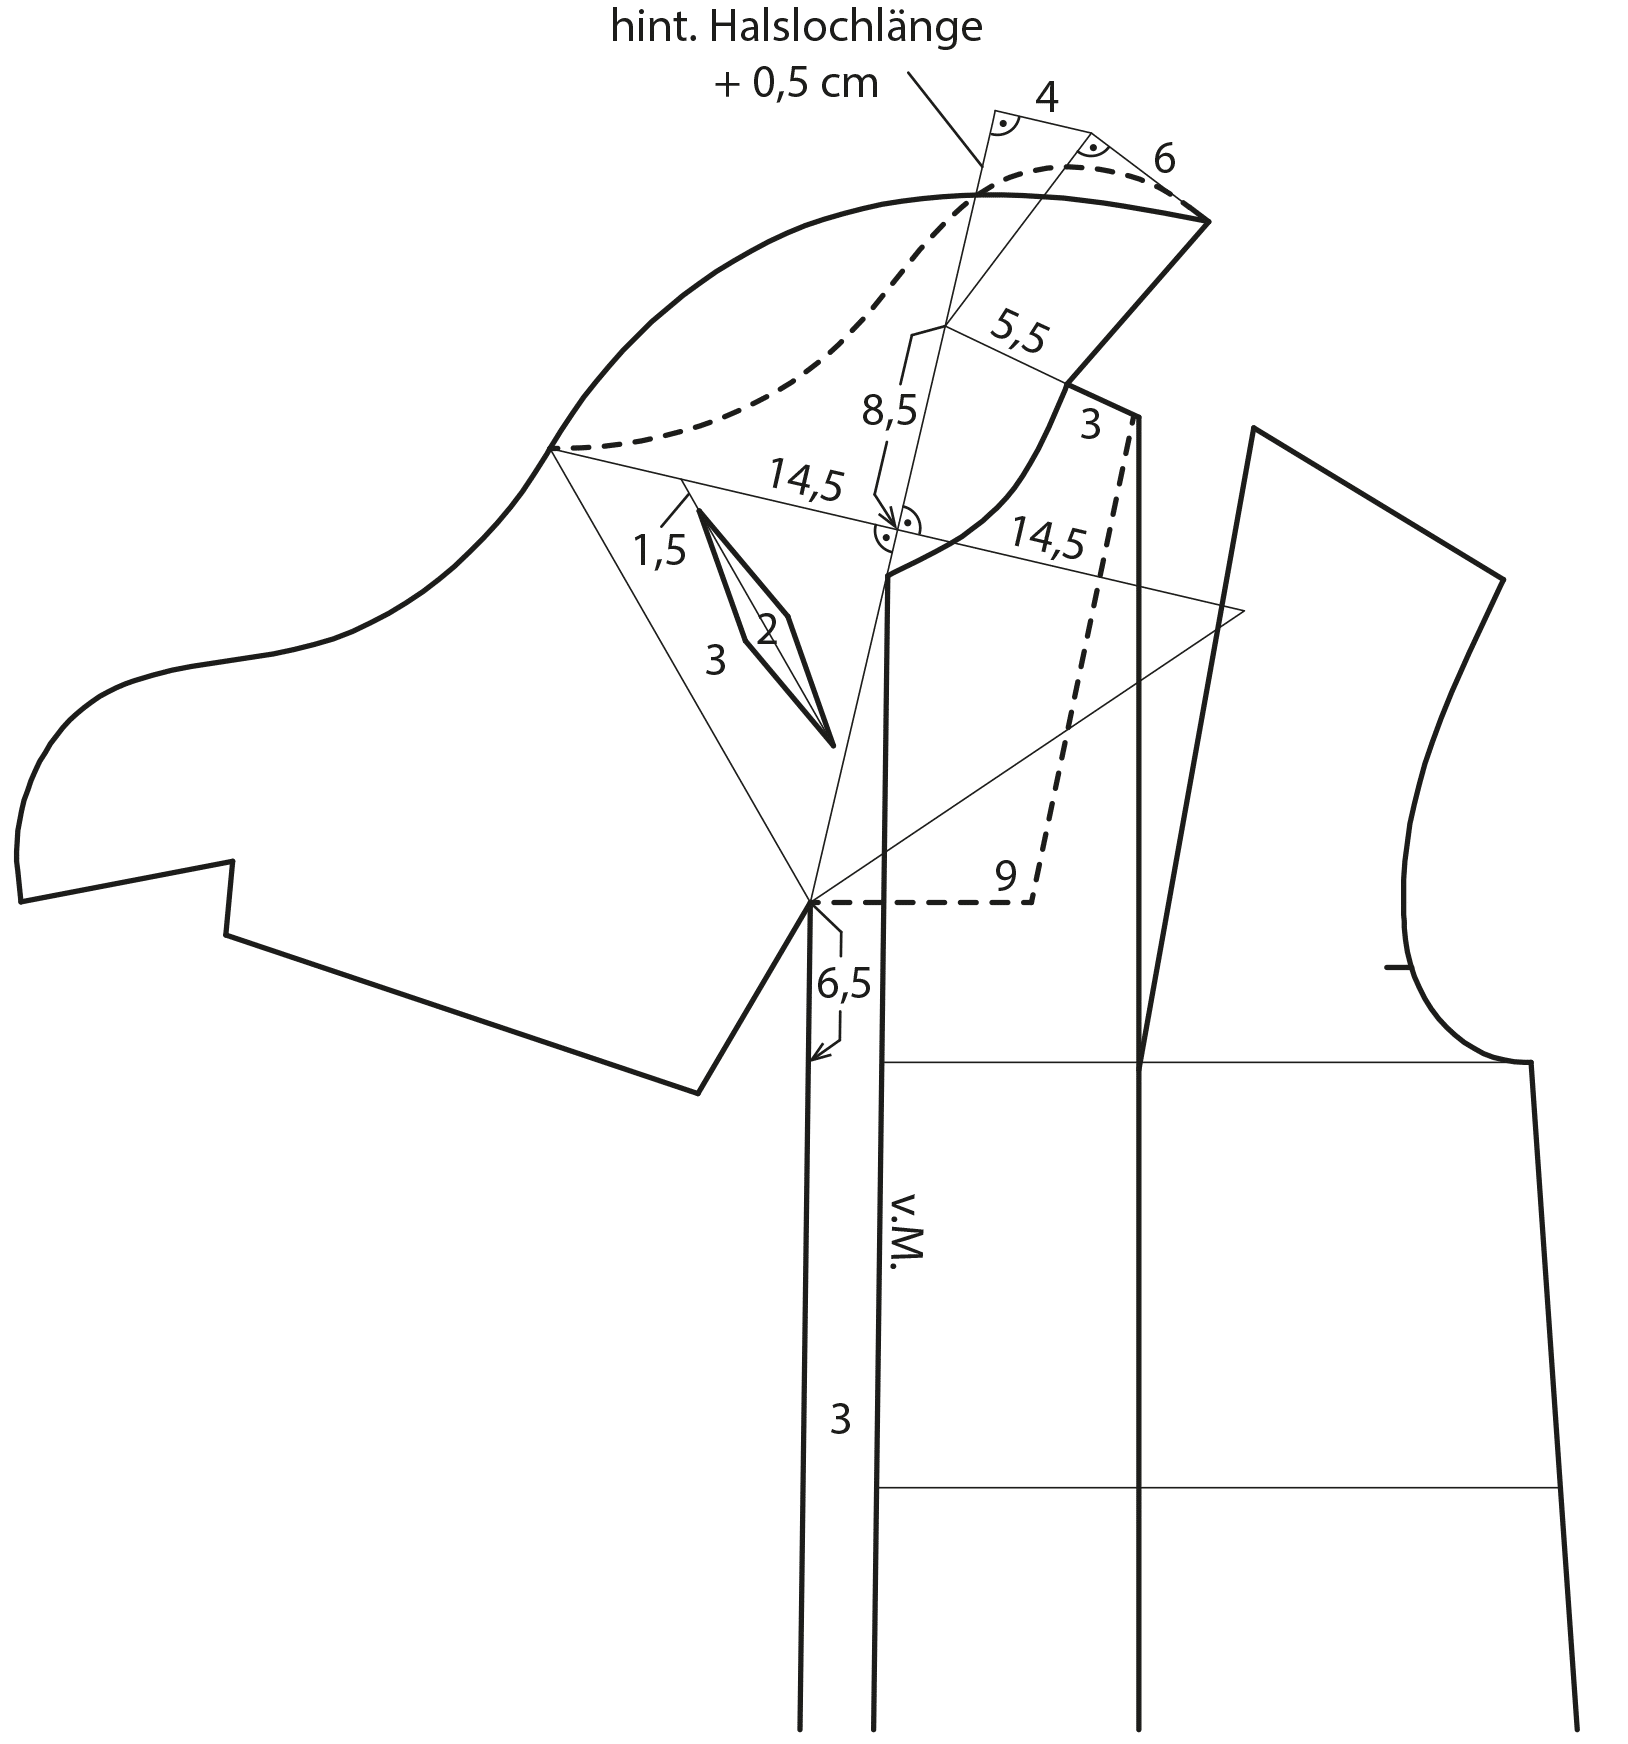
Draw the collar onto the basic coat pattern. Extend the shoulder around the collarstand width minus 0.5 cm (here 5.5 cm). Add 3 cm overlap at the centre front. The overlap ends 6.5 cm above the chest line. Draw the front facing 9 cm wide at the front and 3 cm wide at the shoulder (dashed line).
Draw the lapel break line and extend it around the length of the back neckline plus 0.5 cm. Square out to the right from this point and measure 4 cm. Draw another line to the lapel as shown. Square out to the right and measure 6 cm (collarstand width). Draw a line to the neckline. Mark the lapel width 8.5 cm below the extended shoulder line and draw the lapel width perpendicular to the lapel break. Measure 14.5 cm for the lapel width to both sides. Draw guidelines to the begin of the lapel break at the front edge. Draw the collar edge rounded from the centre back and then hollow (dashed line). The more curved the collar edge is drawn, the greater the contrast in the shape later. Copy the collar part from the facing line to the outer collar edge and place it on the lapel guideline as shown in the illustration. Now finish the collar edge in a beautiful curve. Finally, draw the dart about 11 cm long and 2 cm wide. The distance to the lapel mirror line is 3 cm. The upper dart point ends 1.5 cm below the lapel width. This coat basic cut was changed to a model with flank seams. Add panel seams to the basic coat block.
The shape of the outer edge is the most important element for this collar, which is upper and under collar at the same time. Therefore, it is advisable to make a sample, on the one hand to verify the shape, on the other hand to check the collar fall.
Sewing
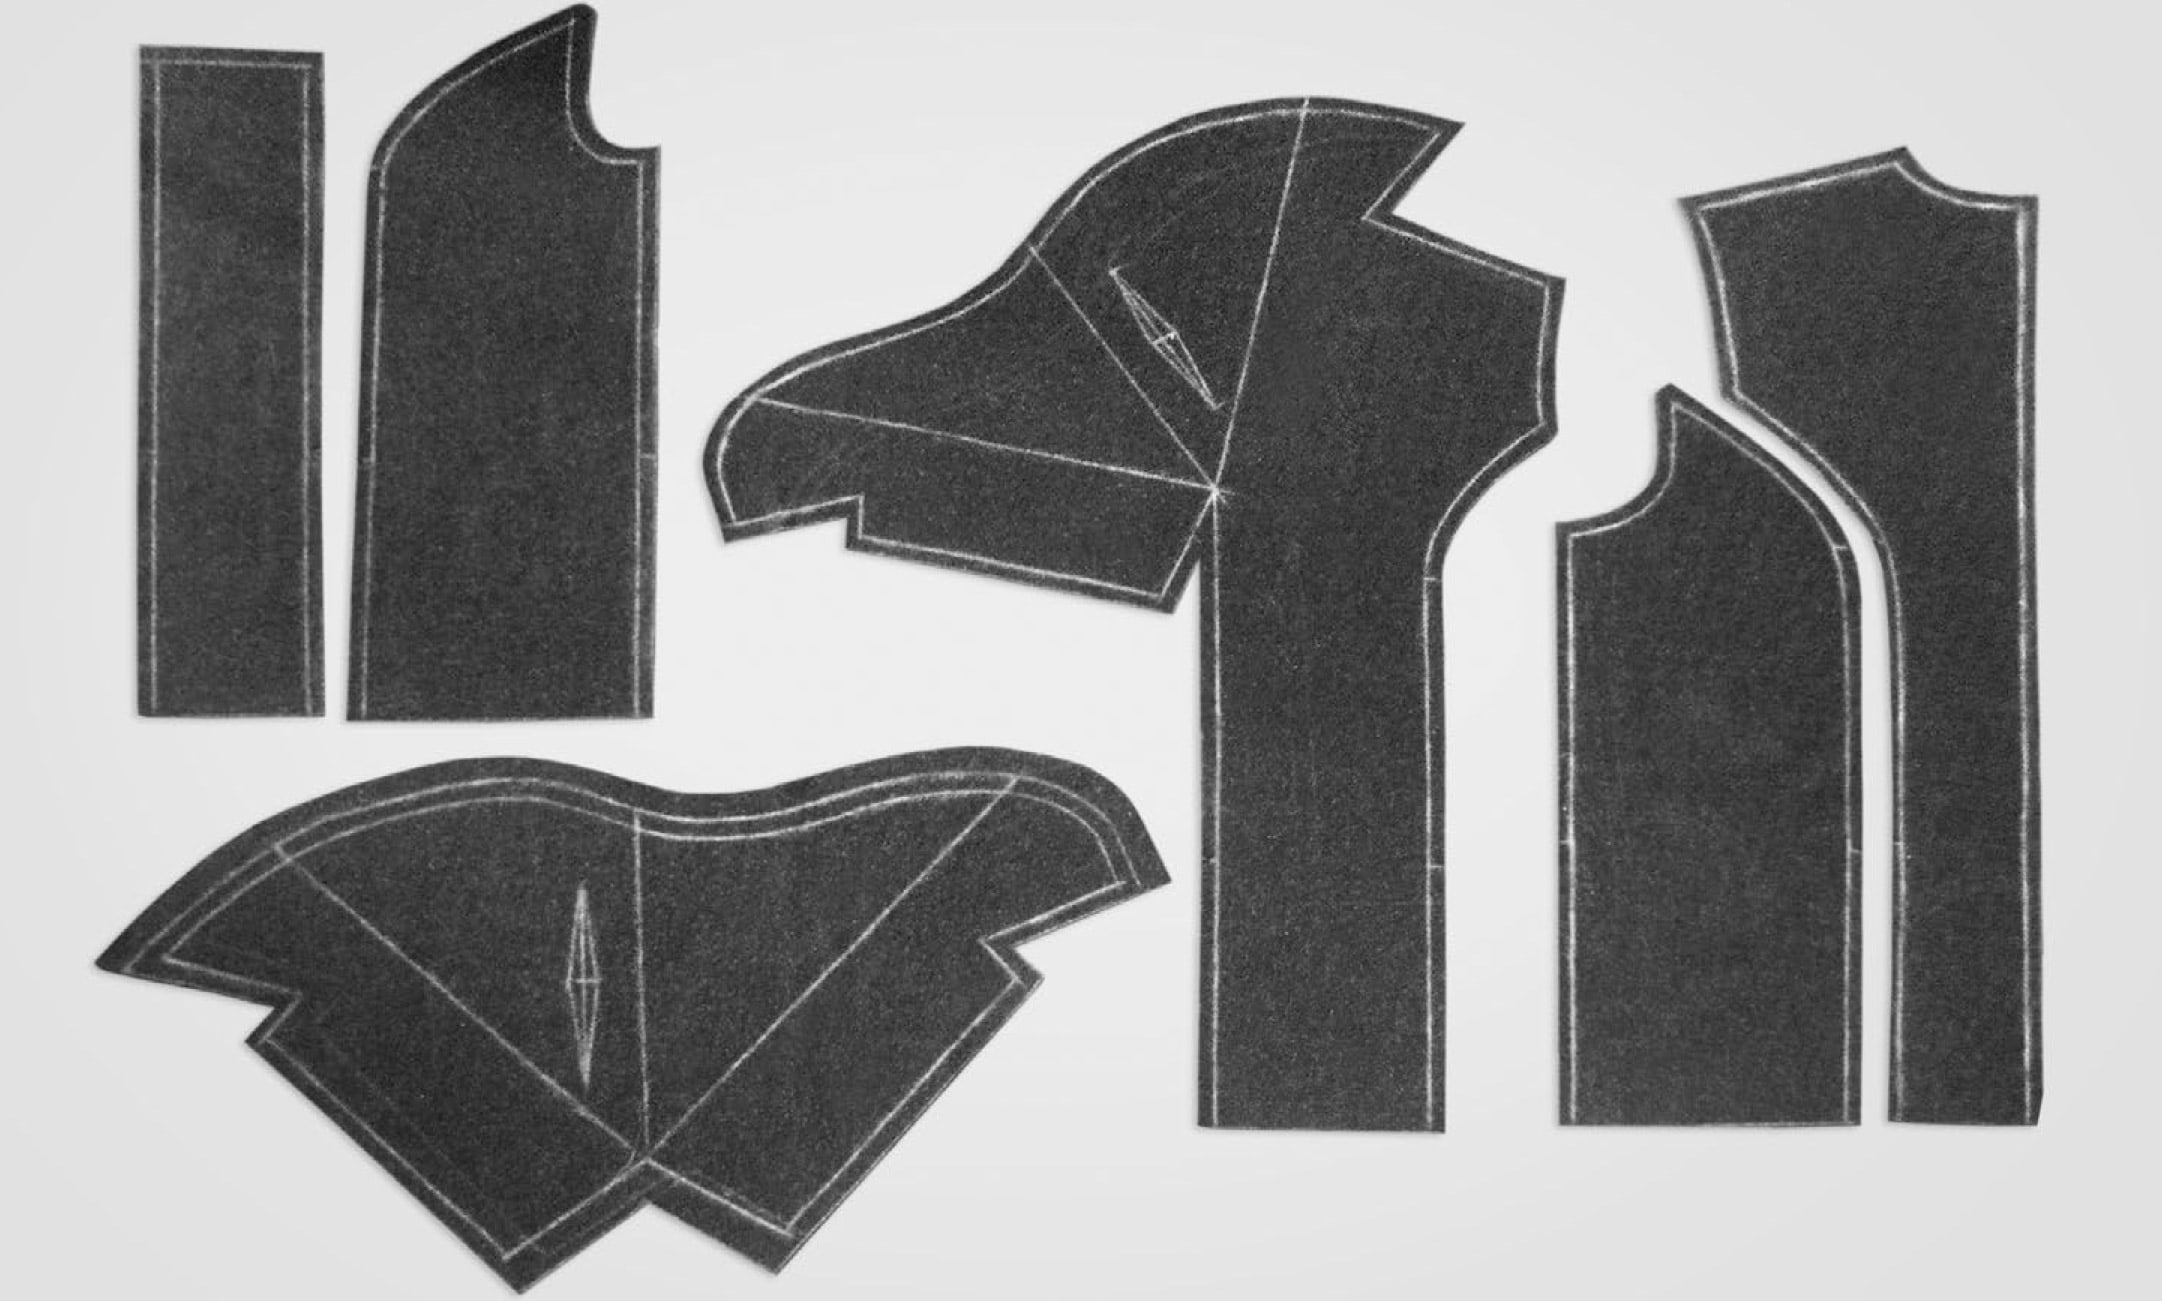
After the sample is approved, cut the finished design pattern from a suitable fashion fabric.
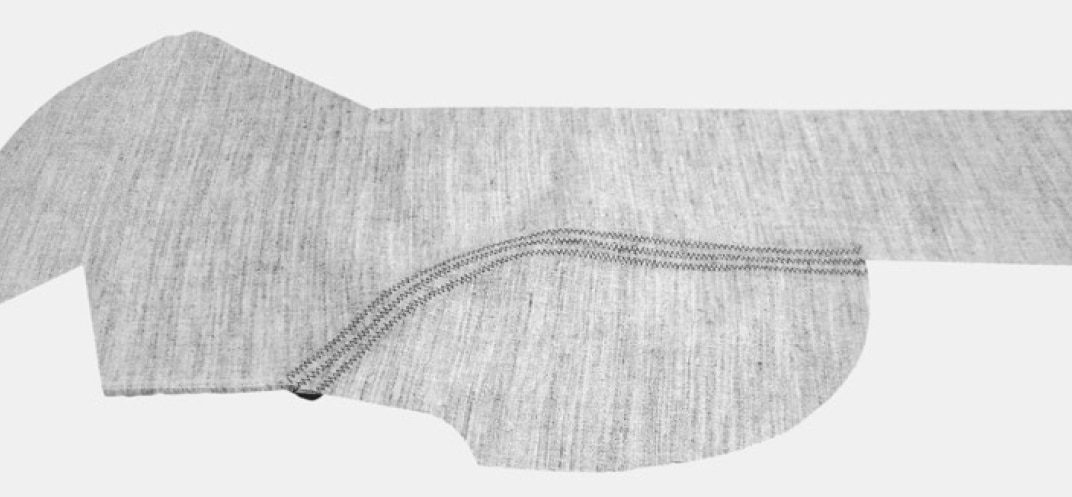
The upper and lower edges of the collar receive more seam allowance, because the fabric shrinks during basting and pressing, and different seamlines meet.
Tailoring techniques of the 1950s were also used for the sewing this design, instead of modern sewing techniques.
1 – 3
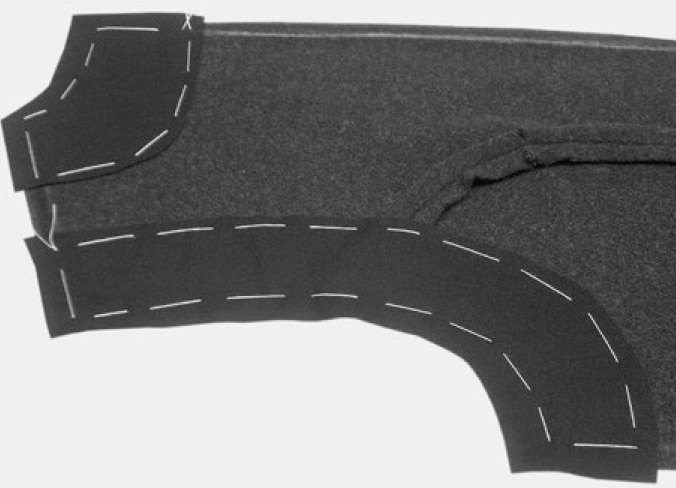
Sew the back panel seams, Reinforce the neckline and the armhole curves with cotton interfacing. Secure the interfacing with cross stitches.
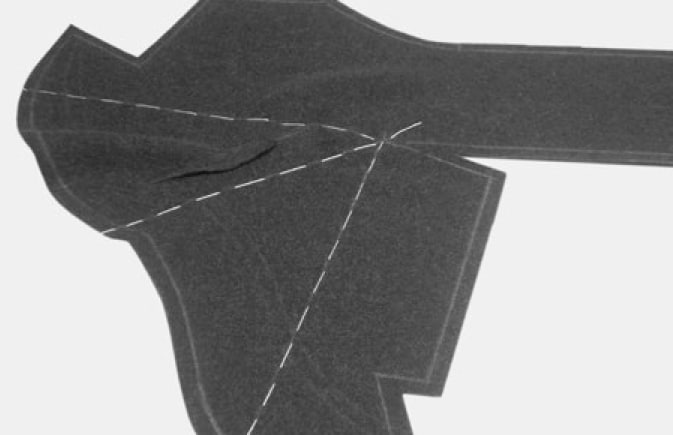

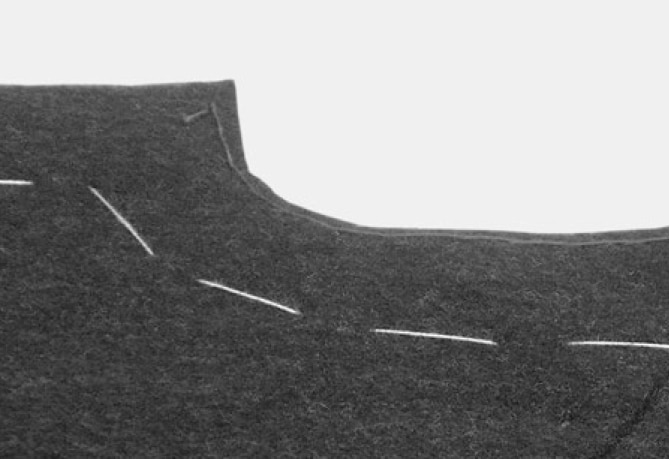
4 – 5
Mark the centre line and the sides of the triangle on the front panel. This is important for the hair canvas. Close the dart, cut through the dart intake and press the seam allowance open. Sew the front panel seams.
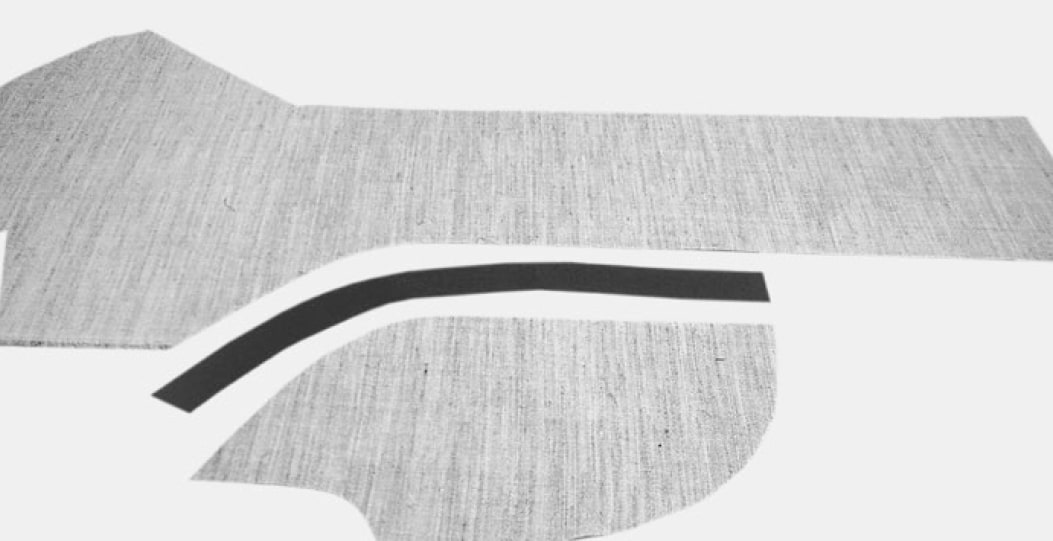
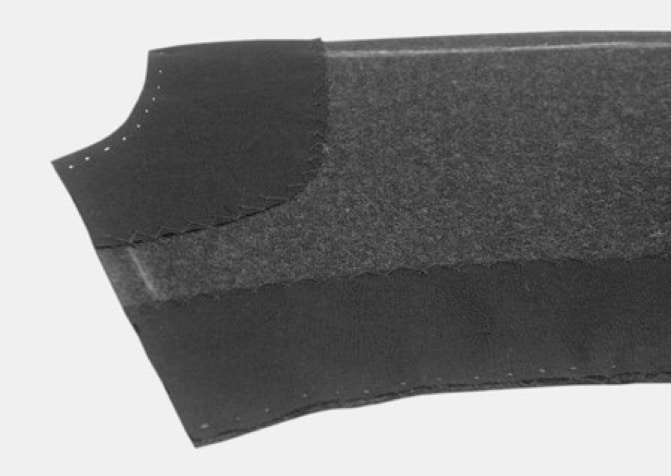
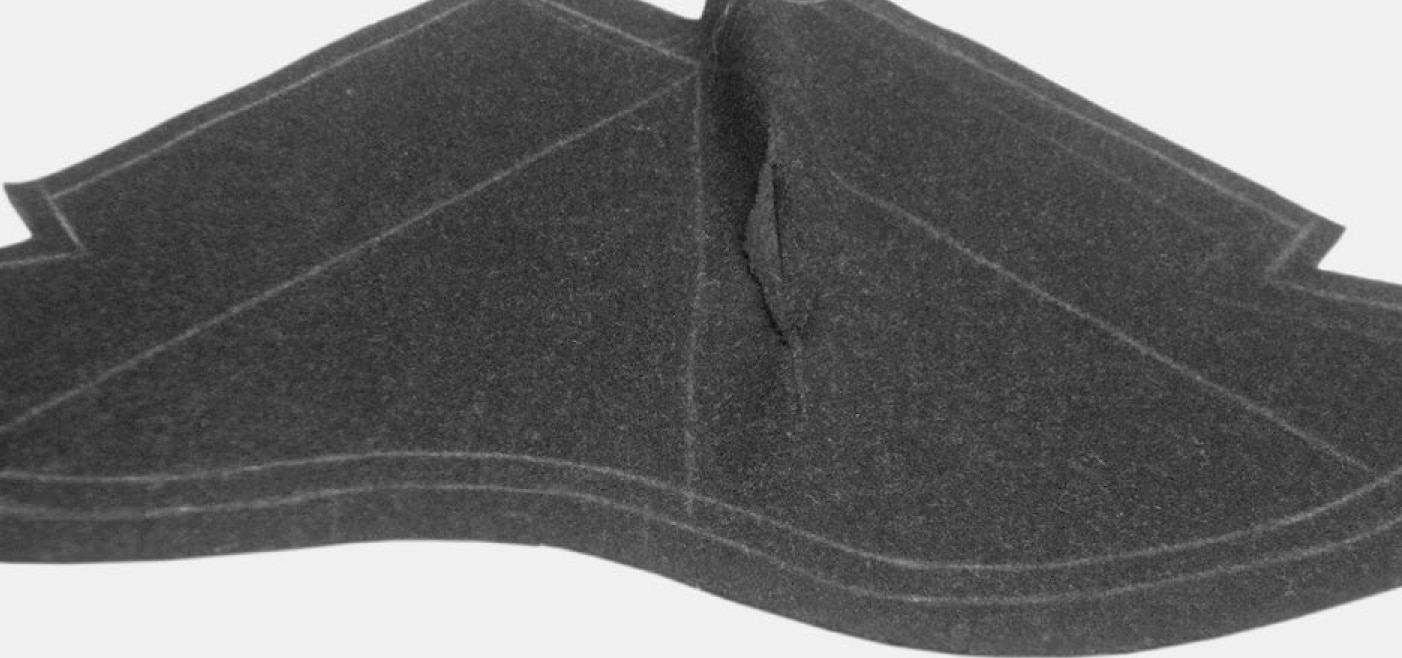
6 – 8
Cut the horsehair interfacing without seam allowance at the front panel seamlines. Cut and press a cotton strip in shape of the panel seam and sew both horsehair pieces with a zig-zag stitch onto the cotton Strip.
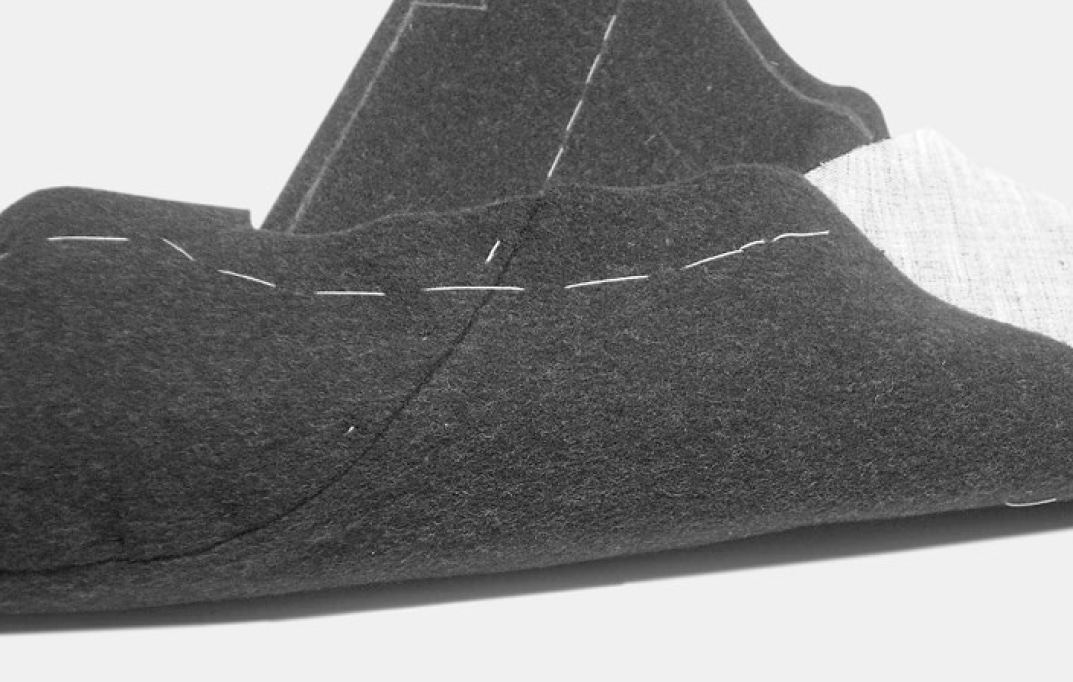
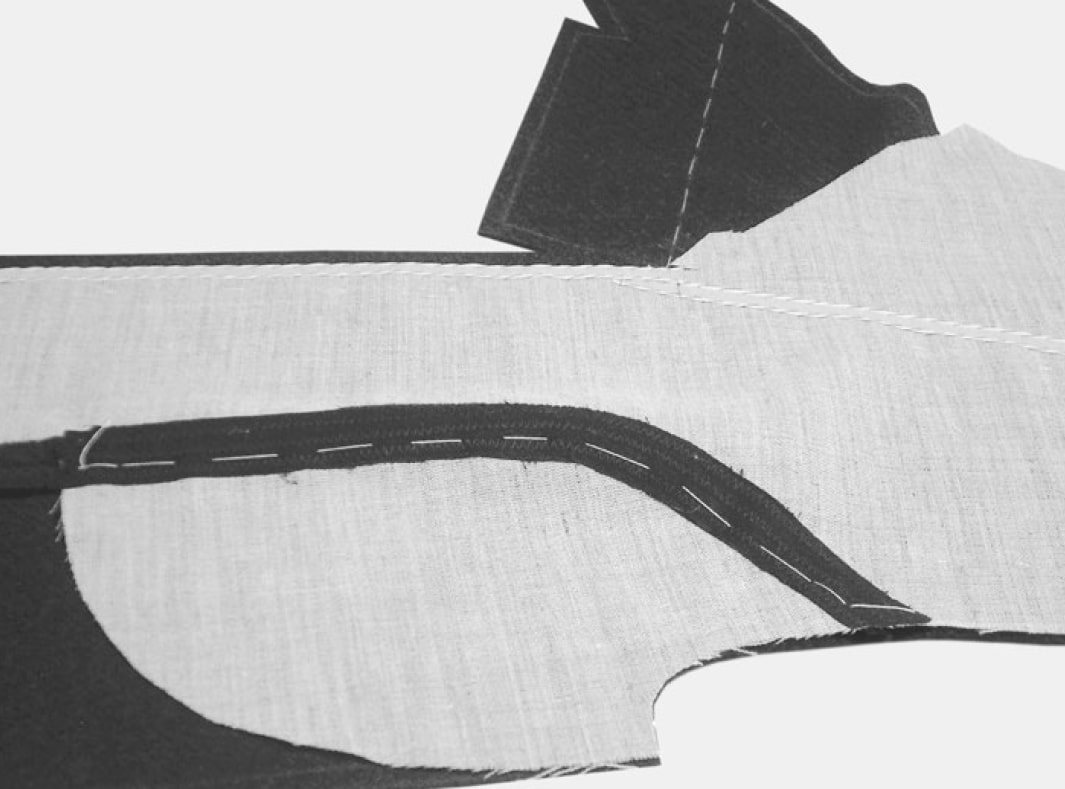
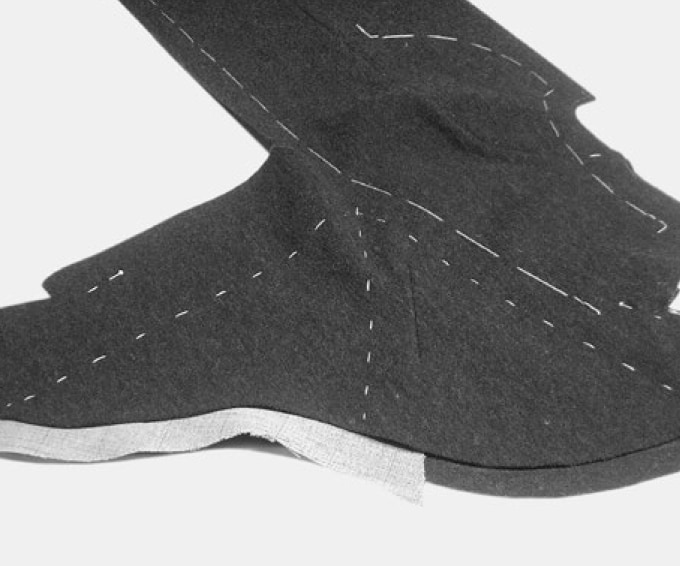
9 – 12
Place the horsehair interfacing onto the wrong side of the front panel and baste it on the panel seam allowance and the outer edges. Secure the lower edge of the horsehair interfacing with cross stitches onto the front panel.
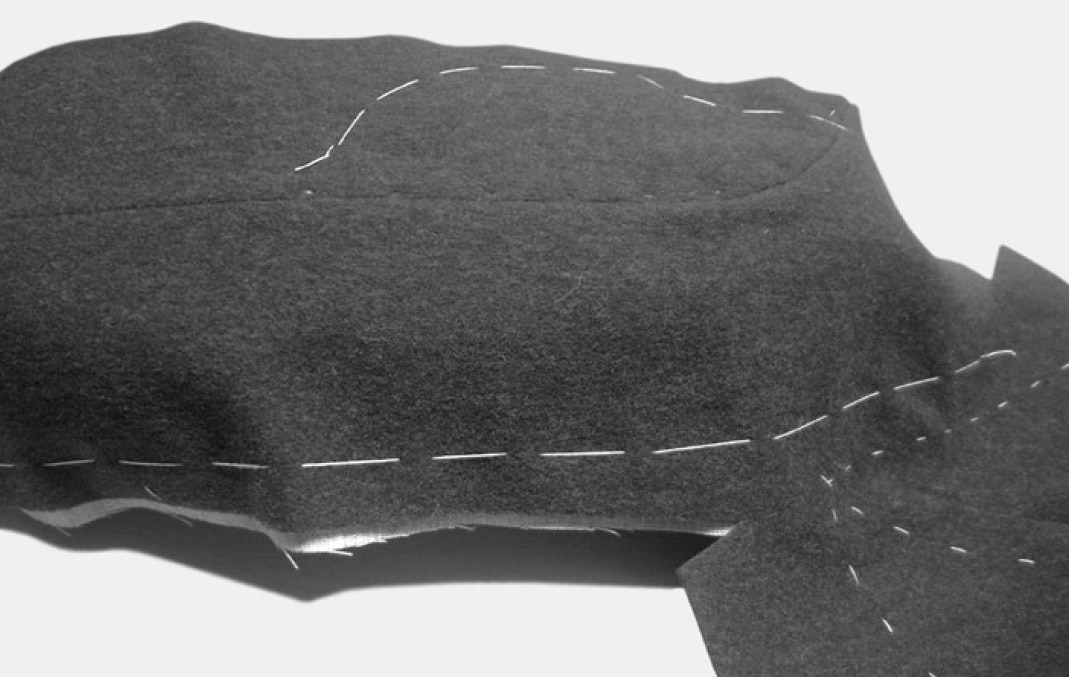
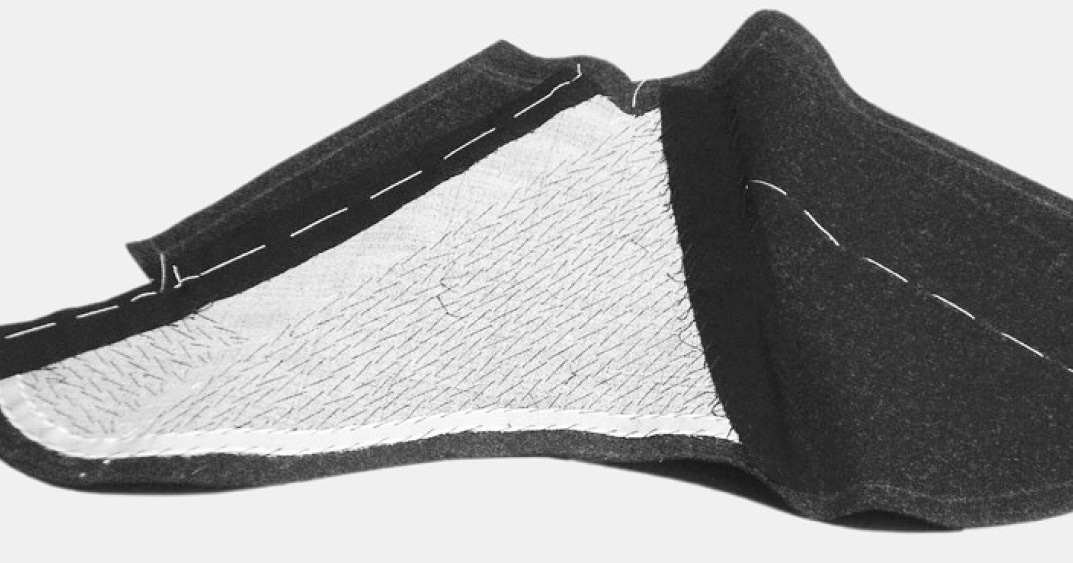
13
Trim the horsehair interfacing at the front edge, the collar edge, and the neckline, as well as the armhole and the shoulder.
14
Secure the interfacing at the armhole. Sew stay-tape to the interfacing just behind the lapel break line and keep the stay-tape short. Sew stay-tape to the front Edge.

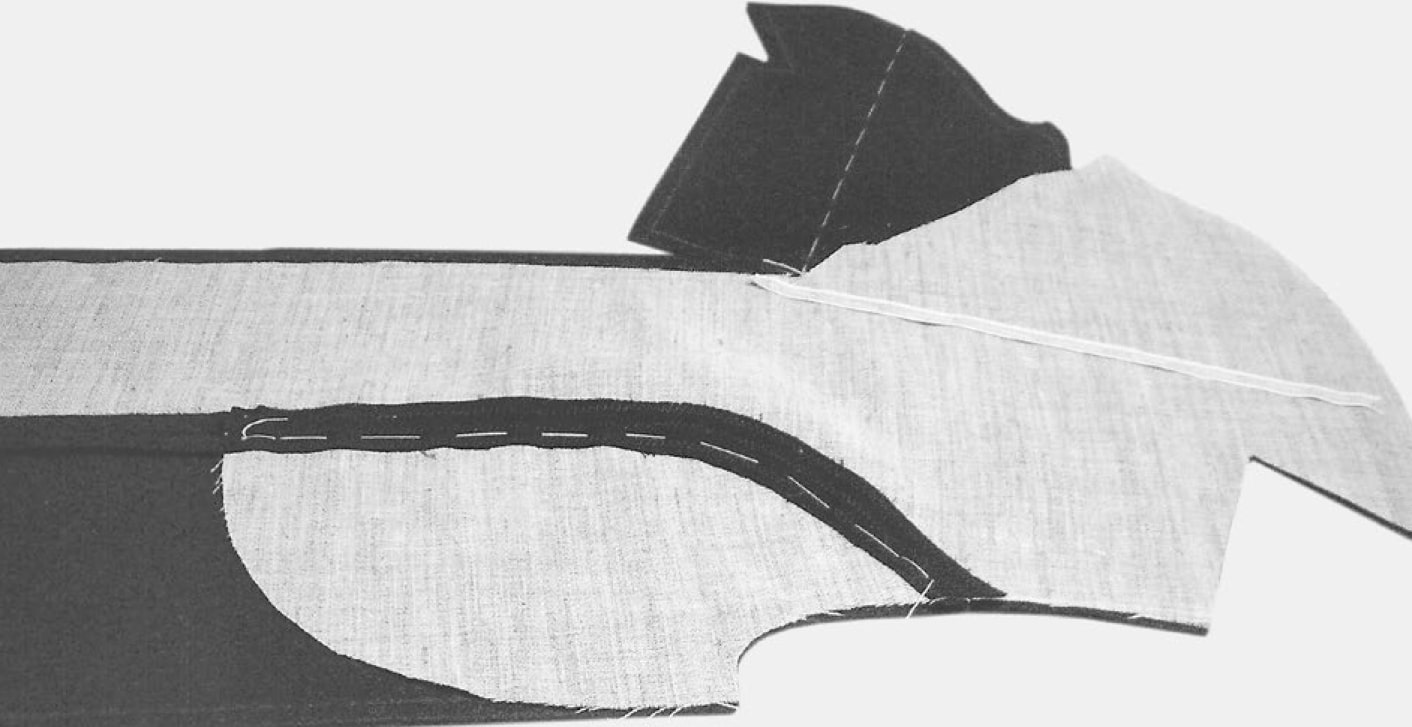
15
Pick stitch the lapel shape and the neckline. Trim the interfacing at the collar edge and the neckline.
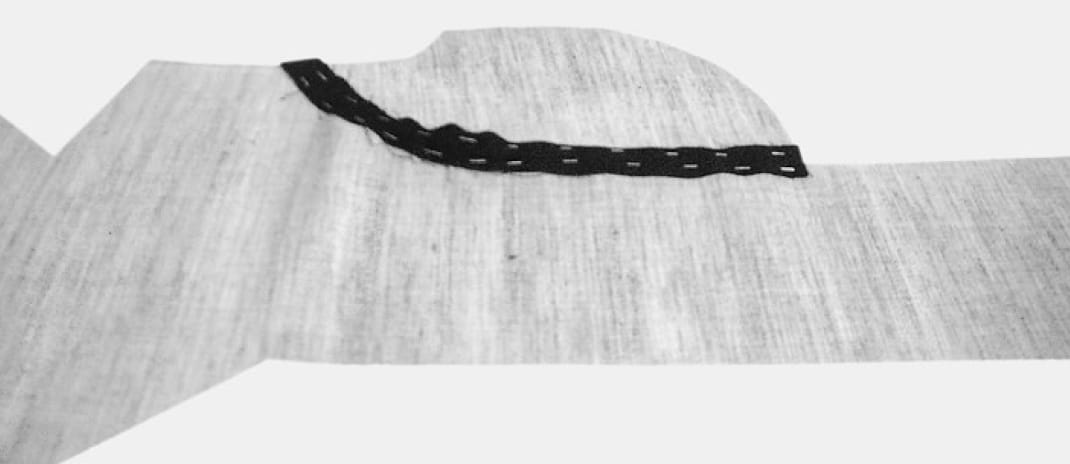
Press and sew stay-tape to the front edge and sew a shaped cotton strip onto the neckline edge and the dart.
16
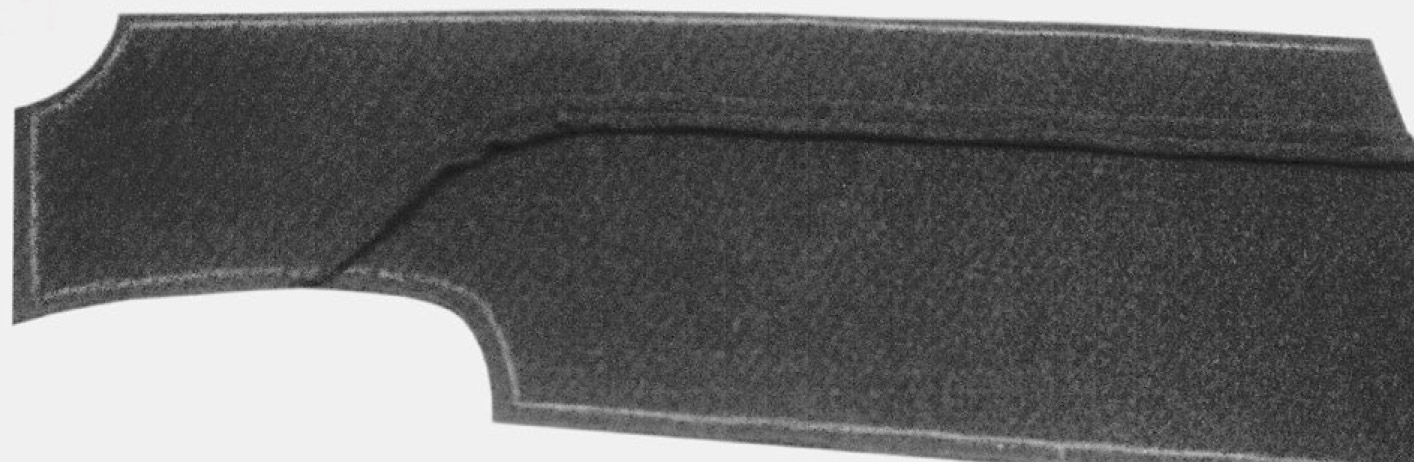
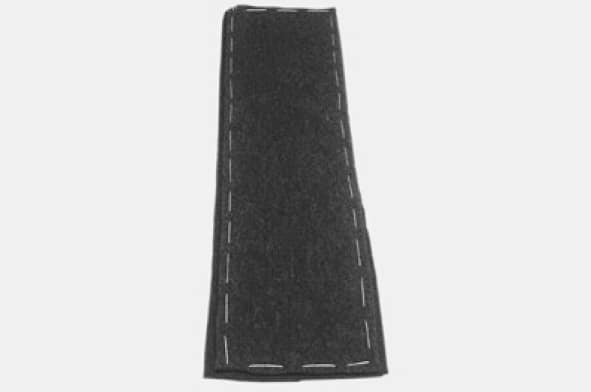
Reinforce the under collar with cotton fabric.
17-18
Sew the dart on the collar, cut the dart intake, press it open and baste it to the interfacing. Baste the neckline. Check the collar shape and adjust it if necessary.
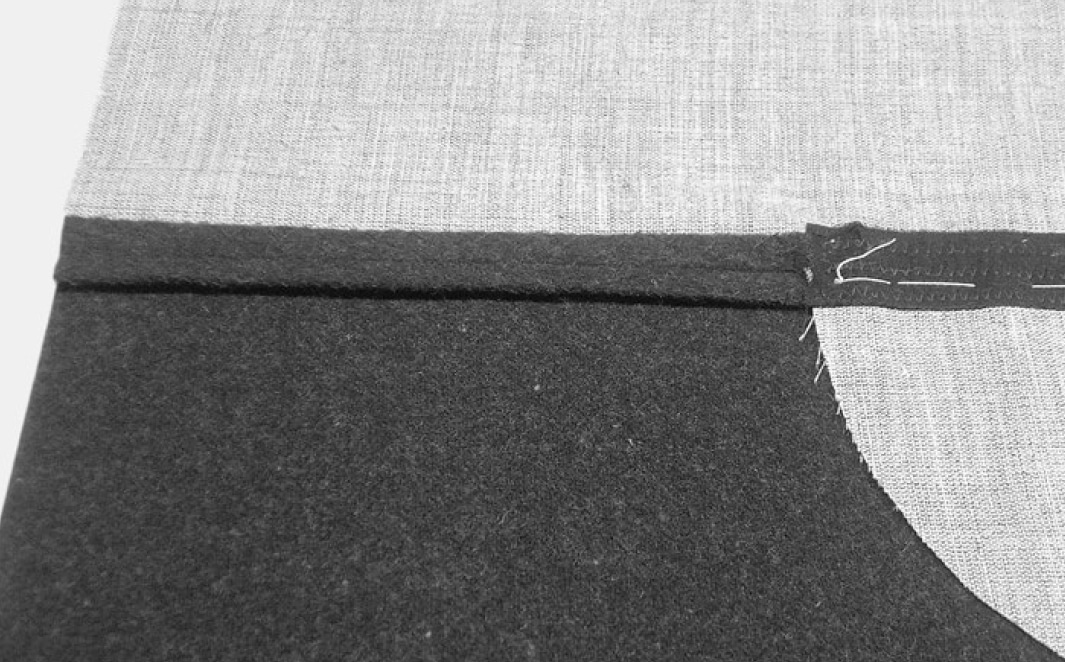
19
Trim the interfacing at the under collar the same as on the upper collar. Press the stay-tape in shape and sew it to the under collar.
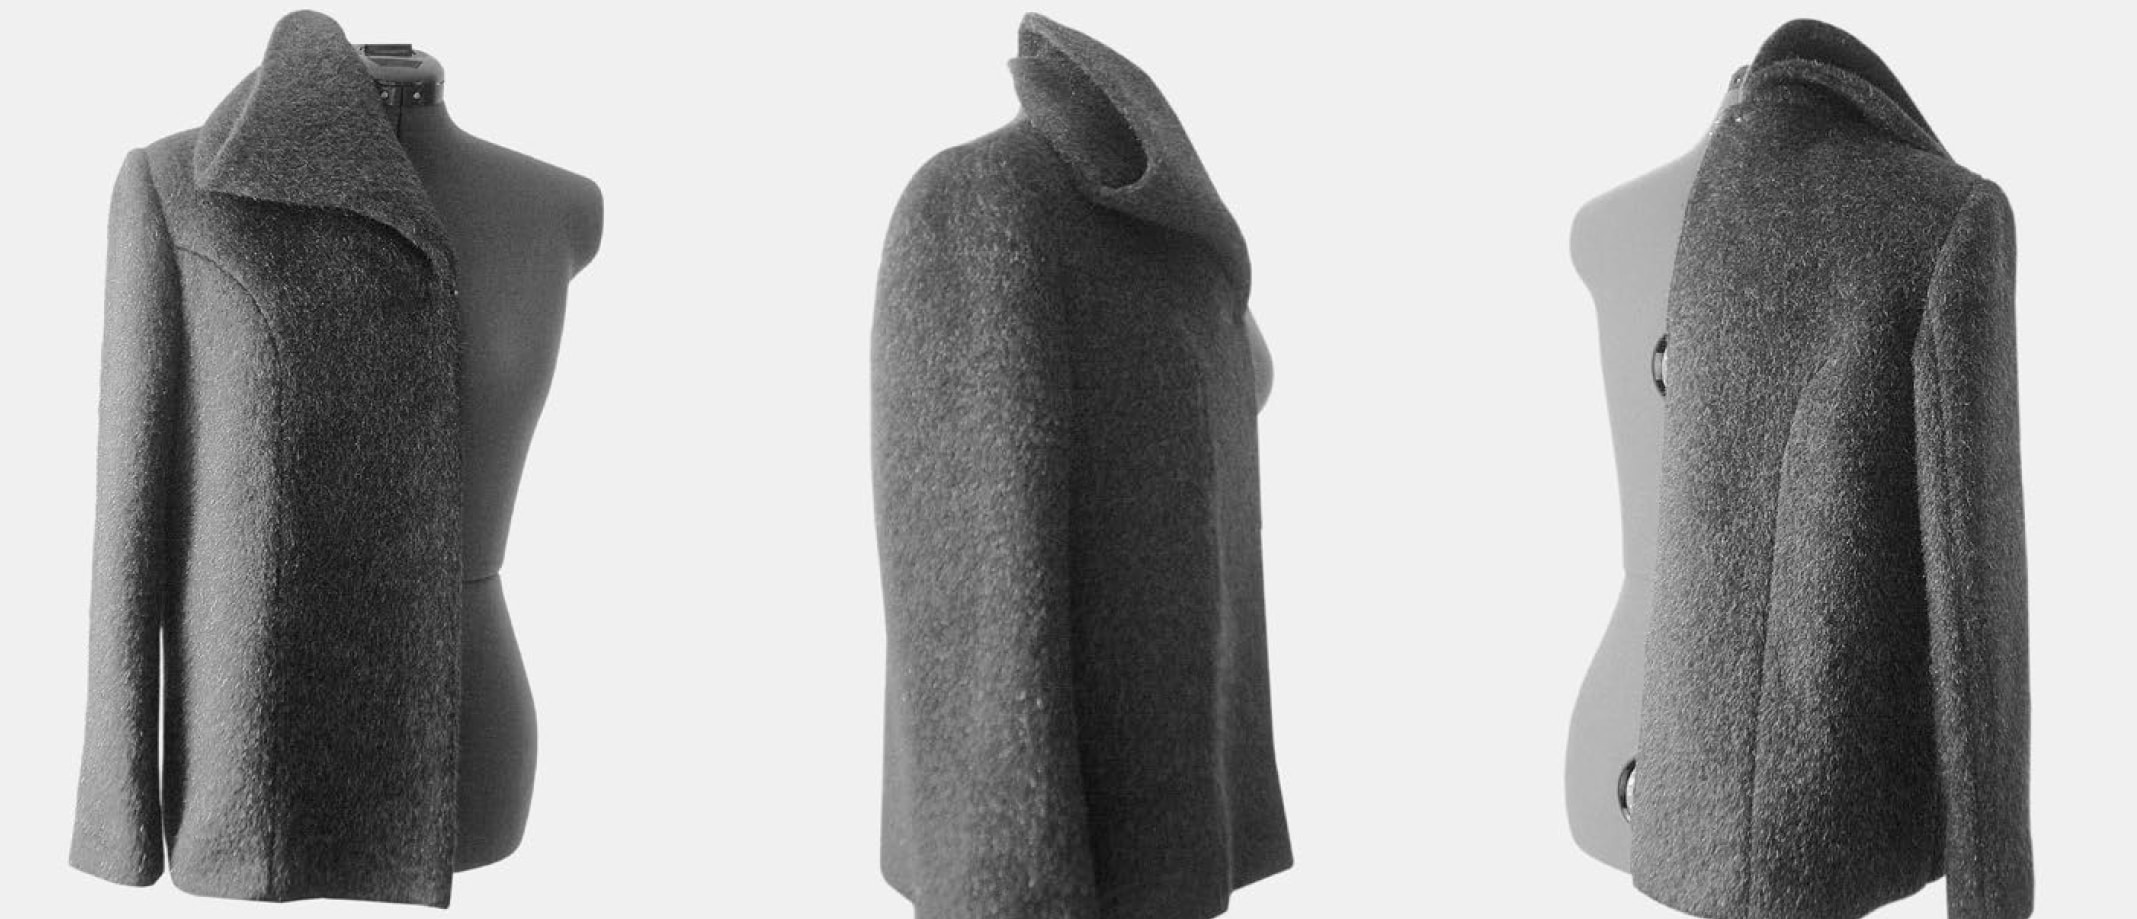
This picture shows the finished coat collar.
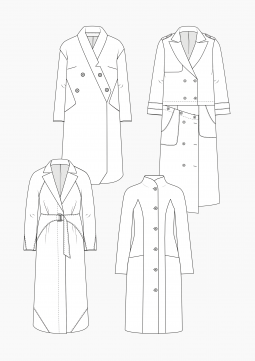
Many more pattern instructions and patterns for sewing jackets and coats can be found in our online shop.