Sewing Elastic Waistband
Deutsch
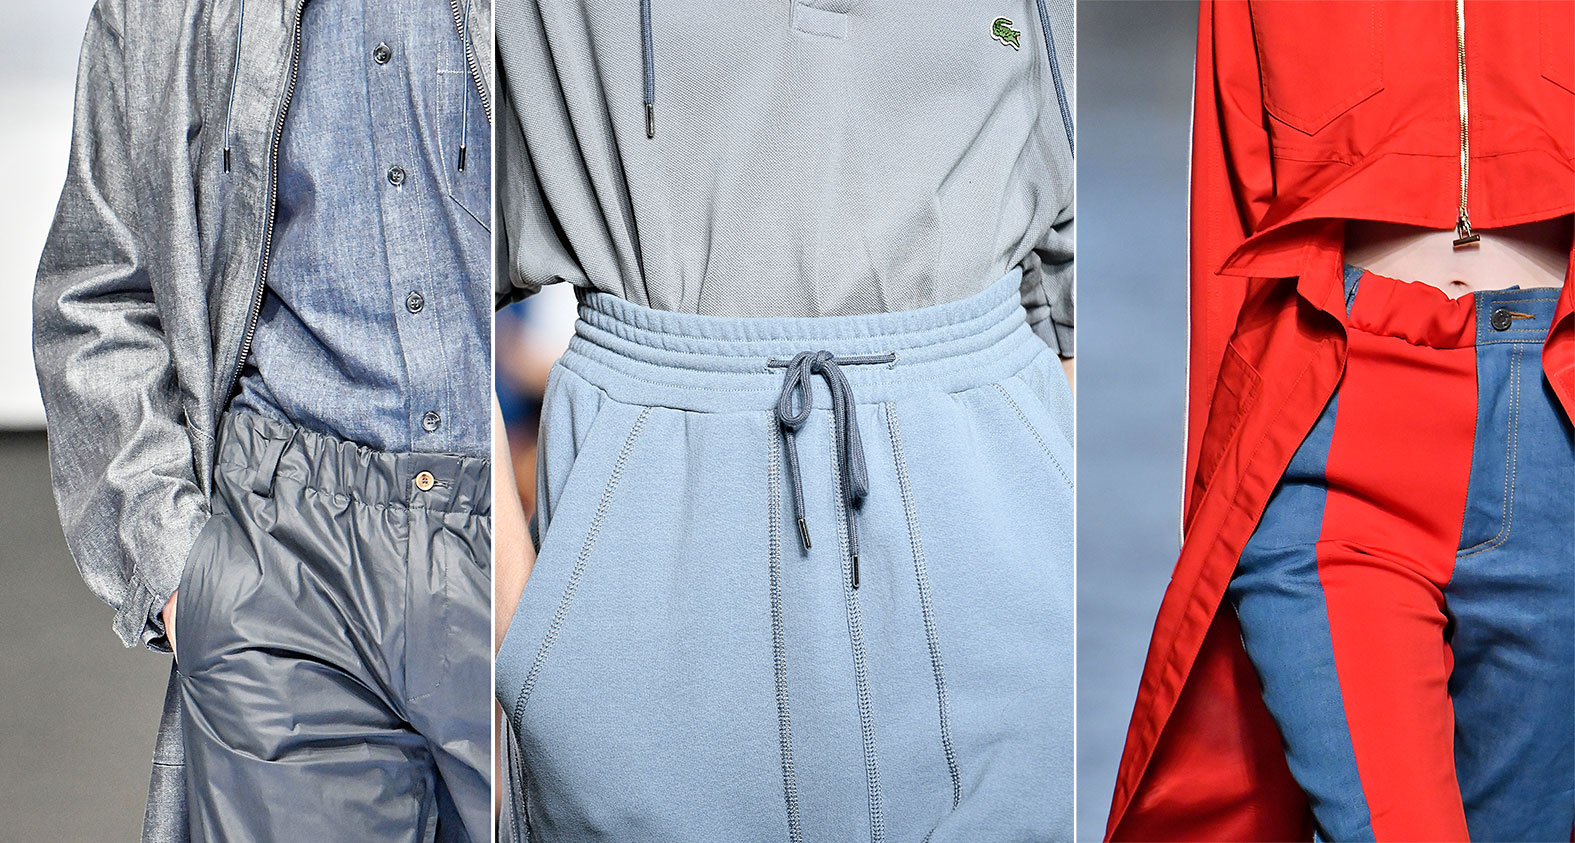
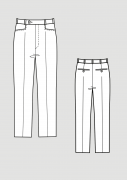
So far, the elastic waistband was reserved for larger sizes, pyjamas, workwear and children’s clothes. An elastic waistband is also preferred in sportswear. Now the fashion has picked up on this trend and shows pull- on- trousers and skirts with stretchy waistbands. These are perfect for flights, long car rides or office days.
Content
Topstitched Elastic Waistband
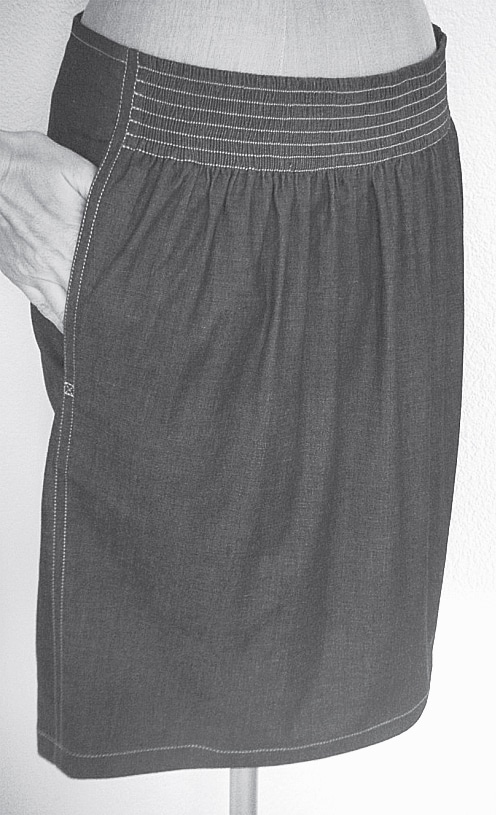
- The topstitched method can be applied continuously or partially. The following skirt model is processed with an elastic waistband in the front, while the back of the skirt receives a trimming. A strong, thick elastic is recommended, so that the rubber does not widen due to stitching. Note: Once the elastic is sewn on, the width must be correct, since it can not be adjusted afterwards.

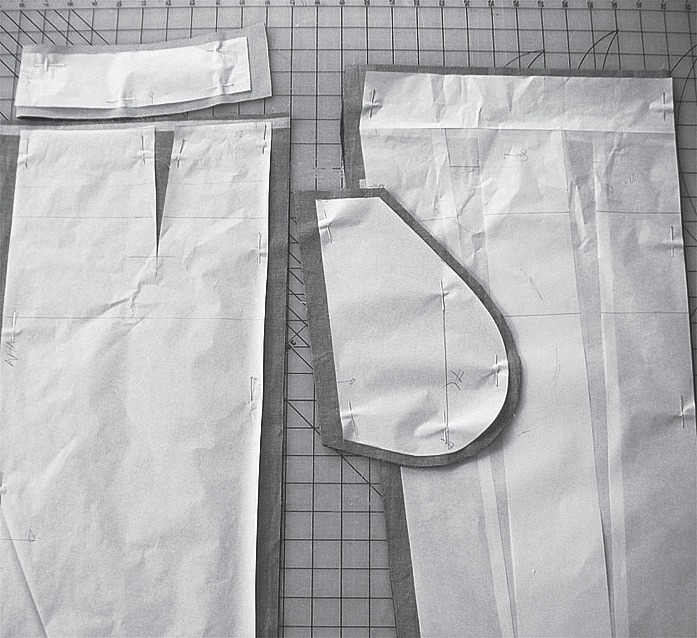
Preparing pattern
- Insert 2 times approx 3 cm width running in to the hem in skirt front. Mark the waist line in the front pattern and add 6 cm for the casing. Shift the side seam 1 cm parallel towards the centre front and redraw without the hip curve. The back pattern is pulled forward, the side seam pocket looks like a diagonal slip pocket. The trimming is 6 cm wide. Mark the pocket bag.
Cutting Pattern
- Add 2 cm seam allowance to centre back and the side seam, 4 cm to the hem and 1 cm to the waist.
Interfacing
- Secure the pocket and the waist at the back with a seam tape. Reinforce the trimming and the vent with fusible interfacing.
Processing
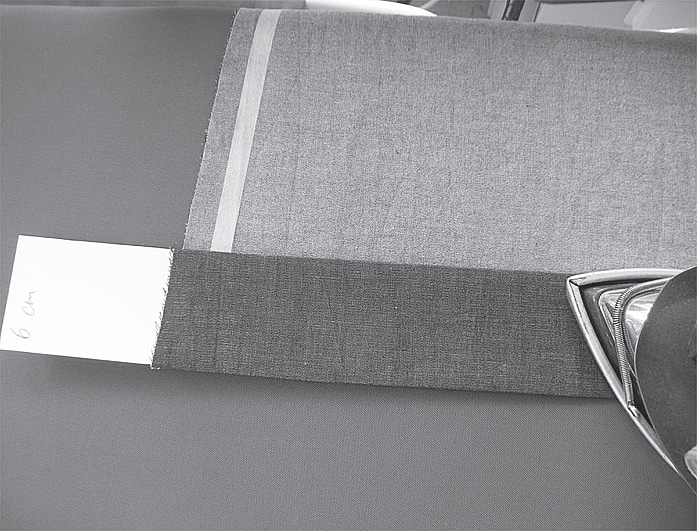
- Iron the front doubled waistband with a 6 cm wide template.
- Close the centre back and the darts and topstitch if desired. With the right sides together, pin the trimming along the waist of the back skirt. Sew the trimming to the skirt and stitch the side seams with 2 cm seam allowances. Close the pocket openings with the largest stitch possible.
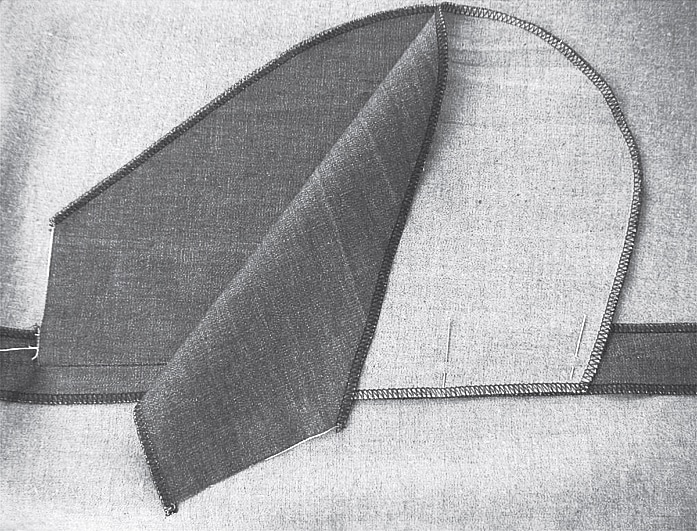
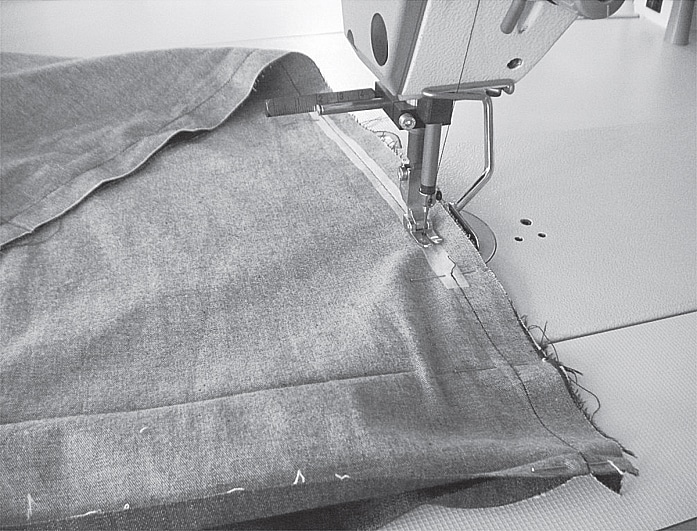
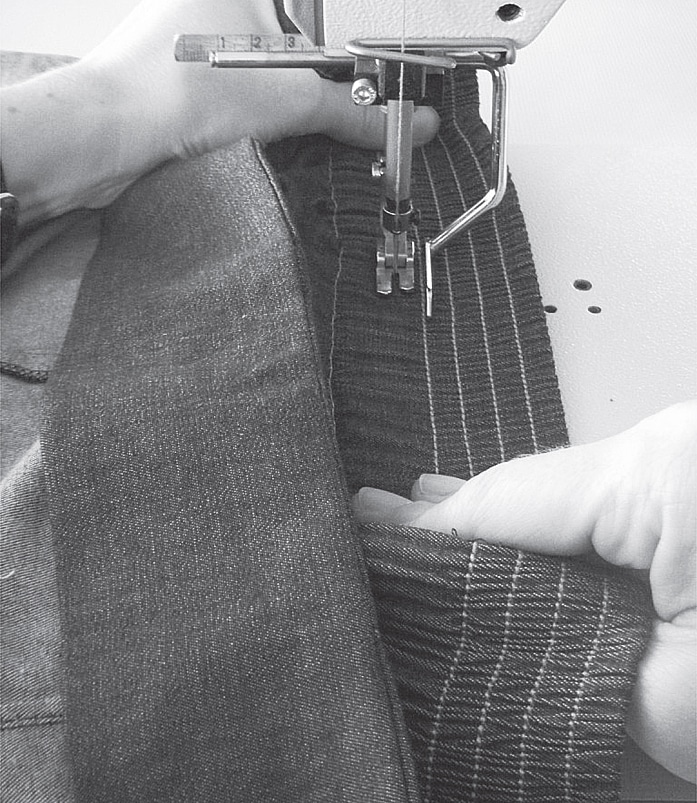
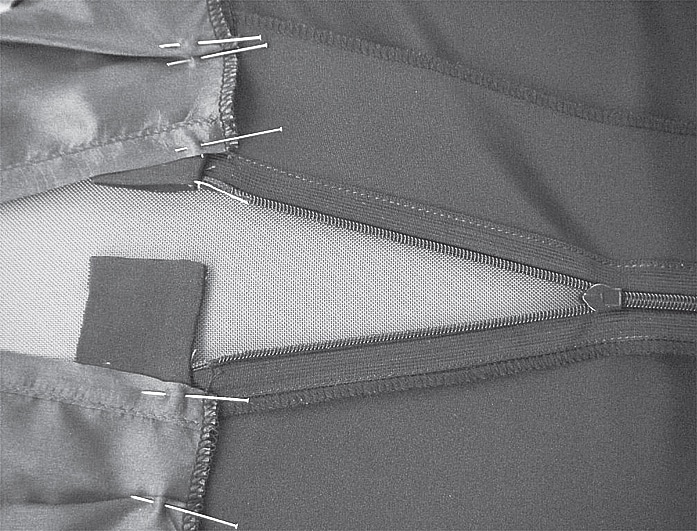
- Hem the pocket piece edges (except the top) with an overlock stitch. Pin the front pocket piece to front skirt with the vertical edge of the pocket piece aligns to the side seam edge. and sew with the zipper foot right next to the side seam, iron towards the centre front. Repeat the process described above with the other pocket piece- pin it to the edge corresponding to the back of the garment making sure both fabric edges are accurately matched. The pocket pieces should overlap perfectly right on top of each other.
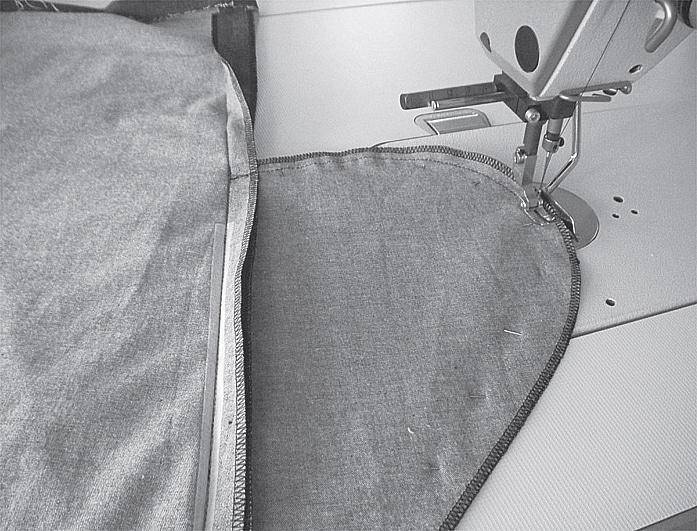
- Iron the pocket, pin flat and sew the pocket bags together twice.

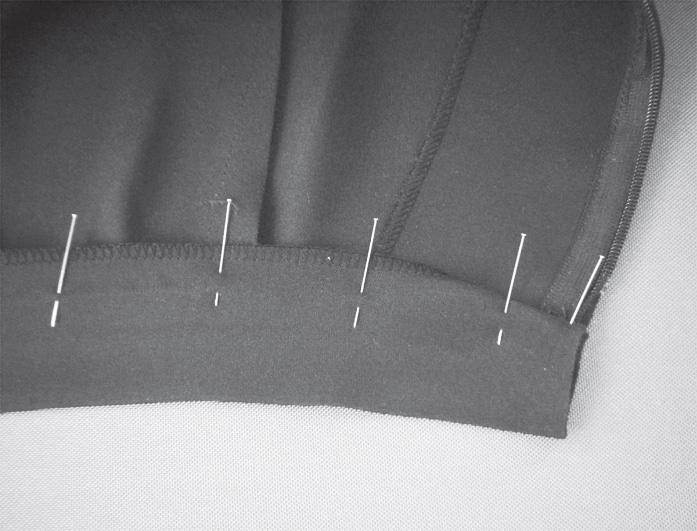
- Topstitch pocket openings and side seams if desired. Topstitch the front casing with the largest stitch and possibly a contrasting colour. Pull in a strong elastic and try on the skirt. Keep in mind that the width tends to expand by stitching the rubber. Sew the elastic to the side seam with a groove step.
- Flatten the front waistband under the machine and topstitch several times.
- Topstitch the hem.
Waistband in the tunnel
This variation is suitable for models with an ‘invisible’ elastic waistband, because it’s mainly for convenience. The advantage of this technique is that the rubber width can easily be adjusted.
Preparing Pattern
- Construct a sheath skirt. Draw in a zipper and a vent at the CB.
Cutting Pattern
- Add 2 cm seam allowance to the side seam, 5 cm to centre back zipper and vent and hem and 1 cm to the waist, waistband waist width x elastic plus underlap plus 1 cm each.
Description
- Zipper, waist, vent
Processing
- Sew skirt and lining. Iron the waist casing with a 3 cm template (depending on the elastic width). Sew casing with correctly measured widths to the skirt. Iron the overlap.
- Iron the underlap ( 3 cm ) and sew the casing.
- Pin over- and underlap to approx. 5 cm and baste into the groove from the right side.
- Place the hanger in the side seam and secure with a small stitch. Place the lining on the casing, making sure both fabric edges are accurately matched and evenly pin next to the centre back, into the dart for the extra lining width.
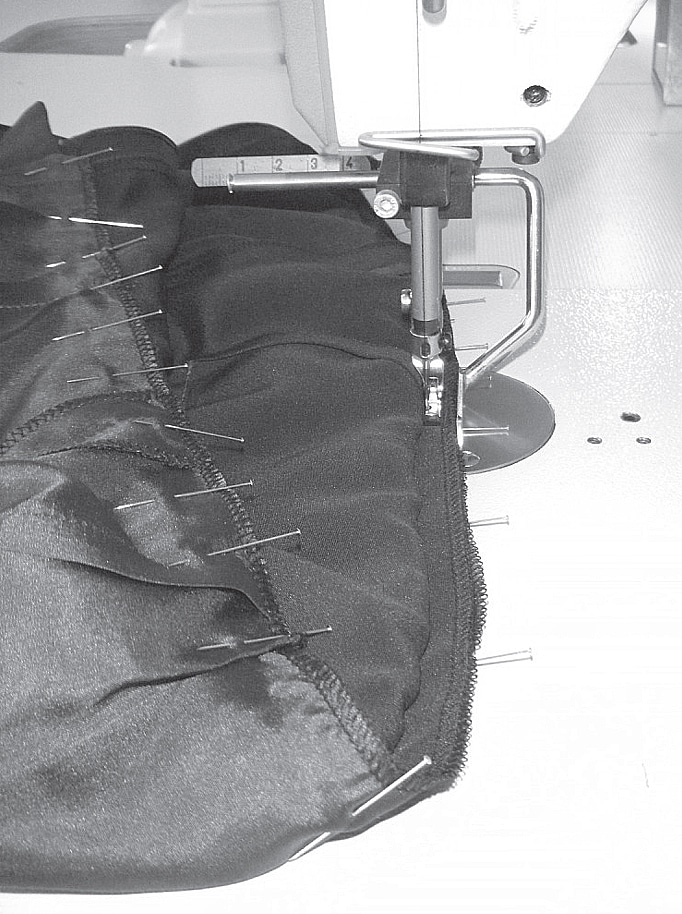
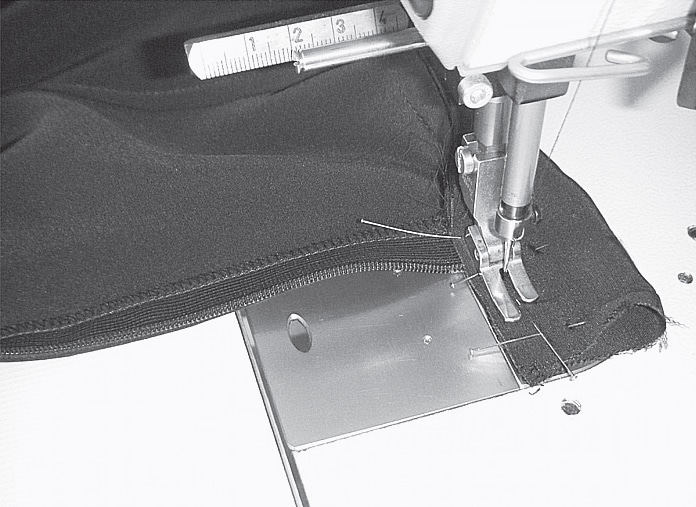
- Sew the lining to the casing, next to the basting thread using the zipper foot. Iron the lining against the seam.
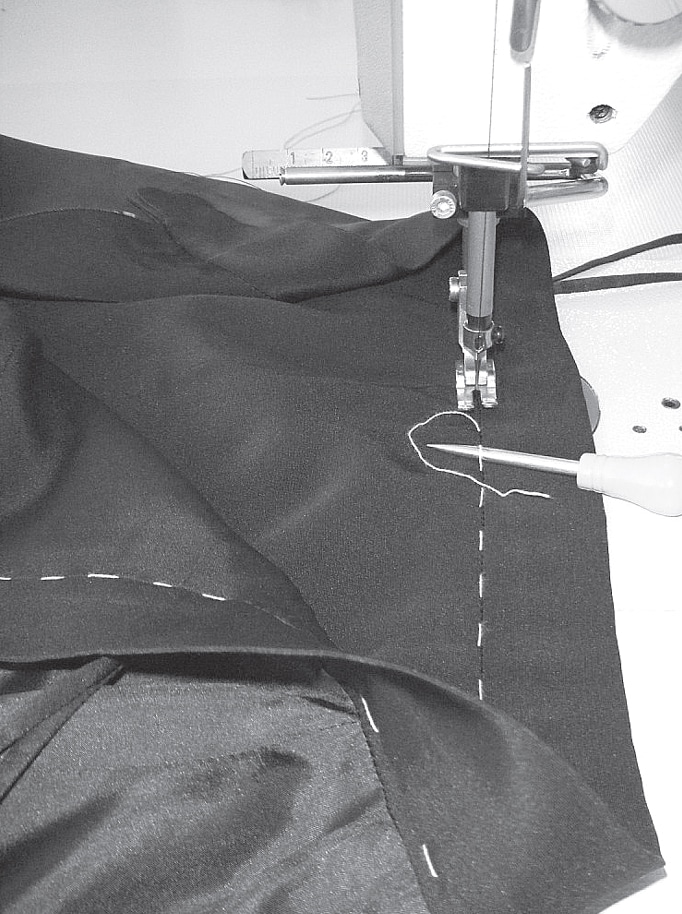
- Loosen the basting thread with the pricker and topstitch the casing into the groove from the right.
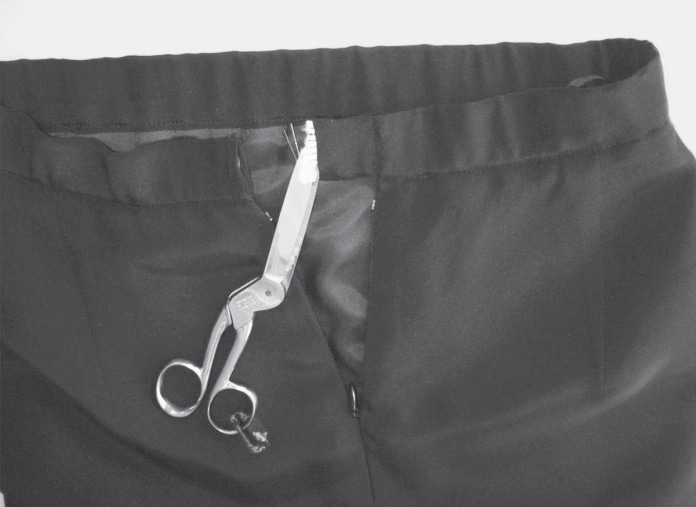
- Calculate the elastic for the fitting: Waist-width minus 10%, plus 1 cm seam allowance, plus 3 cm underlap. Pull the elastic into the casing with a safety pin. Leave 1 cm at the ends. Try on the skirt. Stitch the under and over at 5 mm. Pull out the remaining elastic and trim it.
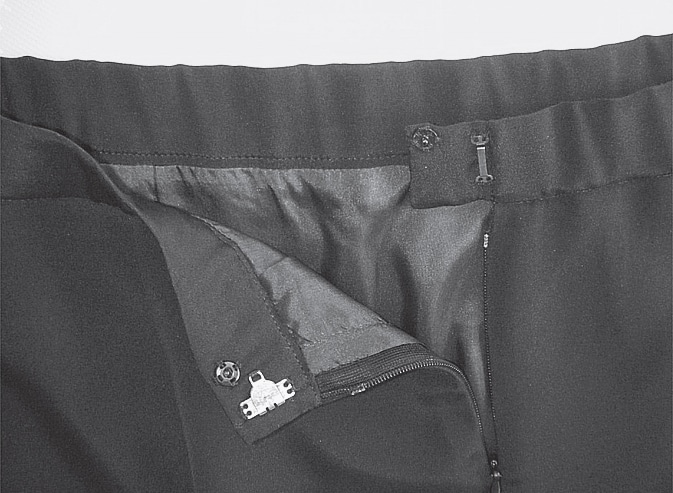
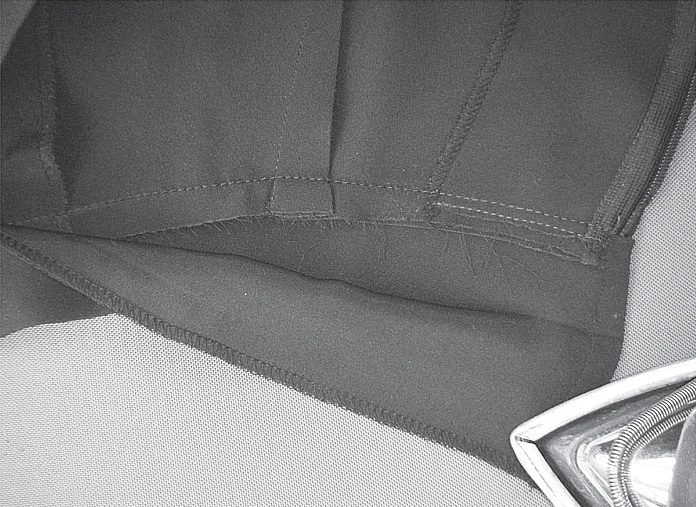
- Sew the casing together by hand. Flatten the bottom step and topstitch a second time at the height of the zipper. Sew on a hook and a button with buttonhole stitches and double thread or cordonnet at the centre back.
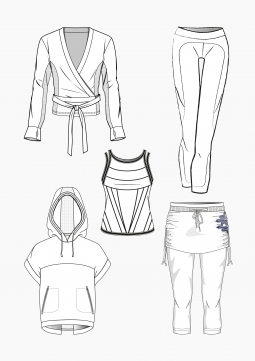
In this e-dossier you will find instructions for the pattern construction of five different models of yoga wear.
You can find many more pattern instructions and finished patterns for sewing plus size fashion in our online shop.